
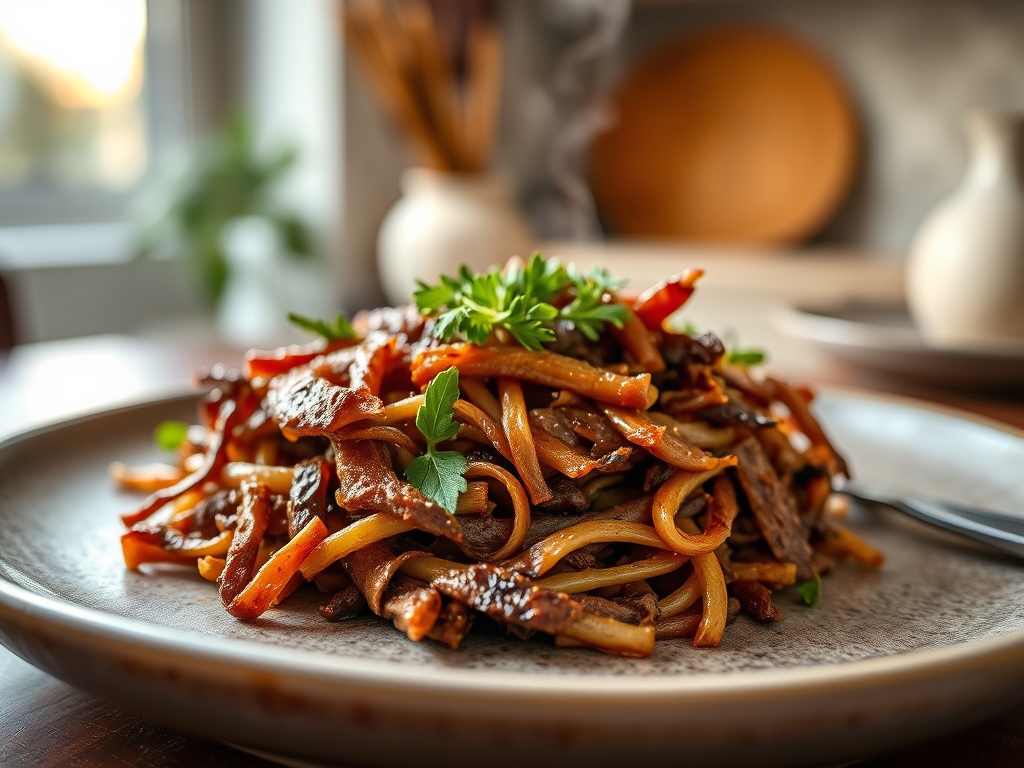
Picture a humid Saturday afternoon where the air is heavy with the scent of hickory and slow-rendered fat. There is a specific, primal joy in watching a stubborn slab of chuck roast transform into silk. If you have been searching for the ultimate smoked pulled beef recipes, you are likely chasing that perfect balance of a jet-black crust and a center that yields at the mere suggestion of a fork. This is not just backyard cooking; it is a delicate dance between collagen breakdown and smoke absorption. We are moving beyond basic grilling into the realm of low-and-slow mastery. To get there, you need to understand how heat interacts with muscle fiber and why certain fats behave like liquid gold. Grab your apron and a cold drink because we are about to turn your smoker into a high-precision laboratory of flavor.
The Gathers:
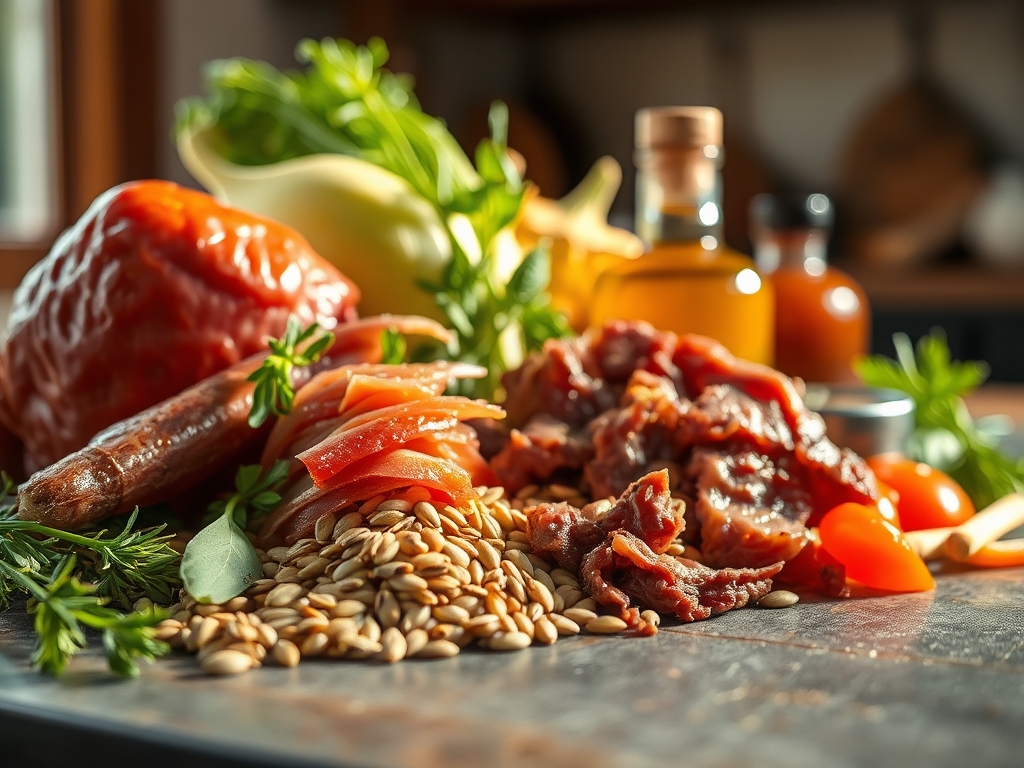
The foundation of a legendary meal starts with the mise-en-place. You are looking for a well-marbled chuck roast, specifically the serratus ventralis muscle, which contains the intramuscular fat necessary for a luscious mouthfeel. On your counter, you should have a digital scale to measure your dry rub precisely; consistency is the hallmark of a pro. Your rub should feature coarse Kosher salt, 16-mesh black pepper, and perhaps a whisper of piquant smoked paprika.
For the braising liquid, gather a high-quality beef bone broth, a splash of apple cider vinegar to provide acidity, and a tablespoon of Worcestershire sauce for that deep umami hit. If you want to elevate the profile, use a microplane to zest a bit of garlic directly into your liquid.
Smart Substitutions: If you cannot find a chuck roast, a brisket clod or even a beef neck roll works beautifully. For a keto-friendly version, ensure your rub is free of brown sugar. If you are looking for a deeper color without the sugar, a teaspoon of instant espresso powder will mimic that dark, roasted hue through non-enzymatic browning.
The Clock:
Mastering the "Chef's Flow" is about managing expectations and temperature. You cannot rush the hydrolysis of collagen.
- Prep Time: 30 minutes (Trimming and seasoning).
- Cook Time: 8 to 10 hours (Depending on the weight and ambient humidity).
- Rest Time: 1 to 2 hours (Non-negotiable for moisture retention).
The flow begins the night before. Seasoning early allows the salt to penetrate the meat through osmosis, seasoning the interior rather than just the surface. On the day of the cook, your smoker should be stabilized before the meat ever touches the grate. This prevents the "creosote" flavor that comes from an inefficient fire.
The Masterclass:
1. The Dry Brine and Surface Tension
Apply your rub generously using the "dry hand, wet hand" method to avoid cross-contamination. Use your bench scraper to tidy up any excess spices on your cutting board.
Pro Tip: Salt acts as a denaturant. It unfolds the protein strands, allowing them to hold onto more water during the initial stages of the cook. This prevents the beef from turning into "meat-flavored wood" during the long haul.
2. The Clean Smoke Infusion
Place the beef in a smoker preheated to 225 degrees Fahrenheit. Use oak or hickory for a bold profile.
Pro Tip: Smoke particles are attracted to cold, wet surfaces. By keeping the meat cold until the moment it hits the smoker, you maximize the smoke ring development. This is a chemical reaction between nitrogen dioxide in the smoke and the myoglobin in the beef.
3. Navigating The Stall
Around 160 degrees Fahrenheit, the internal temperature will stop rising. This is the "stall," caused by evaporative cooling. Use your tongs to check the surface; it should feel tacky and look dark.
Pro Tip: Do not panic and raise the heat. The stall is when the collagen begins to transform into gelatin. Increasing the temperature too fast will cause the muscle fibers to tighten and squeeze out all the juice.
4. The Texas Crutch
Once the bark is set, wrap the beef in peach butcher paper or heavy-duty foil with a splash of your broth.
Pro Tip: Wrapping creates a mini-sauna. This accelerates the thermal carryover and ensures the meat stays moist while it pushes through the final 40 degrees of internal temperature.
5. Probing for Tenderness
You are looking for an internal temperature of roughly 205 degrees Fahrenheit. However, the "feel" is more important than the number. Use a digital probe to check; it should slide in like it is hitting room-temperature butter.
Pro Tip: This is the "Butter Phase." It indicates that the connective tissue has fully liquefied, turning a tough cut into something you can shred with a spoon.
6. The Long Rest
Transfer the wrapped beef to an insulated cooler or a low-temperature oven.
Pro Tip: Resting allows the internal pressure to stabilize. If you pull the meat immediately, the viscous juices will run out onto the board, leaving the beef dry. Resting allows the fibers to reabsorb that liquid gold.
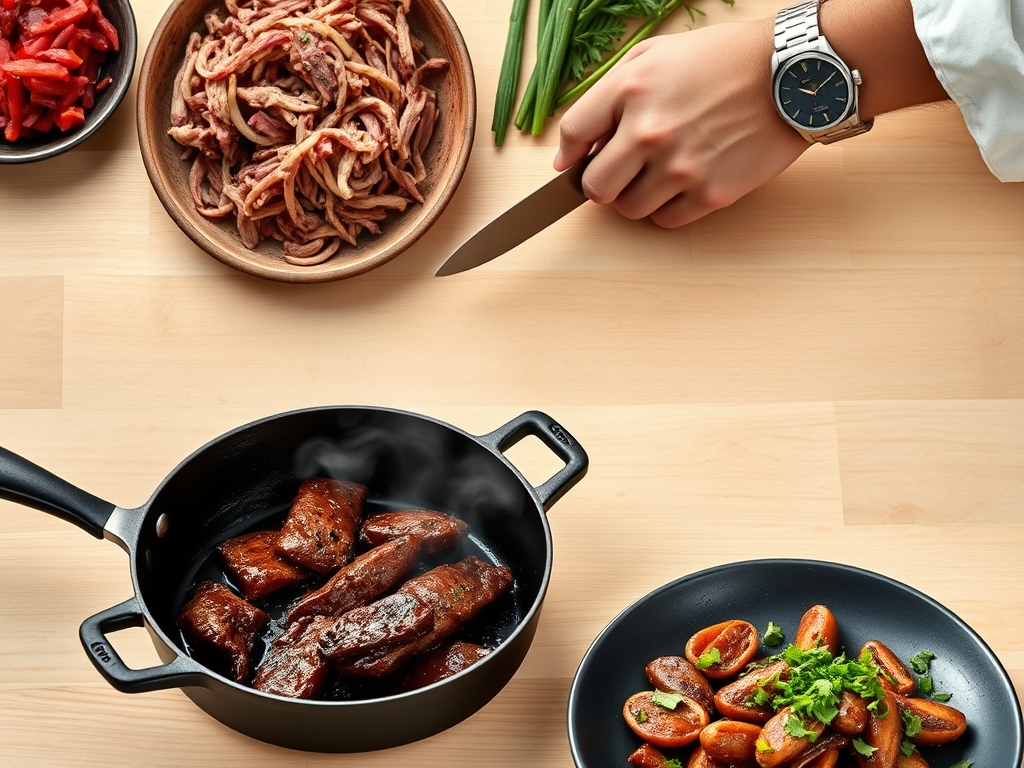
7. The Shred and Emulsify
Use two forks or meat claws to pull the beef into thick strands. Toss it with the accumulated juices in a saucier or a deep tray.
Pro Tip: Adding a small amount of fat or a "finishing sauce" helps emulsify the remaining moisture with the beef fibers, creating a glossy, professional finish that stays moist even as it cools.
The Deep Dive:
Macro Nutrition: A standard 4-ounce serving of smoked pulled beef contains approximately 280 calories, 22g of protein, and 20g of fat. It is a powerhouse of Vitamin B12 and Zinc.
Dietary Swaps:
- Vegan: For a similar texture, use shredded King Oyster mushroom stalks or young green jackfruit seasoned with liquid smoke.
- Gluten-Free: Ensure your Worcestershire sauce is a certified GF brand, as some contain barley malt.
The Fix-It:
- The Bark is Too Hard: You likely skipped the wrap or had too much sugar in the rub. Next time, wrap earlier and spritz with apple juice every hour.
- The Meat is Mushy: This happens if you overcook it in the wrap or use too much liquid. Reduce the braising liquid to a half-cup.
- The Smoke is Bitter: This is "dirty smoke." Ensure your wood is well-seasoned and your fire has enough oxygen to burn blue, not white.
Meal Prep: To reheat and maintain "day-one" quality, use a heavy-bottomed skillet over medium-low heat. Add a splash of beef stock and cover the pan. This creates steam that gently re-hydrates the protein without overcooking it.
The Wrap-Up:
There you have it; the science and soul of smoked pulled beef. By respecting the physics of the stall and the chemistry of the rest, you have graduated from a casual griller to a pitmaster. Remember that every piece of meat is different; use your senses as much as your thermometer. When you see that glistening, mahogany bark and feel the tender give of the grain, you will know you have nailed it. Now, go share that masterpiece with your favorite people and bask in the glory of the perfect shred!
The Kitchen Table:
What is the best wood for smoked pulled beef recipes?
Oak and Hickory are the gold standards for beef. They provide a robust, classic "barbecue" flavor that stands up to the heavy fats in a chuck roast. For a sweeter note, try blending in a bit of cherry wood.
How do I prevent my pulled beef from being dry?
The secret is the rest period. Resting the meat for at least 90 minutes allows the muscle fibers to reabsorb the rendered fats and juices. Also, always toss the shredded meat back into its own braising liquids before serving.
Can I make smoked pulled beef in a pellet grill?
Yes, pellet grills are excellent for this. To maximize smoke flavor, use a "smoke tube" filled with extra pellets and keep the temperature at 225 degrees Fahrenheit for the first four hours to ensure deep smoke penetration.
Why is my beef bark not turning black?
Bark formation requires a combination of spice rub, smoke, and time. If your bark is pale, you may have wrapped too early or used a rub without enough pepper. Ensure the surface is dry before applying your seasoning.