
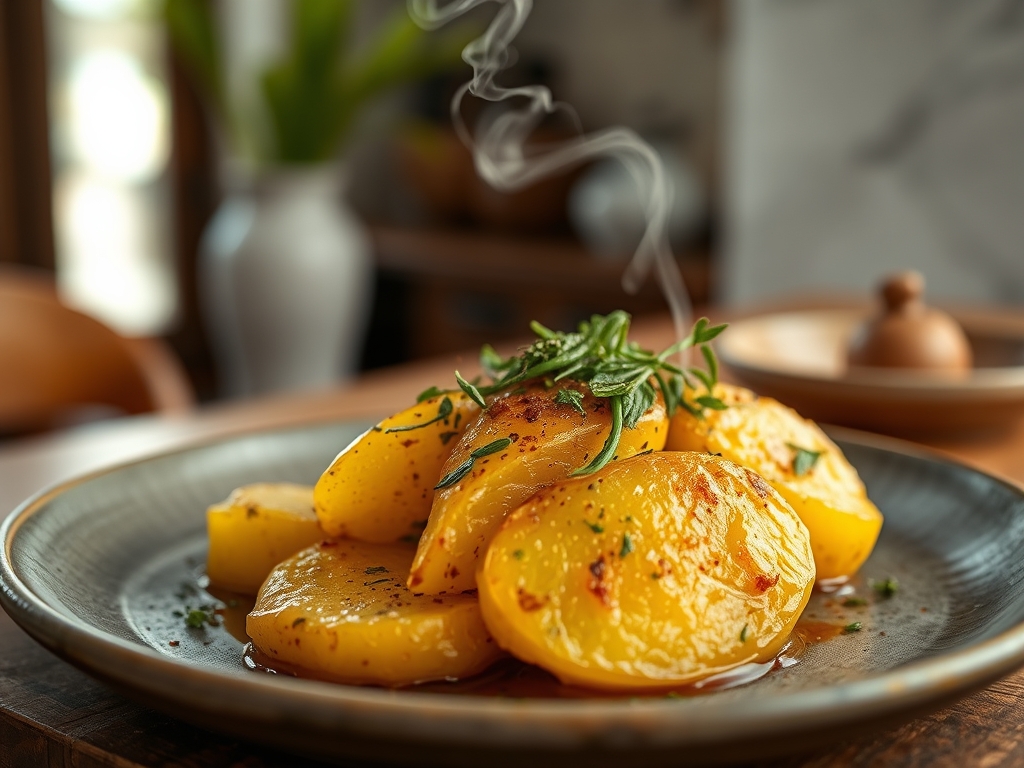
Imagine a kitchen filled with the scent of shimmering butter and toasted rosemary. That golden glow on your plate is not just dinner; it is a masterpiece of carbohydrate chemistry. When you search for the best yellow potato recipes, you are looking for that perfect balance of a creamy interior and a shatteringly crisp exterior.
Yellow potatoes, specifically the Yukon Gold variety, are the undisputed royalty of the root cellar. Unlike their starchy russet cousins or waxy red siblings, yellow potatoes sit in a genetic sweet spot. They possess enough starch to fluff up under heat but enough moisture to maintain a buttery, velvety mouthfeel. This dual nature makes them the most versatile tool in your culinary arsenal. Whether you are hosting a formal gala or a Tuesday night reset, understanding the molecular structure of these tubers will transform your cooking from basic sustenance to a high-end sensory experience. Let us dive into the science of the spud and unlock the secrets that professional chefs use to achieve that signature golden hue.
The Gathers:
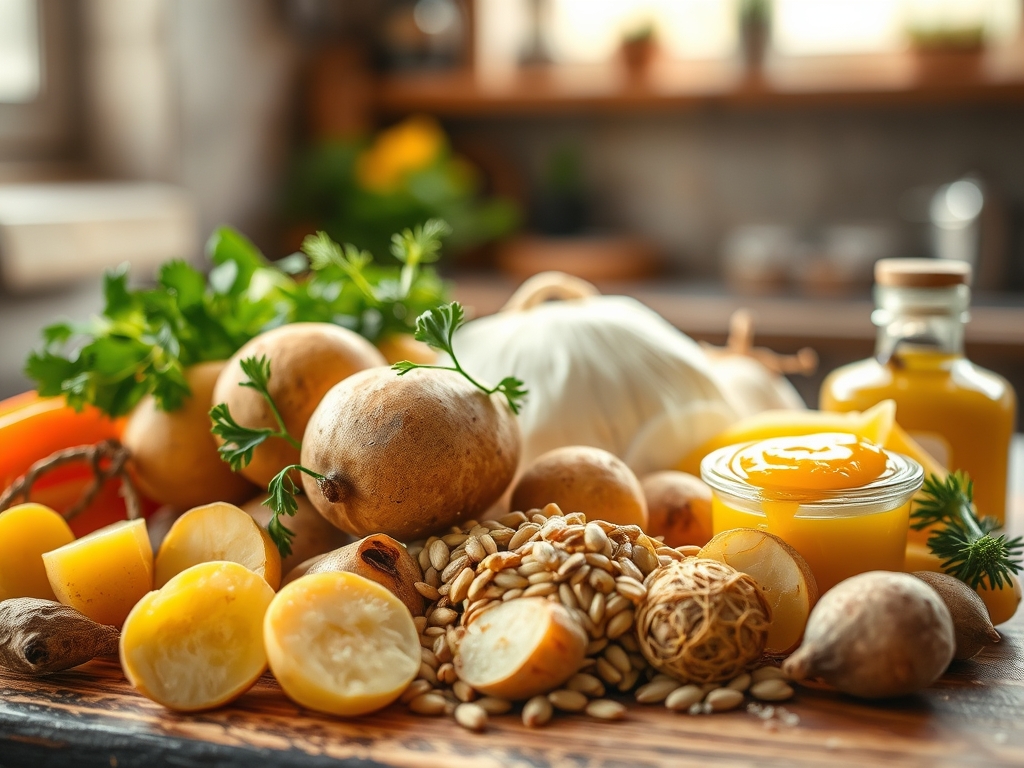
To execute the best yellow potato recipes, your mise-en-place must be precise. Start with five pounds of firm, unblemished yellow potatoes. You will need a high-quality fat source; I recommend a combination of clarified butter for its high smoke point and extra virgin olive oil for its piquant polyphenols. Fresh aromatics are non-negotiable. Gather a bundle of woody herbs like rosemary and thyme, along with a bulb of hard-neck garlic.
Your tool kit is just as vital as your ingredients. Pull out your digital scale to ensure uniform sizing, which guarantees even heat distribution. You will also need a heavy-bottomed skillet or a cast iron pan to facilitate superior heat retention. A microplane is essential for zesting citrus or grating hard cheeses over the finished product to add a layer of bright acidity or umami.
Smart Substitutions:
If you are looking to lighten the profile, Greek yogurt provides a wonderful lactic tang that mimics the richness of sour cream. For those avoiding dairy, an emulsified cashew cream offers a similar viscous texture without the lactose. If rosemary feels too aggressive, swap it for fresh chervil or tarragon to infuse the dish with a delicate, anise-like aroma.
The Clock
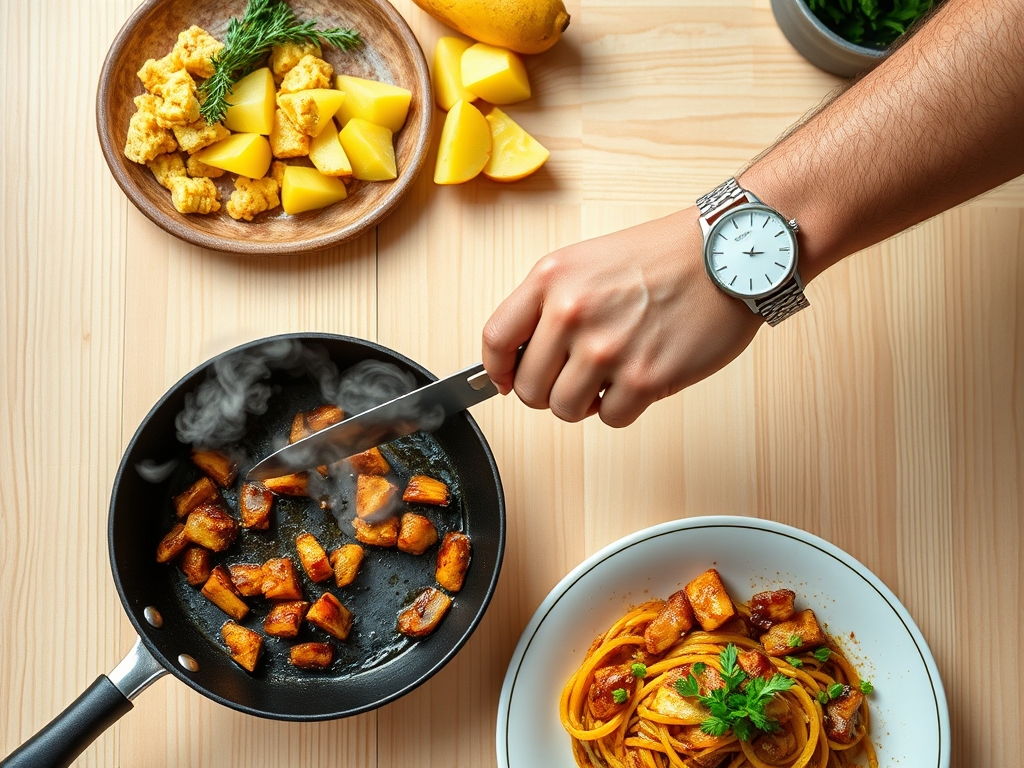
Efficiency in the kitchen is about mastering the Chef's Flow. For most yellow potato preparations, you are looking at a total time of 60 minutes. This breaks down into 15 minutes of active prep and 45 minutes of passive cooking.
The flow begins with the "Cold Start" method. By placing potatoes in cold, salted water and bringing them to a boil together, you ensure the exterior does not turn to mush before the center is cooked. While the potatoes simmer, use that window to render any fats or prep your garnishes. This overlapping technique eliminates "dead time" and ensures every component of your meal hits the table at the peak of its thermal potential.
The Masterclass
1. The Precision Cut
Use a sharp chef's knife or a bench scraper to divide your potatoes into uniform one-inch cubes. Consistency is the secret to a professional plate. If the sizes vary, the smaller pieces will disintegrate while the larger ones remain raw.
Pro Tip: This step prevents enzymatic browning. By keeping your cut potatoes submerged in cold water until the moment of cooking, you prevent oxygen from reacting with the phenols in the potato flesh.
2. The Parboil and Rough-Up
Boil the potatoes in heavily salted water until the edges are just tender. Drain them thoroughly and give the colander a vigorous shake. This creates a starchy "mash" on the surface of the cubes.
Pro Tip: This surface starch is the key to the Maillard reaction. Increasing the surface area through "roughing" provides more sites for amino acids and sugars to react, resulting in a deeper, crunchier crust.
3. The Fat Infusion
Heat your fat in a saucier or skillet until it shimmers. Toss the parboiled potatoes in the hot oil until every surface is coated. This creates a barrier that prevents the interior moisture from escaping too quickly.
Pro Tip: This is known as lipid absorption control. By coating the starch in fat before the high-heat roast, you ensure the potato fries from the outside in rather than soaking up grease like a sponge.
4. The High-Heat Roast
Spread the potatoes on a preheated baking sheet. Do not crowd the pan. If the potatoes are too close, they will steam instead of roast. Bake at 425 degrees Fahrenheit, flipping once with tongs to ensure even browning.
Pro Tip: Watch for thermal carryover. Remove the potatoes when they are a shade lighter than your desired color; the internal heat will continue to cook and darken the potatoes for several minutes after they leave the oven.
5. The Aromatic Finish
In the final five minutes of roasting, toss in your smashed garlic cloves and herb sprigs. This prevents the delicate volatile oils in the herbs from burning and turning bitter.
Pro Tip: This is the infusion phase. The heat of the oven coaxes the essential oils out of the aromatics and into the surface fat of the potatoes, creating a multi-dimensional flavor profile.
6. The Final Seasoning
Once out of the oven, immediately season with flakey sea salt and a hit of acidity, such as lemon juice or vinegar. Use a microplane to shower the dish with fresh parmesan or lemon zest while the potatoes are still piping hot.
Pro Tip: This utilizes hygroscopic properties. Hot starch absorbs salt and acid much more effectively than cold starch, ensuring the flavor penetrates deep into the potato rather than just sitting on top.
The Deep Dive
Yellow potatoes are a nutritional powerhouse. They are naturally gluten-free and packed with potassium; even more than a banana. One medium potato provides a significant dose of Vitamin C and B6, making it a functional fuel for your brain and muscles.
Dietary Swaps:
For a Vegan version, use avocado oil and nutritional yeast for a "cheesy" finish. For Keto enthusiasts, while potatoes are high in carbs, you can practice "Resistant Starch" techniques by chilling the potatoes overnight before reheating, which lowers their glycemic index. For GF diners, this recipe is naturally safe, provided your seasonings are pure.
The Fix-It:
- Soggy Potatoes: Usually caused by overcrowding. Use two pans to allow for proper air circulation.
- Burnt Garlic: You added the aromatics too early. Always add garlic in the final stage of roasting.
- Bland Interior: You skipped the salt in the boiling water. Salt the water until it tastes like the sea to season the potato from within.
Meal Prep:
To maintain "day-one" quality, reheat your potatoes in an air fryer or a dry skillet. Avoid the microwave, as it vibrates water molecules and turns the crisp starch into a rubbery texture.
The Wrap-Up
Mastering the best yellow potato recipes is a gateway to culinary confidence. Once you understand how starch, fat, and heat interact, you are no longer just following a recipe; you are conducting a symphony of flavor. These golden gems are the ultimate comfort food, elevated by science and styled with flair. Get into your kitchen, grab your favorite skillet, and let the golden transformation begin.
The Kitchen Table
Why are my yellow potatoes turning mushy?
Mushiness usually happens when you start potatoes in boiling water. Always start in cold water so the starch granules swell gradually. This ensures the outside and inside cook at the same rate for a perfect, firm texture.
Can I leave the skin on yellow potatoes?
Absolutely. Yellow potato skins are incredibly thin and delicate. Leaving them on adds texture, earthy flavor, and extra fiber. Just ensure you scrub them thoroughly with a vegetable brush to remove any residual soil before slicing.
What is the best way to store leftover potatoes?
Store them in an airtight glass container in the fridge for up to four days. To restore the crunch, reheat them in a 400 degree oven for ten minutes. Avoid freezing, as it destroys the potato's cellular structure.
Do I really need to parboil them first?
Yes, if you want that "glass-like" crunch. Parboiling gelatinizes the surface starch. When that starch hits the hot oil in the oven, it dehydrates into a crisp shell that stays crunchy much longer than if you roasted them raw.