
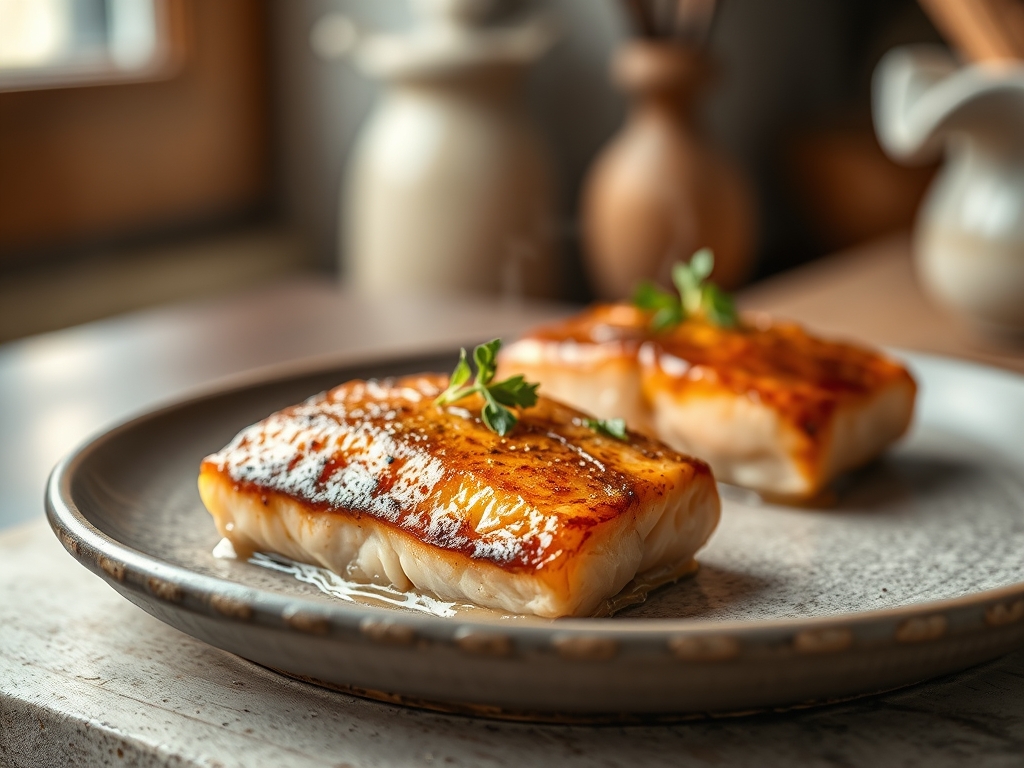
Imagine the sound of a needle dropping on a vinyl record, but instead of jazz, it is the rhythmic, aggressive sizzle of cold protein hitting a shimmering lake of hot oil. That shatteringly crisp, golden brown exterior is the holy grail of home cooking. When you master pan seared salmon recipes with skin, you are not just making dinner; you are performing a delicate dance of thermodynamics. We have all been there: the heartbreak of a fillet sticking to the pan or skin that feels more like wet leather than a savory cracker.
The secret lies in understanding that salmon skin is essentially a sheet of pure collagen and fat. When treated with the right amount of heat and moisture control, that collagen undergoes a structural transformation, dehydrating until it reaches a state of brittle perfection. It is the ultimate contrast to the buttery, translucent flakes of the flesh above it. Grab your apron and your favorite heavy bottomed skillet. We are about to turn your kitchen into a high end bistro, one perfectly rendered scale at a time. This is not just about heat; it is about the chemistry of the crunch.
The Gathers:
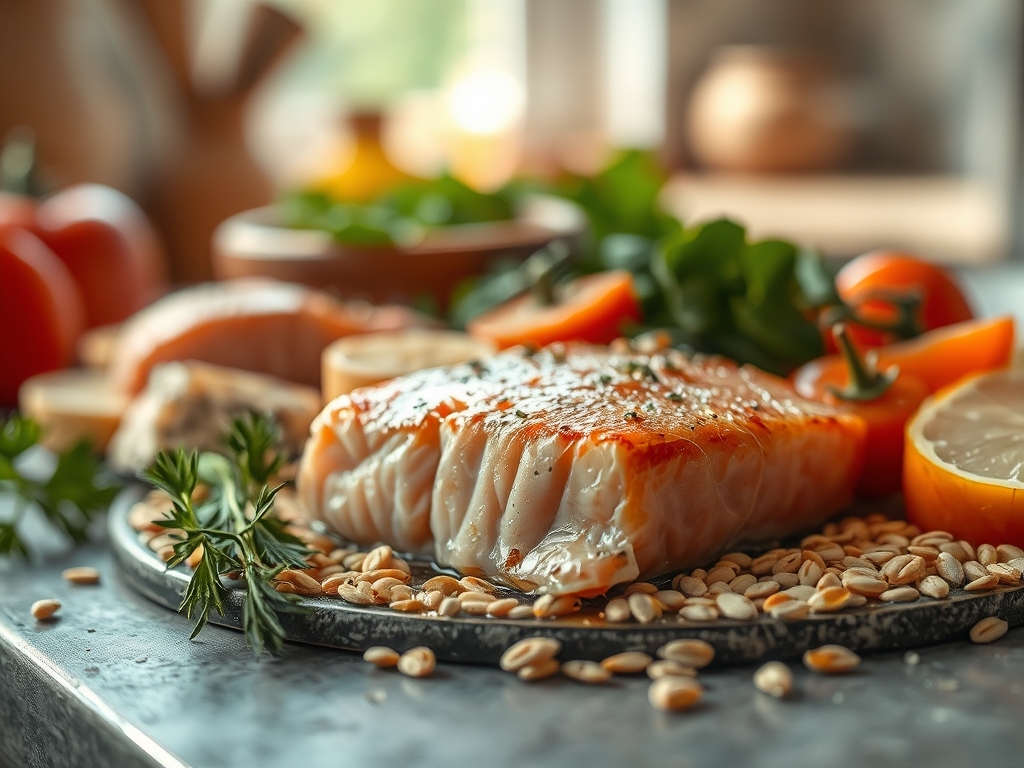
Before we ignite the flame, we must assemble our laboratory. You will need center cut fillets, ideally weighing about six ounces each. Look for King or Sockeye varieties; their higher fat content provides a more viscous mouthfeel and a more forgiving window for searing. You will also need a high smoke point oil like avocado or grapeseed oil. Butter is delicious but its milk solids will burn at the temperatures required for a true sear.
Your toolkit is just as vital as your ingredients. Reach for a heavy bottomed skillet (cast iron or carbon steel is king here) to ensure even heat distribution. A flexible metal fish spatula is non negotiable for getting under that delicate skin without tearing it. You will also want a digital scale for precision and a microplane for finishing with a piquant zest of lemon.
Smart Substitutions: If you are avoiding seed oils, clarified butter (ghee) is a magnificent alternative because the water and milk solids have been removed, raising the smoke point significantly. For a flavor boost, swap standard table salt for Maldon sea salt to add a final, crystalline crunch that enhances the textural contrast.
The Clock
Efficiency in the kitchen is all about the Chef's Flow. Total active time for this dish is roughly 20 minutes, but the preparation starts well before the pan gets hot.
- Prep Time: 10 minutes (mostly moisture removal).
- Cook Time: 8 to 10 minutes.
- Resting Time: 3 minutes.
The flow is simple: Prep the fish, preheat the vessel, sear the skin, flip for a kiss of heat, and rest. Never rush the preheating phase. A cold pan is the primary reason for "protein bonding," which is the scientific term for your dinner becoming one with the metal.
The Masterclass
1. The Desiccation Ritual
Use a paper towel to pat the salmon skin bone dry. Then, use the back of a knife or a bench scraper to gently scrape the skin, pushing out any deep seated moisture. Repeat the patting process.
Pro Tip: This is about preventing steam. Water is the enemy of the Maillard reaction. If moisture is present, the energy of the pan goes into evaporating water (at 212 degrees) rather than browning the protein (which requires temperatures above 300 degrees).
2. The Weight of the World
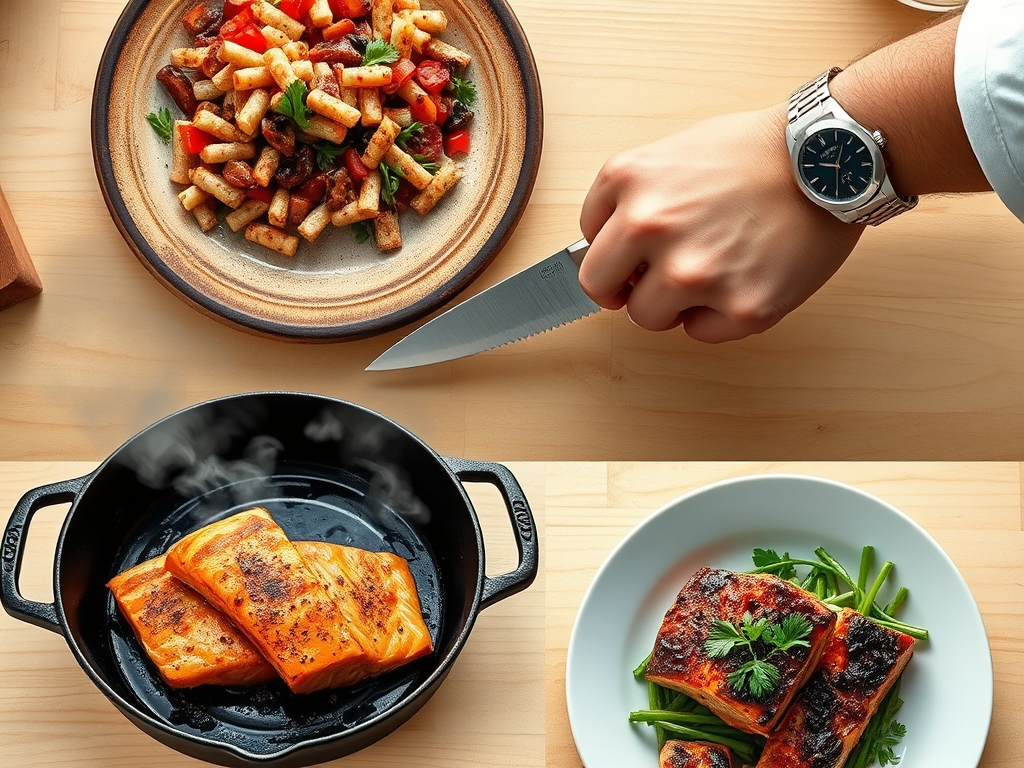
Season the skin side only with fine salt just before it hits the pan. Once the oil is shimmering and just starting to wisp smoke, lay the fish in away from you. Immediately press down firmly with your fish spatula for 30 seconds.
Pro Tip: This prevents the "cupping" effect. As proteins heat, they contract. Pressing the fish flat ensures the entire surface area of the skin maintains contact with the pan for an even, rendered finish.
3. The Patient Render
Turn the heat down to medium high. Leave it alone. Watch the side of the fillet; you will see the opaque, cooked color creep up from the bottom. You want the skin to spend 80 percent of the total cooking time face down.
Pro Tip: This allows the subcutaneous fat to melt and fry the skin in its own lipids. This is essentially a shallow confit technique happening in real time, leading to a glass like texture.
4. The Aromatic Baste
Once the skin is crispy and the flesh is cooked two thirds of the way up, flip the fillet. Add a knob of butter, a smashed garlic clove, and thyme. Tilt the pan and use a saucier spoon to bathe the skin in the foaming fat.
Pro Tip: This is called arrosé. The butter solids brown and infuse the fish with nutty notes, while the heat from the butter finishes the top of the fish without overcooking the center.
5. The Carryover Rest
Remove the fish from the pan when it is slightly under your desired doneness. Place it on a wire rack, skin side up.
Pro Tip: Thermal carryover means the internal temperature will continue to rise by 5 to 10 degrees after leaving the pan. Resting on a rack prevents the bottom from steaming and losing its crunch.
The Deep Dive
From a macro perspective, salmon is a powerhouse of Omega 3 fatty acids and high quality protein. A standard six ounce serving provides roughly 34 grams of protein and 22 grams of healthy fats.
Dietary Swaps:
- Keto: This recipe is naturally keto gold. Increase the butter baste for extra healthy fats.
- Vegan: While you cannot "sear" a plant to get salmon skin, you can use a mandoline to slice king oyster mushrooms thinly and sear them with nori to mimic the oceanic salinity.
- GF: This method is naturally gluten free; just ensure your seasoning blends do not contain hidden starches.
The Fix-It:
- Skin Sticking? You likely tried to flip it too early. Protein "releases" from the pan naturally once the sear is complete.
- Burnt Skin, Raw Middle? Your heat was too high. Start with a hot sear, then drop the temp to let the fat render slowly.
- Soggy Skin? You covered the pan with a lid. Never cover the pan; it traps steam and destroys the texture.
Meal Prep Science: To reheat, avoid the microwave at all costs. Use an air fryer at 350 degrees for 3 minutes. This recirculates dry, hot air to aerate the skin and restore its structural integrity without rubberizing the flesh.
The Wrap-Up
Mastering pan seared salmon recipes with skin is a rite of passage for any serious home cook. It is a dish that demands your full attention for ten minutes but rewards you with a symphony of textures. Remember: dry the skin, press it flat, and let the fat do the heavy lifting. When you hear that first crackle as your fork hits the surface, you will know you have transitioned from a cook to a culinary artist. Now, go forth and sear with confidence!
The Kitchen Table
Why does my salmon skin always stick to the pan?
Sticking occurs when the pan isn't hot enough or the skin is too damp. The protein bonds with the metal. Ensure the oil is shimmering and the skin is bone dry before contact to ensure a clean release.
Can I use a non-stick pan for crispy salmon?
You can, but a heavy bottomed stainless steel or cast iron skillet is superior. Non stick surfaces often cannot handle the high heat required for a truly shattered, cracker like skin without damaging the pan's coating.
How do I know when the salmon is perfectly cooked?
The most reliable method is using a digital thermometer. Aim for an internal temperature of 125 degrees Fahrenheit for medium rare. The flesh should be opaque on the outside but still translucent and moist in the very center.
Should I salt the salmon skin well in advance?
No. Salt draws out moisture through osmosis. If you salt too early, the skin becomes wet again. Season the skin immediately before placing it in the hot oil to keep the surface as dry as possible.