
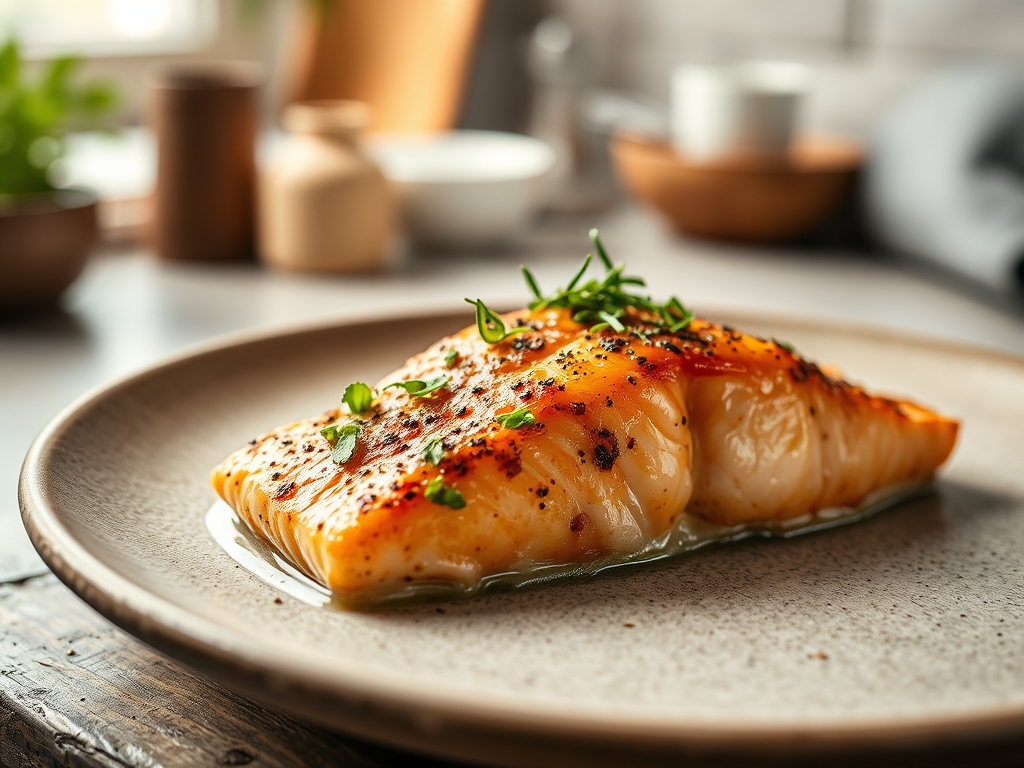
The sizzle of cold protein hitting a shimmering film of oil is the ultimate kitchen siren song. We have all been there; standing in front of the refrigerator at 6:00 PM with a beautiful fillet and zero patience. Mastering easy salmon recipes stove top is not just about convenience; it is about harnessing the physics of high heat to transform a delicate fish into a restaurant quality masterpiece. When you get that skin shatteringly crisp while the interior remains a translucent, buttery pink, you have officially won at adulting.
This guide is designed to strip away the intimidation of pan searing. We are moving past the days of gray, overcooked slabs and rubbery skin. By understanding how heat transfers through muscle fibers and how fats interact with amino acids, you can produce a gourmet meal in less time than it takes to scroll through a delivery app. Grab your favorite apron and clear some counter space. We are diving into the molecular magic of the perfect sear, ensuring every bite is a sophisticated balance of salt, fat, and acid.
The Gathers:
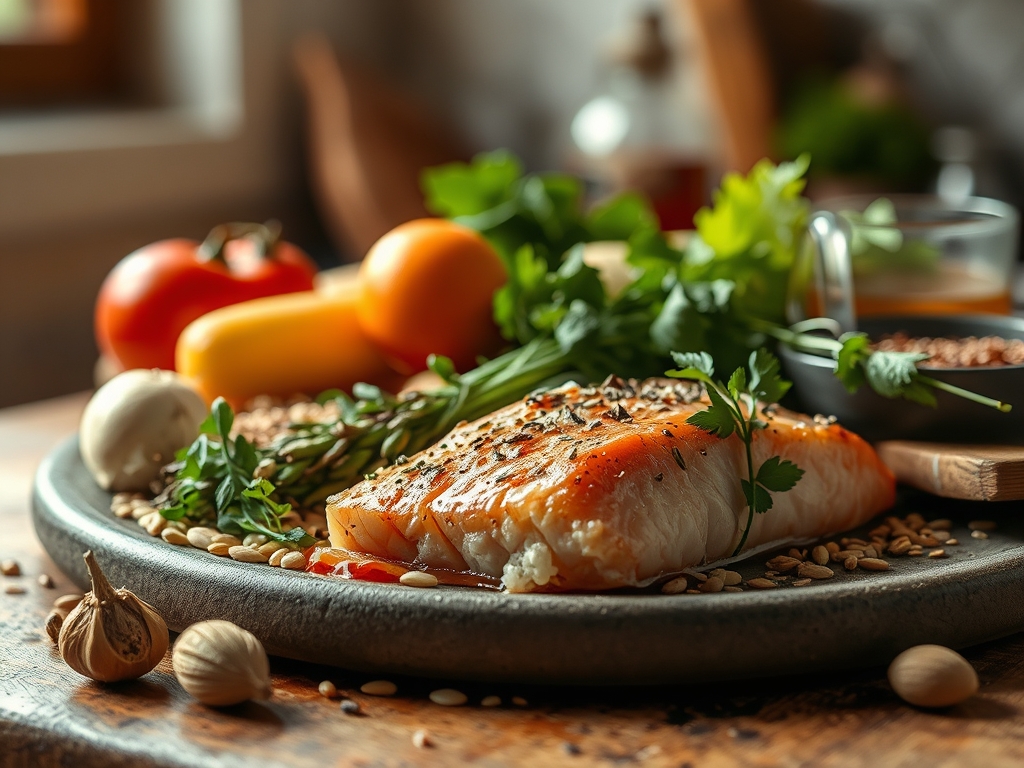
Before we ignite the burner, we must assemble our laboratory. Start with high quality Atlantic or King salmon fillets; aim for six ounce portions with a uniform thickness of about one inch. You will need a high smoke point fat like avocado oil or clarified butter (ghee) to prevent acrid flavors during the sear. For seasoning, use coarse kosher salt to draw out surface moisture and freshly cracked black pepper for a piquant bite.
Your mise-en-place should also include aromatics: smashed garlic cloves, sprigs of woody thyme, and a cold knob of unsalted butter for the final basting phase. If you are missing an ingredient, do not panic. Smart Substitutions are your best friend. Swap lemon juice for a splash of dry white wine or verjuice to provide acidity. If you lack fresh herbs, a pinch of dried oregano or tarragon added to the oil will infuse the fat with earthy notes. Use a digital scale to ensure your portions are even, which guarantees they will reach the target internal temperature at the exact same moment.
The Clock: 15 Minutes to Glory
The "Chef's Flow" is the secret to a stress free kitchen. It is the rhythmic sequence of preparation that ensures nothing is forgotten. For this method, your active prep time is a mere five minutes. This involves patting the fish bone dry with paper towels; moisture is the enemy of the Maillard reaction. If the surface is damp, the fish will steam rather than sear.
The cook time is approximately eight to ten minutes. We follow a 90/10 rule: ninety percent of the cooking happens on the skin side to create a protective, crispy barrier, while the final ten percent is a quick flip to kiss the flesh with heat. Factor in a two minute rest period. During this time, thermal carryover will finish the cooking process, allowing the juices to redistribute so they do not spill out onto the plate when you take your first forkful.
The Masterclass
1. The Desiccation Ritual
Use a paper towel to press firmly onto every millimeter of the fish. Removing surface water is essential for enzymatic browning. Once dry, season generously from a height to ensure even distribution of salt crystals.
Pro Tip: Salt acts as a desiccant, drawing out moisture. Season immediately before the fish hits the pan to prevent a pool of liquid from forming on the surface.
2. Calibrating the Skillet
Place a heavy-bottomed skillet or cast iron pan over medium high heat. Add your oil and wait until it begins to shimmer and show faint wisps of smoke. This indicates the oil is viscous enough to coat the pan and hot enough to prevent sticking.
Pro Tip: Use a stainless steel pan if you want to deglaze later for a pan sauce; the "fond" or browned bits left behind are concentrated flavor gold.
3. The Initial Contact
Lay the salmon into the pan away from you to avoid oil splatters. Use a flexible fish spatula to press down firmly on the fillet for the first thirty seconds. This prevents the skin from curling as the proteins contract under heat.
Pro Tip: Constant pressure ensures maximum contact between the skin and the heat source, leading to an even, glass like crunch.
4. The Patient Sear
Resist the urge to move the fish. Let it sit undisturbed for about six minutes. You will see the color change creep up the side of the fillet from the bottom. When the cooked portion reaches three quarters of the way up, it is time to move.
Pro Tip: Moving the fish too early will tear the delicate flesh. The fish will naturally "release" from the pan once the proteins have fully coagulated.
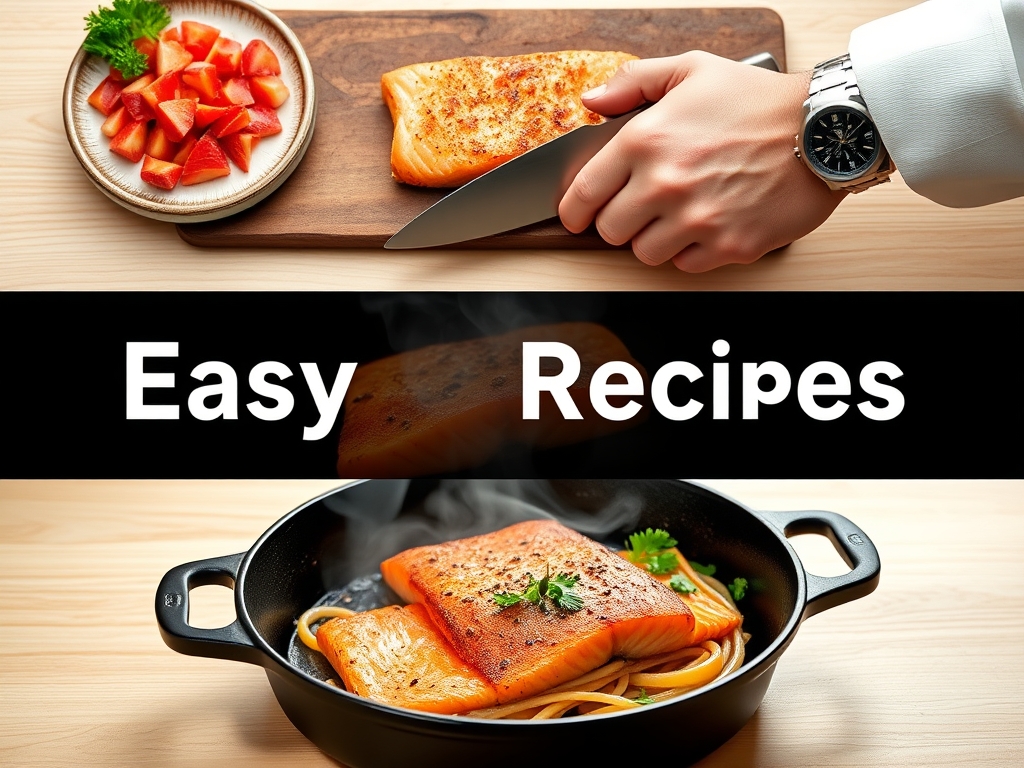
5. The Butter Baste
Flip the fish gently using tongs and the spatula. Toss in your butter, garlic, and herbs. As the butter foams, tilt the pan and use a large spoon to continuously pour the hot, flavored fat over the salmon.
Pro Tip: This technique, known as "arroser," adds a luxurious mouthfeel and ensures the top of the fish is seasoned with aromatic oils.
6. The Precision Pull
Remove the salmon from the pan when a digital thermometer reads 125 degrees Fahrenheit for medium rare or 130 degrees for medium. Place it on a warm plate to rest.
Pro Tip: Carryover cooking will raise the internal temperature by another five degrees. Pulling it early prevents the "white stuff" (albumin) from leaching out.
The Deep Dive
From a nutritional standpoint, salmon is a powerhouse of Omega 3 fatty acids and high quality protein. A standard six ounce serving provides roughly 34 grams of protein and zero carbohydrates, making it a staple for Keto and Paleo lifestyles. For a Vegan alternative, this same searing technique works beautifully with thick slabs of cauliflower or firm tofu, though you will want to use a miso glaze to mimic the savory depth of the fish.
Even experts face pitfalls. If your fish is sticking, it usually means the pan was not hot enough or you tried to flip it too soon. The fix is patience; let the heat finish the job. If the skin is burnt but the middle is raw, your heat is too high. Lower the flame and add a splash of water or stock to the pan, then cover it briefly to create steam. For Meal Prep, never microwave your salmon. Reheat it in a low oven at 275 degrees with a splash of water covered in foil. This preserves the viscous texture of the fats without making the fish "fishy" or dry.
The Wrap-Up
You have just graduated from the school of pan searing. By focusing on moisture control, heat management, and the art of the baste, you have turned a simple weeknight chore into a culinary event. Remember, the best easy salmon recipes stove top are the ones where you trust your senses. Listen for the sizzle, watch for the color change, and smell the nuttiness of the browning butter. Now, plate that gorgeous fillet, garnish with a fresh squeeze of lemon using your microplane for some zest, and enjoy the fruits of your scientific labor.
The Kitchen Table
How do I prevent salmon from sticking to the pan?
Ensure your pan and oil are shimmering hot before adding the fish. Pat the skin completely dry with paper towels. Once placed, do not move the fillet until it naturally releases from the surface after several minutes of searing.
What is the white stuff that comes out of salmon?
That is albumin, a liquid protein that solidifies when heated. It is perfectly safe to eat but often indicates the fish is overcooked. To minimize it, cook the salmon to a lower internal temperature and avoid high, aggressive heat.
Can I cook salmon from frozen on the stove?
It is not recommended for a perfect sear. Frozen salmon releases too much moisture, preventing the skin from getting crispy. For the best texture, thaw the fillets completely in the refrigerator overnight and pat dry before cooking.
How do I know when the salmon is done without a thermometer?
Gently press the center of the fillet with a fork or your finger. If the flakes begin to separate easily and the flesh is opaque but still slightly translucent in the very center, the salmon is ready to rest.