
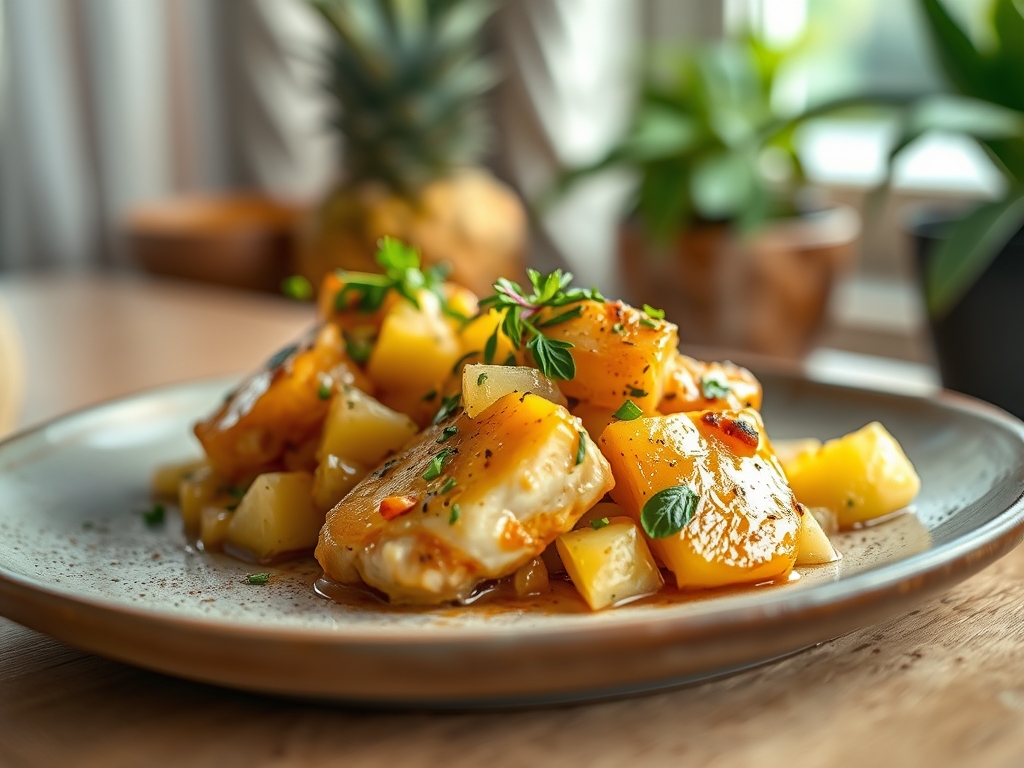
Imagine the scent of caramelized sugars hitting a screaming hot skillet while the sharp, acidic bite of fresh fruit cuts through the air. That is the magic of hawaiian pineapple chicken recipes; they are a masterclass in balancing the five basic tastes. We are not just making dinner; we are engineering a symphony of sweet, sour, and savory notes that will make your kitchen smell like a tropical paradise.
This dish relies on the beautiful tension between the natural fructose in the fruit and the deep umami of soy sauce. When you get it right, the sauce becomes a glossy, viscous glaze that clings to every fiber of the protein. Most hawaiian pineapple chicken recipes fall flat because they lack the necessary acidity to balance the sugar, but we are going to fix that with a few technical tweaks. We will focus on the Maillard reaction to ensure every piece of chicken is golden and flavorful rather than gray and steamed. Grab your favorite heavy-bottomed skillet and a sharp chef's knife. We are diving into the chemistry of the perfect weeknight meal that tastes like a high-end restaurant creation.
The Gathers:
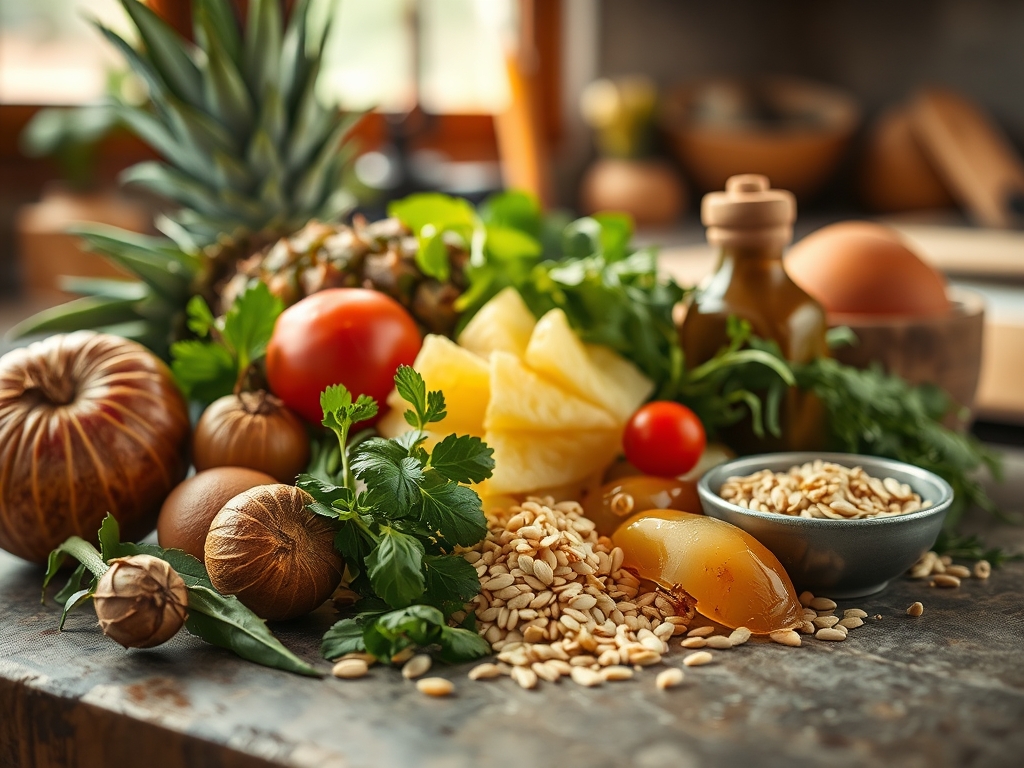
To achieve professional results, your mise-en-place must be precise. We are looking for a balance of textures and chemical properties.
- The Protein: 1.5 pounds of boneless, skinless chicken thighs. Thighs contain more connective tissue and fat than breasts, which means they stay juicy during high-heat searing.
- The Fruit: 2 cups of fresh pineapple chunks. Fresh is superior because it contains bromelain, an enzyme that can tenderize meat, though we will cook it quickly to stop the process before the meat becomes mushy.
- The Aromatics: 3 cloves of garlic and a 1-inch knob of ginger. Use a microplane to grate these into a fine paste; this increases the surface area and allows the flavors to infuse the oil instantly.
- The Liquid Base: 1/2 cup of low-sodium soy sauce, 1/4 cup of rice vinegar, and 1/3 cup of brown sugar. The vinegar provides the piquant kick needed to cut through the sweetness.
- The Thickener: 1 tablespoon of cornstarch mixed with 2 tablespoons of cold water. This creates a slurry that will hydrate and swell when heated, thickening our sauce into a mirror-like glaze.
- The Crunch: Red bell peppers and snap peas. These provide a structural contrast to the soft fruit and tender chicken.
Smart Substitutions: If you are watching your sodium, swap the soy sauce for liquid aminos. For a refined sugar-free version, use honey or maple syrup, though keep in mind that honey burns at a lower temperature than brown sugar. If fresh pineapple is unavailable, use canned chunks in juice, but drain them thoroughly and pat them dry with a paper towel to ensure they brown properly in the pan.
The Clock
Prep Time: 15 minutes. This includes your knife work and whisking the sauce components.
Cook Time: 15 minutes. High-heat cooking is fast and requires your full attention.
Chef's Flow: Start by dicing your chicken and tossing it with a pinch of salt. While the chicken rests, chop your vegetables and whisk your sauce. By the time your skillet is preheated, your entire line should be ready to go. Never start cooking until every ingredient is measured; this prevents the garlic from burning while you are busy chopping peppers.
The Masterclass
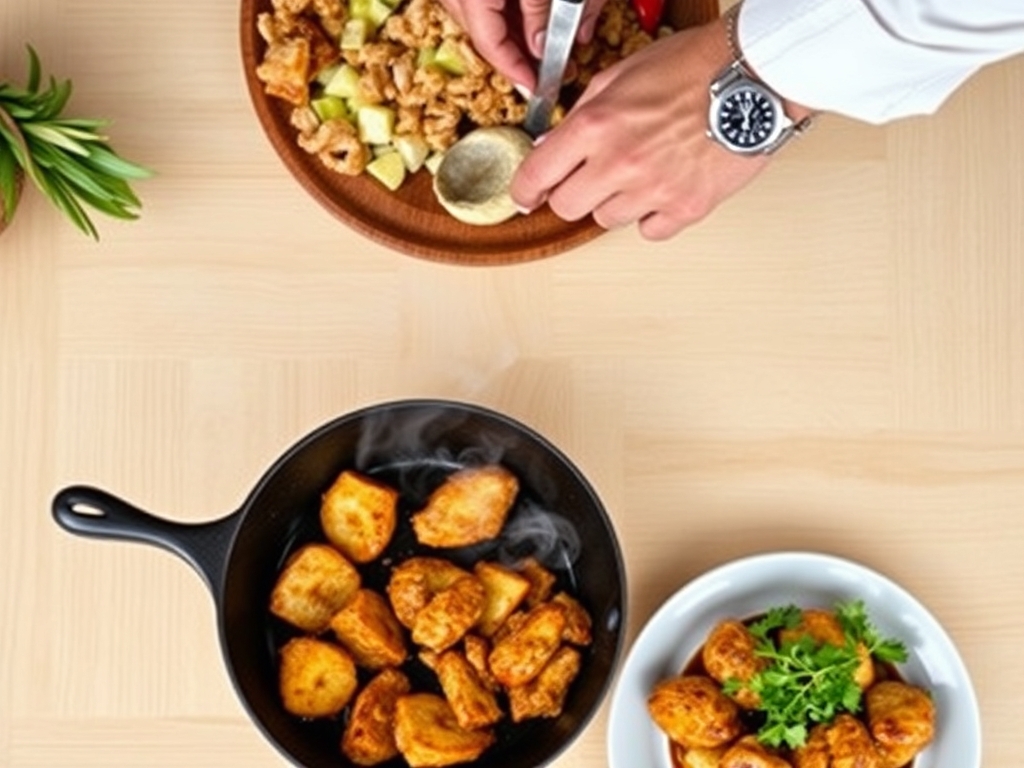
1. The High-Heat Sear
Pat the chicken dry with a paper towel. Heat a heavy-bottomed skillet over medium-high heat with a tablespoon of high-smoke-point oil (like avocado or grapeseed). Add the chicken in a single layer, ensuring you do not crowd the pan. Let it sit undisturbed for 3 minutes to develop a deep brown crust.
Pro Tip: This is the Maillard reaction in action. If you move the chicken too soon, you break the bond between the protein and the pan, preventing the development of complex flavor compounds. The meat will naturally "release" from the pan once the crust has formed.
2. Sautéing the Aromatics
Push the chicken to the perimeter of the pan and add the ginger and garlic to the center. Use a silicone spatula to stir them for exactly 30 seconds until they become fragrant but not brown.
Pro Tip: Garlic contains volatile oils that can turn bitter if scorched. By adding them after the chicken has partially cooked, you protect these delicate compounds while still allowing them to infuse the cooking fat.
3. The Vegetable Flash-Fry
Toss in the bell peppers and snap peas. Stir-fry for 2 minutes. You want the vegetables to be "crisp-tender," meaning they retain their vibrant color and a structural snap.
Pro Tip: This is a form of conduction heating. The high heat of the pan quickly softens the cellulose in the vegetable cell walls without leaching out the nutrients or the vibrant chlorophyll.
4. Deglazing and Glazing
Pour in the soy sauce, vinegar, and sugar mixture. Use your spatula to deglaze the pan, scraping up any browned bits (the fond) from the bottom. Add the pineapple chunks and the cornstarch slurry.
Pro Tip: Deglazing incorporates the fond into the sauce, which is concentrated flavor. The cornstarch undergoes starch gelatinization at approximately 144 degrees Fahrenheit, causing the sauce to transition from a thin liquid to a thick, glossy coating.
5. The Final Reduction
Simmer the sauce for another 2 minutes until it coats the back of a spoon. Remove from heat and let it rest for 2 minutes before serving over jasmine rice.
Pro Tip: Thermal carryover will continue to cook the chicken even after you turn off the burner. Resting the dish allows the protein fibers to relax and reabsorb the juices, ensuring every bite is succulent.
The Deep Dive
Macro Nutrition: A standard serving provides approximately 350 calories, 32g of protein, 28g of carbohydrates, and 12g of fat. It is a balanced meal, especially when paired with a complex carb like brown rice or quinoa.
Dietary Swaps:
- Vegan: Replace chicken with extra-firm tofu that has been pressed and seared. Use coconut aminos instead of soy sauce.
- Keto: Omit the brown sugar and use a monk fruit sweetener. Replace the cornstarch with a pinch of xanthan gum to thicken.
- Gluten-Free: Ensure your soy sauce is certified gluten-free or use tamari.
The Fix-It:
- Problem: The sauce is too salty. The Fix: Add a splash of water or more pineapple juice to dilute the sodium concentration. A squeeze of lime juice can also mask saltiness through acid balance.
- Problem: The chicken is tough. The Fix: You likely overcooked it. Next time, use a digital thermometer to pull the chicken at 160 degrees Fahrenheit; it will reach the safe 165 degrees through carryover cooking.
- Problem: The sauce is watery. The Fix: Create a secondary slurry and whisk it in over high heat. The sauce must reach a boil for the cornstarch to fully activate its thickening power.
Meal Prep: This dish is a meal prep superstar. When reheating, add a teaspoon of water before microwaving. This creates steam that prevents the chicken from drying out and helps re-emulsify the sauce so it regains its original texture.
The Wrap-Up
Mastering hawaiian pineapple chicken recipes is about understanding how heat transforms simple ingredients into something extraordinary. By focusing on the sear and the science of the glaze, you have moved beyond just following a recipe to actually understanding the mechanics of flavor. This dish is bright, bold, and incredibly satisfying. Now, plate it up, garnish with some fresh green onions or sesame seeds, and enjoy the fruits of your culinary labor!
The Kitchen Table
Can I use frozen pineapple for this recipe?
Yes, but thaw it completely and drain the excess liquid first. Frozen fruit contains more moisture, which can steam your chicken instead of searing it if you don't pat it dry before adding it to the pan.
What is the best way to store leftovers?
Store in an airtight glass container for up to four days. The flavors actually deepen overnight as the aromatics continue to infuse the sauce, making it an excellent option for next-day office lunches.
Why is my sauce not getting shiny?
The shine comes from the cornstarch slurry and the sugar content. If it looks dull, you may need to increase the heat slightly to ensure the starch fully gelatinizes and the sugars begin to lightly caramelize.
Can I make this in a slow cooker?
You can, but you will lose the crispy texture of the chicken. If using a slow cooker, add the vegetables and the cornstarch slurry during the last 30 minutes of cooking to prevent them from becoming mushy.
What side dishes pair best with this?
Stick with neutral bases like jasmine rice, coconut rice, or cauliflower rice. These absorb the extra sauce without competing with the complex sweet and tangy profile of the main dish.