
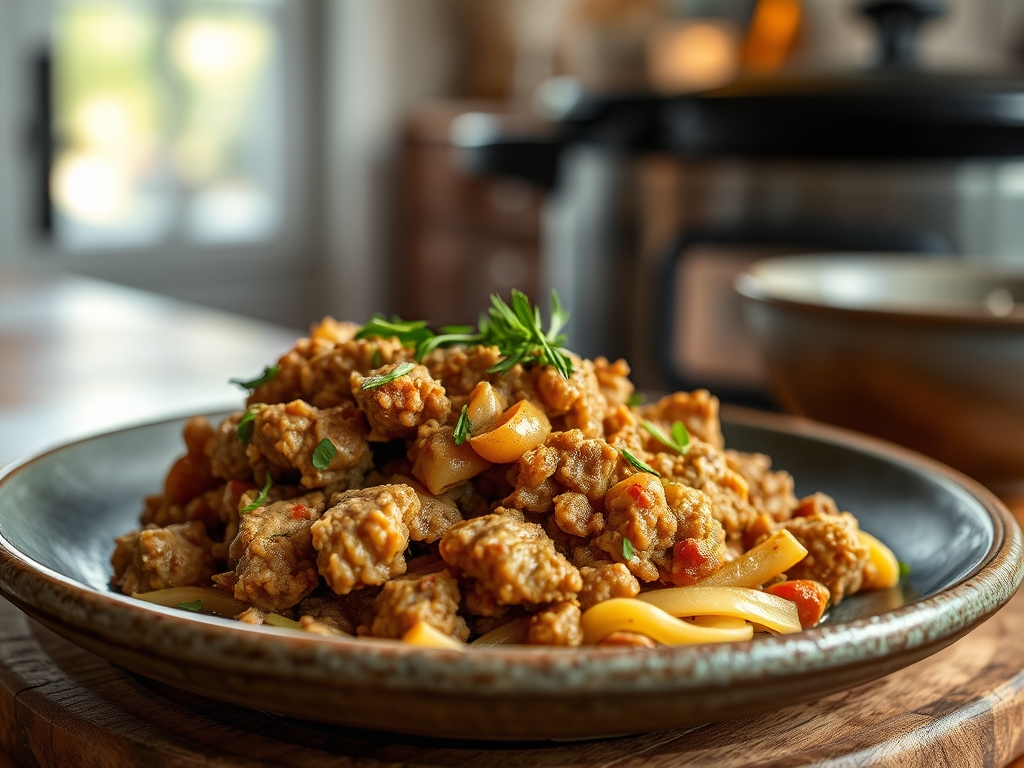
Imagine the scent of toasted cumin and slow-simmered aromatics drifting through your hallway at 5:00 PM. It is the ultimate domestic victory. While beef often steals the spotlight, mastering crockpot ground chicken recipes is the real secret to a high-protein, low-fat lifestyle that actually tastes like a five-star bistro. Ground chicken is a culinary chameleon; it lacks the heavy saturated fats of red meat, which means it absorbs every ounce of flavor you throw at it. We are talking about tender, juicy morsels that have been gently bathed in heat until they reach a state of savory perfection. Whether you are craving a piquant Thai basil stir-fry or a rich, viscous buffalo chicken chili, the slow cooker is your best friend for transforming lean protein into a masterpiece. Let us dive into the science of why this works and how you can elevate your weeknight game with zero stress and maximum flavor.
The Gathers:
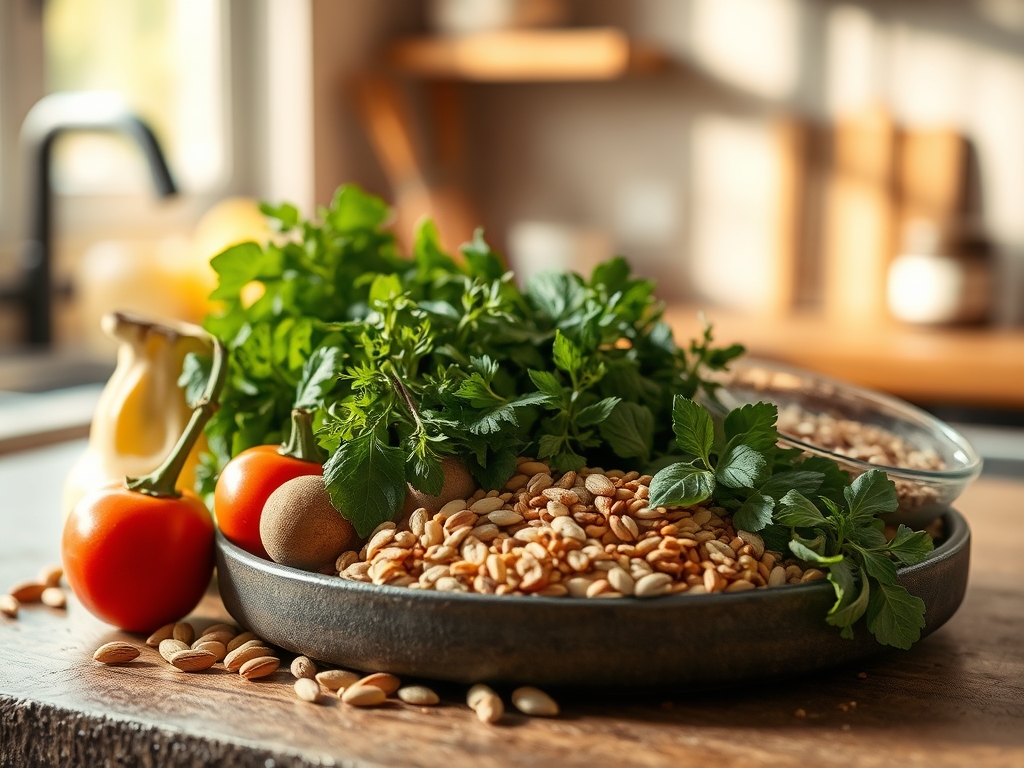
Before we flip the switch, we must respect the mise-en-place. Ground chicken has a high moisture content and a delicate protein structure compared to bovine counterparts. To prevent a grainy texture, you need a balance of lipids and acids. Gather your heavy-bottomed skillet for an initial sear; this is non-negotiable for flavor. You will also need a microplane for aerating your garlic and ginger, ensuring they dissolve into the sauce rather than clumping.
For our seven variations, your pantry should boast high-quality chicken stock, coconut milk for silkiness, and a variety of vinegars to brighten the finish. Smart substitutions are your lifeline here. If you cannot find ground chicken, use a food processor to pulse boneless, skinless thighs until they reach a coarse grind; this adds a higher fat-to-lean ratio which prevents drying. Swap soy sauce for liquid aminos if you are watching sodium, or use Greek yogurt instead of sour cream to finish your creamy recipes for a probiotic boost without sacrificing that signature tang.
The Clock: Chef's Flow
Efficiency in the kitchen is about managing the thermal curve. For most crockpot ground chicken recipes, the prep time is a tight 15 minutes. This includes your "hard sear" and vegetable chopping. The "Chef's Flow" dictates that you should always brown your meat and aromatics in a skillet first. This adds about 8 minutes to your morning, but it saves you from "gray meat syndrome."
Once the ingredients hit the ceramic crock, your active work is done. Set your device to "Low" for 4 to 6 hours. While chicken is lean, cooking it on "High" for 2 to 3 hours can sometimes tighten the proteins too quickly, leading to a rubbery mouthfeel. Slow and steady wins the race here, allowing the collagen in any added stock or vegetables to break down and create a luxurious, viscous sauce that coats every grain of meat.
The Masterclass:

1. The Maillard Foundation
Start by heating a tablespoon of avocado oil in a heavy-bottomed skillet. Add your ground chicken and leave it untouched for three minutes. You are looking for the Maillard reaction, a chemical reaction between amino acids and reducing sugars that gives browned food its distinctive flavor. Use a bench scraper or a sturdy spatula to break the meat into uniform crumbles.
Pro Tip: Do not crowd the pan. If you add too much meat at once, the temperature drops and the meat boils in its own juices instead of searing. This prevents the development of complex flavor compounds.
2. Deglazing the Aromatics
Once the meat is browned, remove it and add your onions, carrots, or peppers. Use a splash of white wine or chicken stock to deglaze the pan, scraping up the "fond" (those little brown bits) with a wooden spoon. This is where the soul of your dish lives.
Pro Tip: Deglazing is a thermodynamic process that captures caramelized proteins. These bits contain concentrated umami that would otherwise be lost in the sink.
3. The Slow Infusion
Transfer your seared meat and deglazed aromatics into the crockpot. Add your liquids, such as crushed tomatoes, coconut milk, or broth. Ensure the meat is mostly submerged to maintain a humid environment, which prevents the lean chicken from oxidizing and becoming tough.
Pro Tip: Liquid acts as a heat conductor. By submerging the meat, you ensure even thermal distribution, which prevents "hot spots" from overcooking certain sections of the chicken.
4. Layering the Spices
Add your dried herbs and spices now. Ingredients like cumin, chili powder, and dried oregano benefit from "blooming" in the slow heat, allowing their fat-soluble oils to infuse the entire batch. Save fresh herbs like cilantro or parsley for the very end.
Pro Tip: Volatile oils in dried spices need time and moisture to rehydrate. This slow extraction creates a deeper, more rounded flavor profile than adding them at the end.
5. The Emulsification Finish
About 30 minutes before serving, check the consistency. If your sauce is too thin, whisk a teaspoon of cornstarch with cold water to create a slurry and stir it in. This creates a glossy, professional finish that clings to the meat.
Pro Tip: This is known as starch gelatinization. The starch granules swell and trap water molecules, increasing the viscosity of your sauce without adding heavy fats.
The Deep Dive:
From a macro perspective, ground chicken is a powerhouse. A standard 4-ounce serving provides roughly 22 grams of protein with only 8 to 10 grams of fat. It is naturally gluten-free, and for my keto friends, you can easily omit starches and serve these meals over riced cauliflower. If you are leaning into a vegan lifestyle, you can actually use this same slow-cooker method with crumbled tempeh or extra-firm tofu, though the cooking time will be shorter.
The Fix-It: Technical Troubleshooting
- The Meat is Dry: This usually means you cooked it on "High" for too long. Fix it by stirring in a splash of heavy cream or a knob of butter at the end to add "artificial" richness.
- The Sauce is Bland: You likely missed the deglazing step. Fix it by adding a teaspoon of fish sauce or Worcestershire sauce; these are umami bombs that provide instant depth.
- The Texture is Mushy: This happens if you add too many water-heavy vegetables like zucchini too early. Fix it by adding a handful of fresh, crunchy greens or toasted nuts just before serving to restore contrast.
Meal Prep Science:
When reheating your crockpot ground chicken recipes, avoid the microwave if possible. The uneven radiation can toughen the chicken. Instead, use a saucier on the stovetop over medium-low heat. Add a tablespoon of water or stock to recreate the steam, which rehydrates the protein fibers and ensures "day-one" quality.
The Wrap-Up:
Mastering the art of the slow cooker with ground chicken is like having a personal chef who works while you sleep. By focusing on the science of the sear and the patience of the slow simmer, you turn a humble, budget-friendly protein into a culinary event. These seven meals are not just about convenience; they are about flavor density and nutritional integrity. So, grab your crockpot, trust the process, and get ready to impress yourself with how sophisticated a simple bowl of chicken can truly be.
The Kitchen Table:
Can I put raw ground chicken in the crockpot?
Yes, you can cook raw ground chicken in a crockpot, but it is not recommended. Browning the meat in a skillet first triggers the Maillard reaction, which is essential for developing deep, savory flavors and a better texture.
How long does ground chicken take in the slow cooker?
Ground chicken typically takes 4 to 6 hours on the "Low" setting. Cooking on "Low" is preferable to "High" because it prevents the lean proteins from becoming rubbery or dry, ensuring a tender and juicy result every time.
Why is my crockpot ground chicken dry?
Dryness usually occurs because ground chicken is very lean. To prevent this, ensure you have enough liquid in the pot and avoid overcooking. Adding a small amount of healthy fat, like olive oil, can also help maintain moisture.
Can I freeze crockpot ground chicken meals?
Absolutely. These meals freeze beautifully due to their high moisture content. Store them in airtight containers for up to three months. To maintain quality, thaw them in the refrigerator overnight before reheating slowly on the stovetop with extra liquid.