
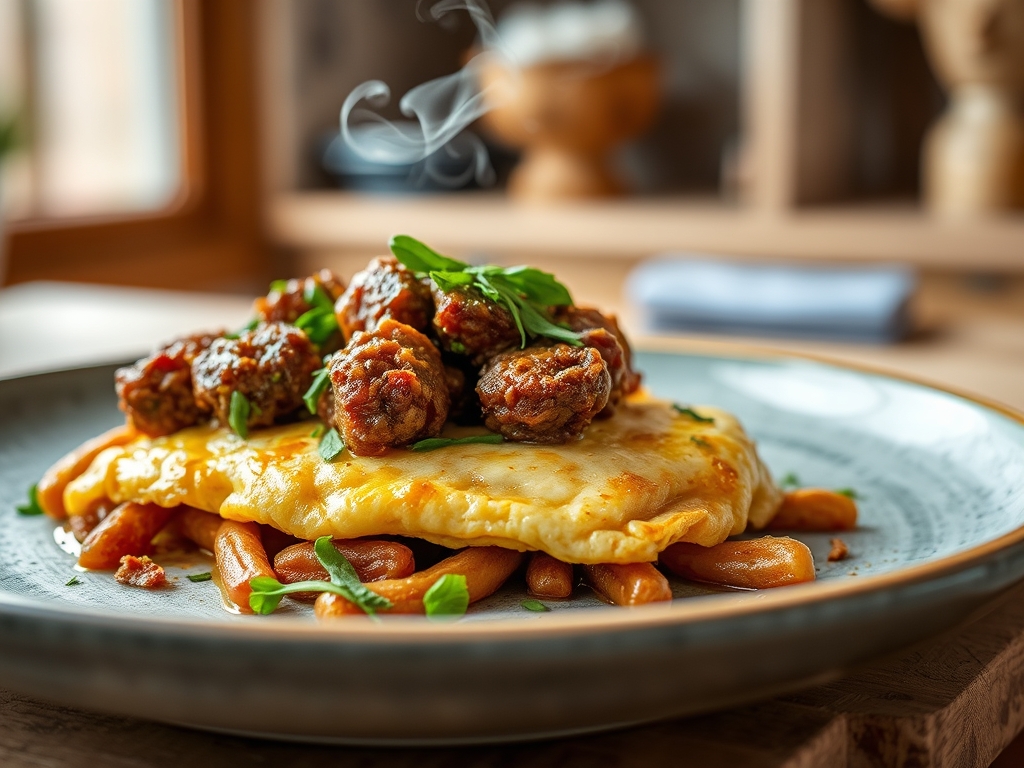
Picture this: the kitchen is humming with the scent of savory fat and toasted grain. Your heavy-bottomed skillet is sizzling as you render the marbling from fresh chuck; it is the ultimate comfort signal. When it comes to efficient, soul-warming dinners, bisquick and ground beef recipes are the undisputed champions of the weeknight hustle. They blend the science of a perfect crumb with the deep, umami satisfaction of seared protein.
The magic happens when the leavening agents in the mix meet the moisture of the beef, creating a structural masterpiece that feels like a hug on a plate. We are not just talking about throwing things in a pan; we are talking about a calculated dance of textures. From the golden, pillowy crust to the juicy, seasoned center, these bakes are about maximizing flavor with minimal friction. Whether you are craving a cheeseburger-inspired pie or a spicy southwestern cobbler, these seven variations will turn your pantry staples into a gourmet experience. Let us get into the chemistry of why this duo works so well and how you can master the art of the bake.

The Gathers:
To achieve a five-star result, your mise-en-place must be intentional. We start with the beef; look for an 80/20 blend. The twenty percent fat content is vital because it provides the lipid phase needed to carry fat-soluble flavor compounds from your spices. You will need a high-quality Bisquick mix, which acts as our chemical leavener and structural binder. Keep your liquids cold; using chilled milk or cream ensures the fats in the mix do not melt prematurely, which is the secret to a flaky rather than dense topping.
Your aromatics are the backbone here. Reach for yellow onions for their high sugar content, which aids in caramelization, and garlic that you have freshly processed with a microplane to release the pungent allicin. For the "Smart Substitutions," if you find yourself out of the boxed mix, you can simulate the chemistry by whisking together all-purpose flour, baking powder, salt, and cutting in cold butter until it resembles coarse meal. If you want to elevate the profile, swap water for a rich bone broth to infuse the dough with extra collagen and depth.
The Clock:
Efficiency in the kitchen is all about "Chef's Flow." Total active prep time for these bakes usually clocks in at 15 minutes, with a 25 to 30-minute bake time. While your oven preheats to a steady 400 degrees Fahrenheit, you should be browning your beef. This overlap is crucial. By the time the oven reaches its target temperature, your protein is rendered and your aromatics are translucent.
The transition from stovetop to oven should be seamless. If you use a cast-iron skillet, you can move directly from the burner to the rack, which maintains thermal momentum. This "flow" ensures that the bottom of your bake starts setting the moment it hits the heat, preventing the dough from becoming soggy. Always allow for a five-minute "rest" after the timer dings; this allows the internal steam to redistribute, ensuring your slice holds its architectural integrity when plated.
The Masterclass:
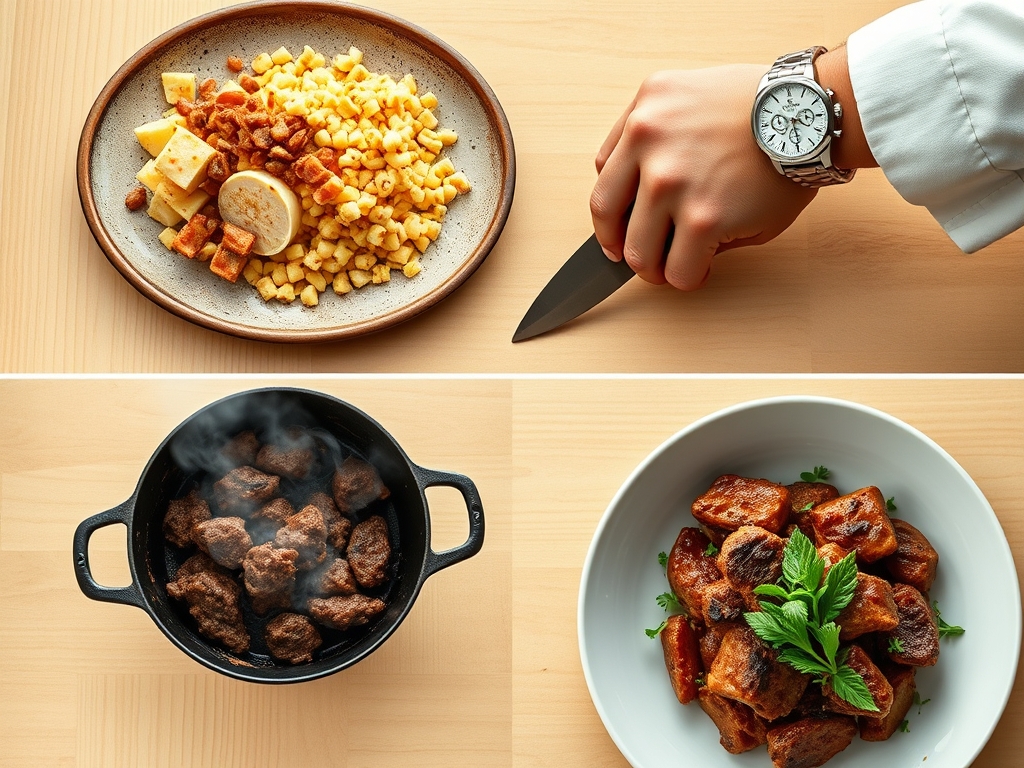
1. The Maillard Sear
Start by heating your skillet over medium-high heat before adding the beef. Do not crowd the pan; you want to sear, not steam. Use a sturdy metal spatula to break the meat into uniform morsels.
Pro Tip: This stage relies on the Maillard reaction, a chemical reaction between amino acids and reducing sugars that creates that distinct savory crust. If the pan is too cold, the meat will grey and lose its juices.
2. Deglazing the Fond
Once the beef is browned, remove excess fat but leave the brown bits stuck to the bottom of the pan. Add a splash of liquid; beef stock or a dry red wine works beautifully; and use a wooden spoon to scrape the bottom.
Pro Tip: This process captures the fond, which is concentrated flavor. Incorporating this back into your beef mixture ensures every bite is infused with high-intensity umami.
3. Aerating the Topping
When mixing your Bisquick and liquid, use a fork or a whisk to combine until just moistened. Over-mixing is the enemy of fluffiness.
Pro Tip: Over-working the dough develops gluten, making the bake tough. You want to keep the air pockets intact so the chemical leaveners can expand, creating a light, viscous crumb.
4. The Layering Logic
Spread your seasoned beef mixture evenly across the base of your baking dish. If adding cheese, sprinkle it directly onto the meat before pouring the batter over the top.
Pro Tip: This creates a moisture barrier. The cheese melts and prevents the liquid in the batter from seeping into the meat, ensuring the crust stays crisp on the bottom.
5. Thermal Calibration
Place your dish on the center rack of the oven. Rotate the pan halfway through the baking cycle to account for any hot spots in your appliance.
Pro Tip: Consistent heat is necessary for evaporative cooling to finish. This allows the exterior to brown while the interior reaches a safe and delicious 165 degrees Fahrenheit without drying out.
The Deep Dive:
From a nutritional standpoint, these bakes are heavy hitters. A standard serving provides a robust balance of protein and carbohydrates. To lean it out, you can use ground turkey or 93/7 lean beef, though you may need to add a teaspoon of olive oil to assist with the browning process. For our gluten-free friends, there are excellent GF baking mixes that mimic the protein structure of wheat quite well. If you are going keto, consider a "fathead" dough style topping using mozzarella and almond flour.
The "Fix-It" guide for common pitfalls:
- Soggy Bottom: Your meat mixture was too watery. Next time, use a slotted spoon to transfer the meat or simmer the sauce longer to reduce the liquid.
- Dense Crust: You likely over-mixed the batter or used expired baking mix. Always check the "best by" date on your leaveners.
- Burnt Edges: Your oven may be running hot. Use an oven thermometer to verify the temperature and move the rack to a lower position.
For meal prep, these bakes are legendary. To reheat and maintain "day-one" quality, avoid the microwave if possible. Instead, place a slice in a toaster oven at 350 degrees Fahrenheit for 8 minutes. This re-crisps the crust through conduction rather than steaming it from the inside out, which keeps the texture snappy and fresh.
The Wrap-Up:
Mastering bisquick and ground beef recipes is like having a secret weapon in your culinary apron. It is the perfect marriage of pantry convenience and sophisticated food science. By focusing on the sear, respecting the dough, and understanding the heat, you transform humble ingredients into a centerpiece that everyone will scramble for. So, grab your favorite skillet, preheat that oven, and get ready to serve up a dish that is as smart as it is delicious. You have got the tools and the technique; now go make some kitchen magic.
The Kitchen Table:
Can I make these recipes ahead of time?
Yes. You can brown the beef and aromatics up to 24 hours in advance. Store the meat in the fridge, but do not mix the Bisquick topping until you are ready to bake to keep the leavening active.
Why is my Bisquick topping still gooey?
This usually happens if the oven temperature is too low or the meat mixture is too liquid. Ensure your oven is fully preheated and use a digital thermometer to check that the center has reached 165 degrees Fahrenheit.
Can I use a different protein like ground pork?
Absolutely. Ground pork, lamb, or even plant-based crumbles work well. Just ensure you adjust your seasoning to match the protein; pork loves sage and fennel, while beef shines with garlic and black pepper.
How do I store leftovers for the best texture?
Store leftovers in an airtight glass container in the refrigerator for up to three days. Reheat in an oven or air fryer to maintain the structural integrity of the crust rather than using a microwave.