
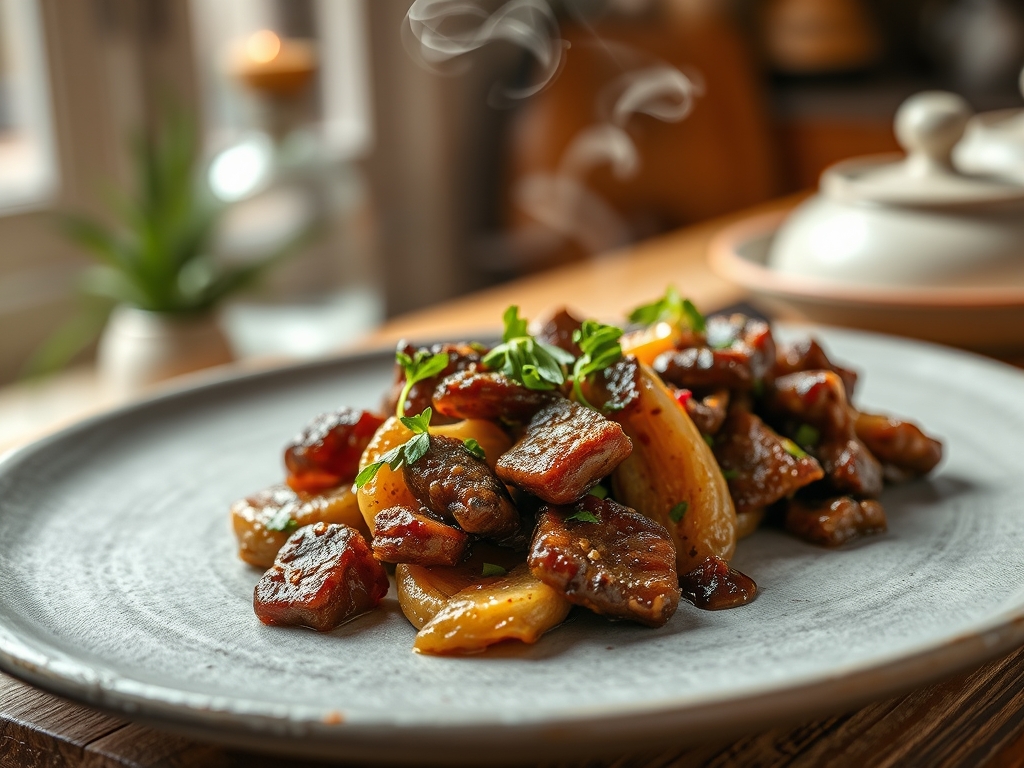
Imagine the scent of a heavy bottomed skillet hitting its smoke point as a handful of smashed cloves meets the shimmering fat. That sharp, pungent aroma instantly transforms into something buttery and sweet; it is the olfactory signature of the best garlic beef recipes. We are not just making dinner tonight; we are orchestrating a high temperature chemical reaction that turns humble protein into a caramelized masterpiece. This is about the friction between the bite of the allicin and the savory depth of the beef. It is the kind of meal that makes your neighbors knock on the door just to ask what is happening in your kitchen. Whether you are craving a sticky stir fry or a crusty pan seared ribeye, mastering the relationship between these two ingredients is the ultimate culinary power move. We are diving deep into the molecular magic that makes this pairing legendary. Grab your apron and your sharpest knife because we are about to turn up the heat and unlock the secrets to restaurant quality results in your own home.
The Gathers:
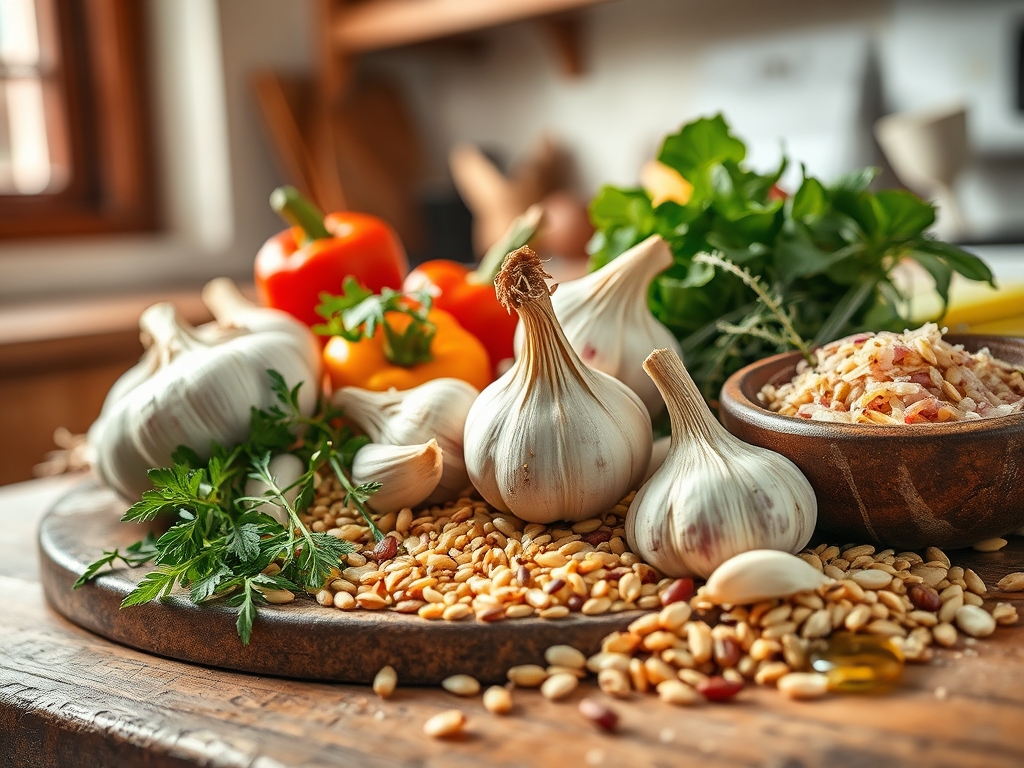
To execute elite garlic beef recipes, your mise en place must be precise. Start with the beef: look for high intramuscular fat content, such as a well marbled ribeye or a flank steak with a tight grain. You will need a digital scale to ensure your ratios are exact. For the garlic, skip the pre minced jars. Those are preserved in citric acid which kills the soul of the dish. Instead, gather fresh, firm bulbs with tight skins. You will also need a high smoke point oil like avocado or grapeseed; extra virgin olive oil will smoke and turn bitter before the beef can properly sear.
Your secondary players include a viscous soy sauce for umami, a splash of rice vinegar for acidity, and a touch of honey to facilitate the Maillard reaction. For smart substitutions, if you are avoiding soy, coconut aminos offer a similar profile with less sodium. If fresh garlic is unavailable, a high quality garlic oil can be used to infuse the fat, though you will miss the texture of the toasted bits. Always keep a bunch of scallions or fresh parsley nearby to provide a piquant, herbaceous finish that cuts through the rich fat.
The Clock:
The "Chef's Flow" is all about managing your thermal momentum. Total preparation time is approximately 20 minutes, while the active cooking time rarely exceeds 10 minutes. The secret is the "Rest and Prep" phase. You must allow your beef to sit at room temperature for 30 minutes before it touches the pan. This prevents the muscle fibers from seizing up when they hit the heat. During this time, you perform your knife work. Use a bench scraper to keep your station clean as you move from slicing beef to mincing garlic. The actual cooking is a sprint; once the skillet is hot, things move fast. If you are not prepared, the garlic will burn before the beef is done.
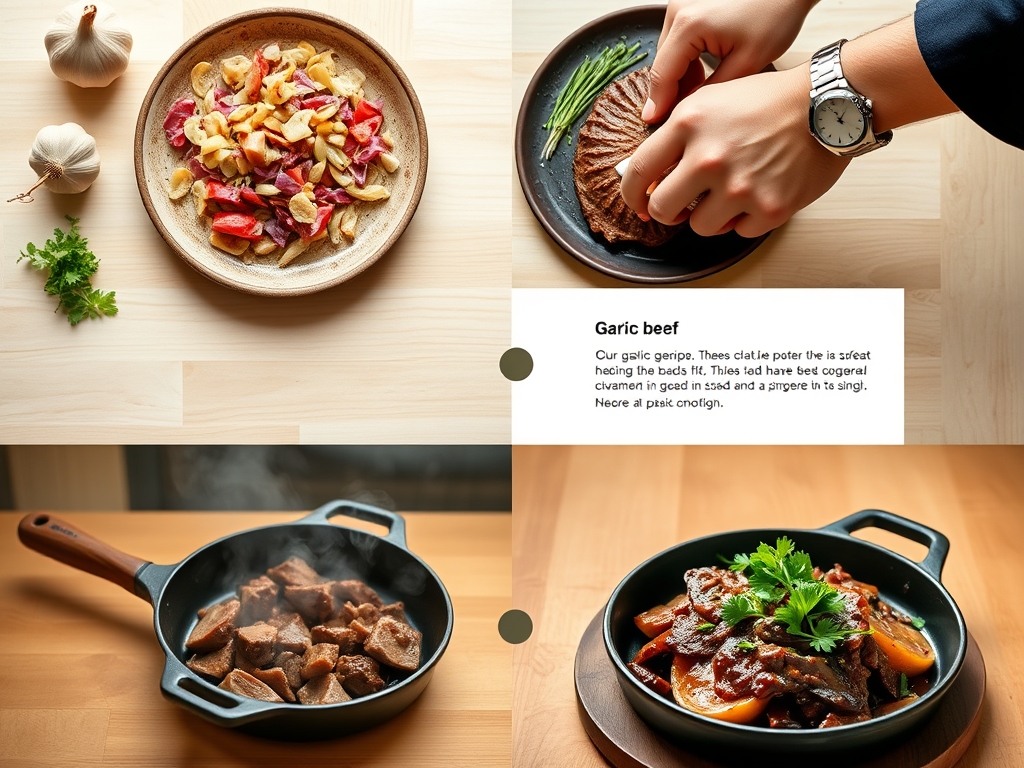
The Masterclass:
1. The Tempering Phase
Take your beef out of the refrigerator and pat it bone dry with paper towels. Moisture is the enemy of a good sear. Sprinkle generously with kosher salt to draw out surface proteins.
Pro Tip: This process uses osmosis to season the meat deeply while ensuring the surface is dry enough for enzymatic browning to occur immediately upon contact with the pan.
2. The Garlic Preparation
Using a microplane or a very sharp chef knife, mince half of your garlic into a paste and slice the other half into thin "chips."
Pro Tip: Slicing vs. crushing changes the flavor profile. Crushing releases more allicin, creating a sharper bite, while slices provide a mellow, nutty crunch when toasted in fat.
3. The Skillet Ignition
Place your heavy bottomed skillet over high heat until the oil begins to shimmer and just starts to wisps of smoke appear.
Pro Tip: A high thermal mass in your pan prevents the temperature from dropping when the cold meat is added, which prevents the beef from steaming in its own juices.
4. The Sear and Render
Lay the beef into the pan, moving it away from you to avoid splashes. Do not crowd the pan; cook in batches if necessary. Let it sit undisturbed for two minutes.
Pro Tip: This is the Maillard reaction at work. Moving the meat too early prevents the sugars and amino acids from bonding into that delicious brown crust.
5. The Garlic Infusion
Reduce the heat to medium and add your garlic and a knob of butter. Use a large spoon to continuously baste the beef with the foaming garlic butter.
Pro Tip: Butter contains milk solids that caramelize quickly. Basting creates a viscous coating that carries the fat soluble garlic flavors into every crevice of the meat.
6. The Deglaze
Once the garlic is golden brown, add a splash of liquid such as beef stock or rice wine. Use a wooden spoon to scrape the bottom of the pan.
Pro Tip: This process, known as deglazing, lifts the "fond" (the caramelized bits stuck to the pan) and incorporates those concentrated flavors back into a pan sauce.
7. The Carryover Rest
Remove the beef from the pan and place it on a wire rack over a sheet pan. Let it rest for at least five to ten minutes.
Pro Tip: Thermal carryover means the internal temperature will continue to rise by 5 degrees. Resting allows the muscle fibers to relax and reabsorb the juices.
8. The Emulsification
While the meat rests, whisk a cold pat of butter or a slurry into the remaining pan juices until the sauce is glossy and thick.
Pro Tip: This creates a stable emulsion where fat and water based liquids are bound together, resulting in a velvet like texture on the palate.
9. The Final Slice
Slice the beef against the grain using a long, sharp carving knife. Pour the rested juices from the pan back over the meat before serving.
Pro Tip: Slicing against the grain shortens the muscle fibers, making even tougher cuts of beef feel incredibly tender and easy to chew.
The Deep Dive:
From a nutritional standpoint, garlic beef recipes are a powerhouse of protein, iron, and B vitamins. A standard 6 ounce serving provides roughly 45 grams of protein. For those on a Keto diet, this is a perfect meal as is. If you are going Vegan, substitute the beef with thick "steaks" of lion's mane mushrooms or extra firm pressed tofu; the garlic infusion technique remains identical. For a Gluten Free version, simply ensure your soy sauce is replaced with Tamari.
The Fix-It: If your garlic turns bitter, it likely burned; next time, add it later in the process or lower the heat before adding. If your beef is tough, you likely skipped the resting phase or sliced with the grain. If the sauce is too thin, it failed to emulsify; whisk in a teaspoon of cold butter off the heat to tighten it up. For meal prep, reheat the beef in a pan with a splash of water over low heat. Avoid the microwave, which vibrates water molecules so violently it toughens the protein fibers.
The Wrap-Up:
You are now equipped with the technical prowess to dominate any garlic beef recipe that comes your way. Remember that cooking is as much about physics and chemistry as it is about taste. By controlling your temperatures, respecting the rest times, and understanding the behavior of allicin, you have transitioned from a home cook to a kitchen scientist. Now, get that skillet screaming hot and show that beef who is boss. Your taste buds will thank you later.
The Kitchen Table:
Why does my garlic always burn in the pan?
Garlic has a high sugar content and low water mass. To prevent burning, add it only after the beef has seared and the pan temperature has been lowered. Basting with butter also helps distribute heat evenly around the cloves.
What is the best cut of beef for stir fry?
Flank steak or top sirloin are ideal. They are lean but flavorful. Always slice them thinly against the grain while slightly frozen to get the most tender results in high heat garlic beef recipes.
Can I use jarred minced garlic for these recipes?
It is not recommended. Jarred garlic is often blanched and stored in acid, which destroys the natural enzymes responsible for that signature spicy, savory kick. Freshly minced garlic provides a superior aromatic profile and better texture.
How do I get a restaurant style crust on my beef?
The key is a dry surface and high heat. Pat the meat dry with paper towels and use a cast iron skillet. Do not move the meat for the first two minutes to allow the Maillard reaction to fully develop.