

Picture the sizzle of a heavy-bottomed cast iron skillet as it meets cold fat; the sound is a rhythmic percussion that promises a transformation. We are diving into the world of brussel sprout and ground beef recipes today. This is where the sulfurous, earthy crunch of the brassica meets the rich, Maillard-driven depth of seared protein. It is a weeknight miracle.
You want that perfect char without the mush. You want the beef to crumble into savory nuggets that nestle inside the sprout leaves. Achieving this requires more than just heat; it requires an understanding of moisture management and fat rendering. Most people fail because they crowd the pan, leading to a sad, grey steam rather than a crisp, golden sear. We are going to fix that. By the time we are done, you will have ten variations of this skillet masterpiece that feel like a five-star bistro meal but take less than thirty minutes to execute.
These brussel sprout and ground beef recipes are the ultimate "smart girl" dinner. They are high in cruciferous fiber, packed with bioavailable iron, and naturally low-carb. They are the intersection of metabolic health and culinary indulgence. Let us get our mise-en-place ready and turn up the heat.
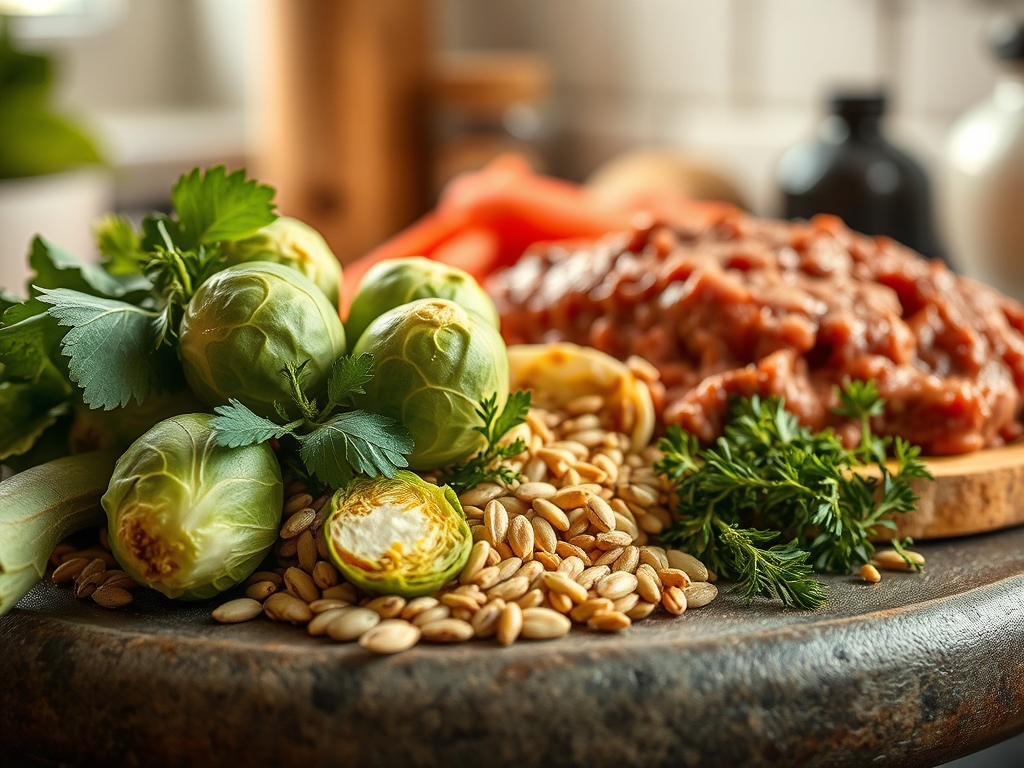
The Gathers:
Setting your station is the difference between a frantic kitchen and a fluid one. For these recipes, we focus on high-quality lipids and structural integrity. You will need your digital scale to ensure your protein-to-veg ratio is exactly 1:1; this maintains the thermal balance of the pan.
The Brassica: Select sprouts that are tight and heavy for their size. If they feel light, they are dehydrated. Use a sharp chef knife to trim the woody stem and halve them vertically to expose the maximum surface area for caramelization.
The Protein: Opt for an 85/15 or 80/20 ground beef. The intramuscular fat is essential here; it will render out and act as the primary cooking medium for your sprouts, infusing them with a piquant, beefy essence.
The Aromatics: Fresh garlic, shallots, and ginger. Use a microplane for the ginger to create a paste that integrates into the fat without burning.
Smart Substitutions:
If you are avoiding red meat, ground bison offers a leaner profile with more iron. For a vegan swap, crumbled tempeh provides a similar fermented depth, though you will need to add a tablespoon of avocado oil to mimic the animal fat. If sprouts are too bitter for your palate, a splash of apple cider vinegar or a drizzle of hot honey will neutralize the glucosinolates (the compounds responsible for that bitter "cabbage" smell).
The Clock
Efficiency in the kitchen is about "Chef's Flow." This is the art of overlapping tasks so that no heat is wasted.
Prep Time: 12 Minutes. This includes washing, trimming, and halving the sprouts. Use a bench scraper to clear your board quickly and keep your workspace tidy.
Cook Time: 15 Minutes. The goal is a high-heat sear followed by a brief lid-on steam to tenderize the core of the sprout.
Total Time: 27 Minutes.
The flow is simple: Cold pan, high heat, beef first. While the beef renders, you finish the veg. By the time the sprouts hit the pan, the beef is already developing a crust.
The Masterclass
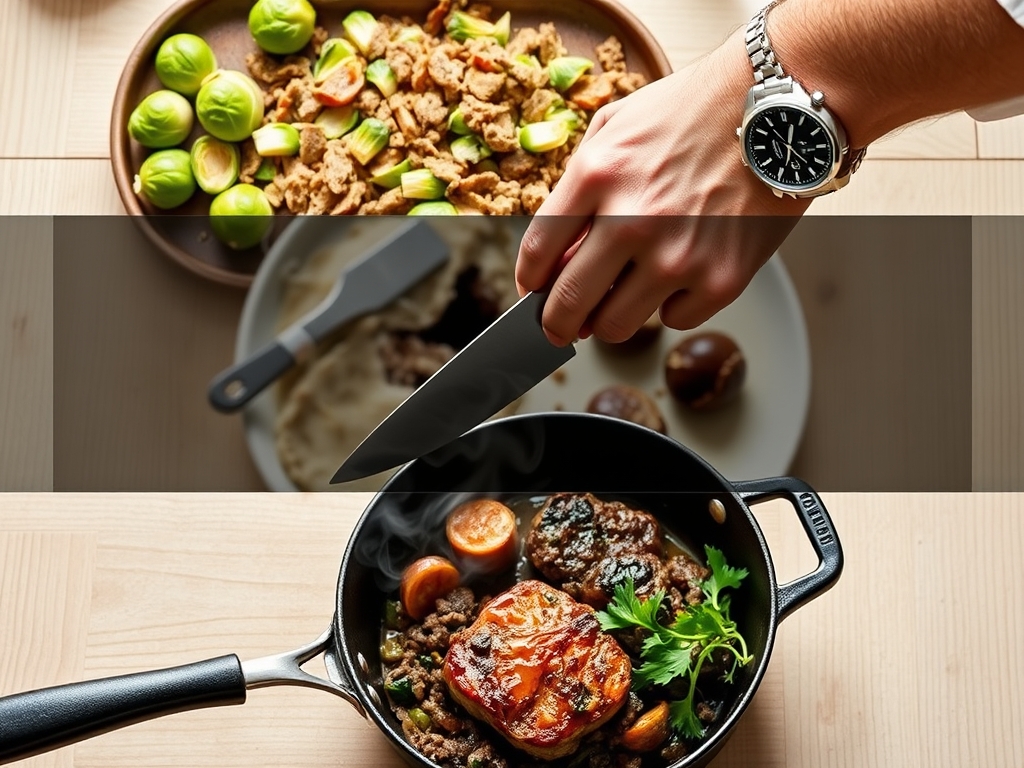
1. The Hard Sear
Place your ground beef in a preheated, heavy-bottomed skillet. Do not touch it for at least three minutes. You are waiting for the Maillard reaction, a chemical dance between amino acids and reducing sugars that creates that savory "browned" flavor.
Pro Tip: This is about thermal mass. If you stir too early, you release moisture and lower the pan temperature, which results in boiling rather than searing.
2. Rendering and Removal
Once the beef is deeply browned, use a slotted spoon to remove the meat, leaving the liquid gold (the fat) in the pan. If there is more than two tablespoons, use a spoon to discard the excess.
Pro Tip: Fat is a superior heat conductor. Leaving the rendered fat in the pan ensures the sprouts fry rather than bake, leading to a crisper exterior.
3. The Sprout Char
Place the sprouts cut-side down into the hot fat. Use tongs to ensure every single sprout has direct contact with the metal. Do not toss them yet. Let them sit until the bottoms are dark amber.
Pro Tip: This prevents enzymatic browning from turning into a soggy mess. High heat deactivates the enzymes that soften cell walls too quickly.
4. Deglazing the Fond
Add your aromatics (garlic, shallots) and a splash of liquid—beef bone broth or dry white wine. Use a wooden spoon to scrape the brown bits (the fond) off the bottom of the pan.
Pro Tip: Deglazing incorporates those concentrated flavor molecules back into the sauce, creating a viscous glaze that coats the sprouts.
5. The Re-Integration
Add the beef back into the pan. Toss everything together to infuse the flavors. Add your finishing touches: a squeeze of lemon, a handful of toasted walnuts, or a sprinkle of red pepper flakes.
Pro Tip: Carryover cooking is real. Pull the pan off the heat when the sprouts are "al dente." The internal heat will finish softening them as you plate.
The Deep Dive
Macro Nutrition: A standard serving of this skillet provides roughly 35g of protein, 22g of fat, and 8g of net carbs. It is a powerhouse of Vitamin K and Vitamin C.
Dietary Swaps:
- Keto: Add extra grass-fed butter or a dollop of full-fat sour cream at the end to boost the fat macros.
- Paleo/Whole30: Ensure your beef is grass-fed and use coconut aminos instead of soy sauce for the deglazing step.
- Low-FODMAP: Swap the garlic and shallots for the green tops of spring onions and use garlic-infused oil.
The Fix-It:
- Problem: Bitter Sprouts. The Fix: Add a teaspoon of balsamic glaze or maple syrup. The sweetness counteracts the alkaline bitterness.
- Problem: Greasy Pan. The Fix: Use a paper towel held by tongs to mop up excess fat before adding the aromatics.
- Problem: Tough Sprouts. The Fix: Add two tablespoons of water and cover the pan with a lid for 60 seconds. The steam will penetrate the core without losing the sear.
Meal Prep Science: To maintain "day-one" quality, do not microwave. Reheat in a dry skillet over medium heat. This re-activates the fats and crisps the edges of the sprouts, preventing the "rubbery" texture that occurs when moisture trapped in the container steams the veg during storage.
The Wrap-Up
Mastering brussel sprout and ground beef recipes is like unlocking a culinary cheat code. You have the crunch, the salt, the fat, and the acid all working in a single pan. It is efficient, it is scientifically sound, and it tastes like you spent hours over a saucier. Remember: heat is your friend, crowding is your enemy, and the sear is your soulmate. Now, get that skillet screaming hot and show those sprouts who is boss.
The Kitchen Table
How do I stop brussel sprouts from smelling like sulfur?
Avoid overcooking. The unpleasant smell comes from hydrogen sulfide gas released when the sprouts are heated for too long. Use high heat for a short duration to keep the cell walls intact and the scent fresh and nutty.
Can I use frozen sprouts for this recipe?
Frozen sprouts contain significantly more internal moisture. To use them, thaw completely and pat extremely dry with paper towels. Increase the pan heat to compensate for the extra water and prevent the sprouts from steaming instead of searing.
What is the best ground beef for a skillet?
An 80/20 blend is ideal. The 20 percent fat content provides the necessary medium to fry the sprouts and aromatics. Using extra-lean beef often results in a dry texture and requires adding supplemental oils like avocado or olive oil.
How do I get a restaurant-style char on the sprouts?
Place them cut-side down in a preheated cast iron skillet and do not move them for 4 to 5 minutes. Constant stirring prevents the Maillard reaction. Use heavy pressure or a grill press to ensure maximum surface contact.