
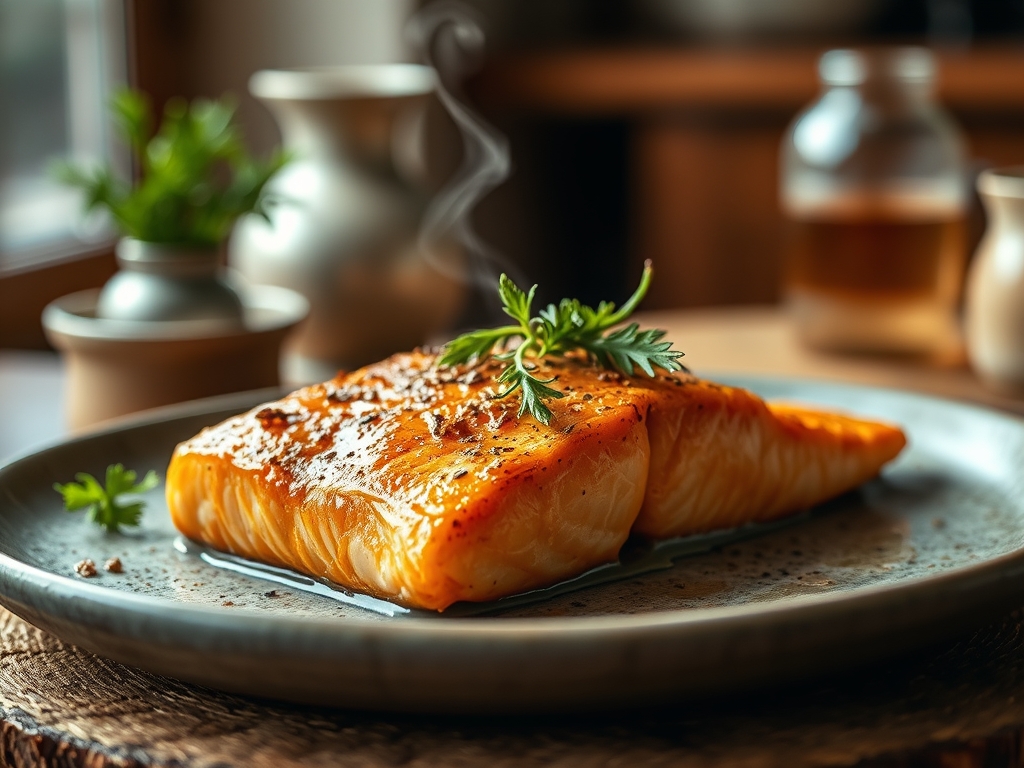
Imagine the sound of a heavy-bottomed skillet meeting a high-BTU flame; it is the percussion of a perfect dinner in the making. If you have spent any time browsing the digital archives of ny times salmon recipes, you know that the secret to a five-star meal is not just the fish, but the chemistry occurring within the pan. We are talking about that shatter-crisp skin and the translucent, buttery flakes that melt upon contact.
Salmon is the ultimate culinary canvas. It is rich in omega-3 fatty acids and possesses a structural integrity that allows it to withstand high-heat searing while maintaining a delicate interior. However, achieving that restaurant-grade finish at home requires more than just luck; it requires an understanding of protein denaturation and thermal conductivity. Whether you are aiming for a slow-roasted masterpiece or a pan-seared delight, the goal is to balance the rendered fat with piquant acids and aromatic herbs. We are going to deconstruct the most iconic techniques used by professional stylists to ensure your kitchen smells like a Manhattan bistro and your results are consistently sublime. Grab your apron; we are diving deep into the molecular magic of the sea.
The Gathers:
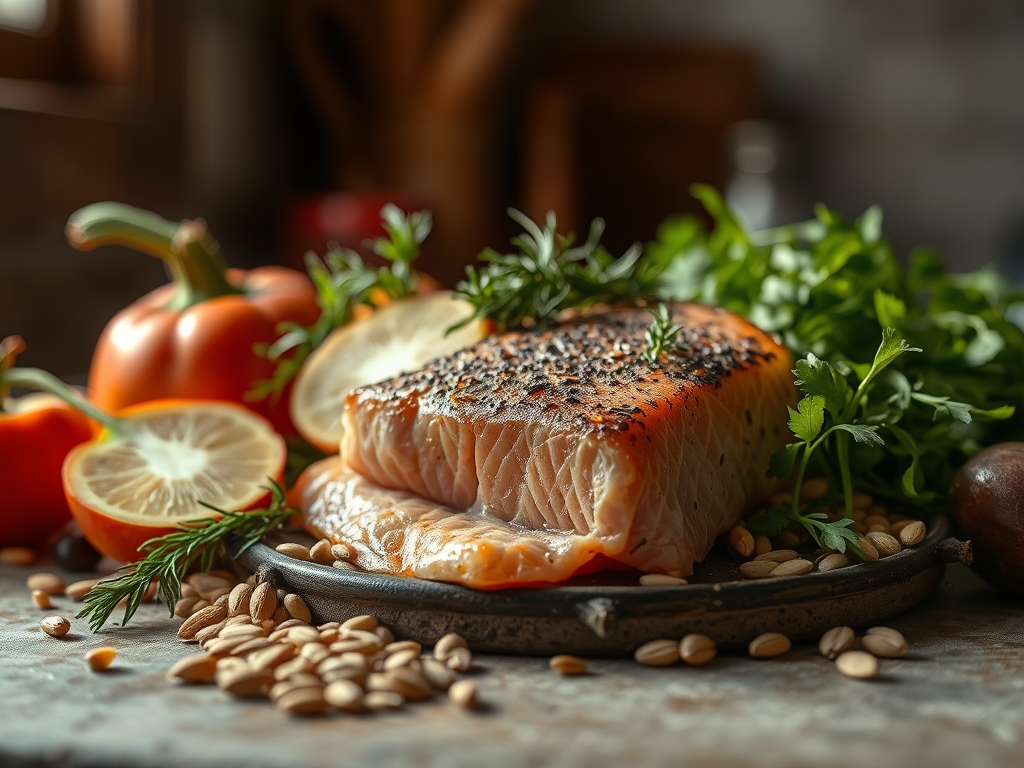
To replicate the most celebrated ny times salmon recipes, your mise-en-place must be precise. Start with center-cut fillets, ideally king or sockeye, which offer a higher fat content for a more viscous mouthfeel. You will need a high-smoke-point oil, such as avocado or grapeseed oil, to facilitate the Maillard reaction without scorching.
For the aromatics, gather fresh dill, flat-leaf parsley, and a bulb of garlic. You will also need unsalted European-style butter; the higher butterfat content creates a more stable emulsion when you begin to deglaze the pan. Do not forget the acids. A bright lemon or a splash of champagne vinegar is essential to cut through the richness of the fish.
Smart Substitutions:
If you are out of fresh herbs, a high-quality dried tarragon can provide a similar licorice note. For those avoiding dairy, a refined coconut oil offers the necessary saturated fats to mimic the richness of butter. If you lack a heavy-bottomed skillet, a well-seasoned cast iron pan is your best friend for heat retention. Use a microplane to zest your citrus; this ensures you capture the essential oils in the flavedo without hitting the bitter white pith.
The Clock
The "Chef's Flow" is all about timing and temperature. Expect a total active prep time of 15 minutes, with a cooking window of 8 to 12 minutes depending on the thickness of your fillets.
- The Temper (10 Minutes): Remove the salmon from the refrigerator. Cold protein hitting a hot pan causes the muscle fibers to seize, resulting in a tough texture.
- The Sear (4 to 6 Minutes): This is where the skin becomes a crispy wafer.
- The Finish (2 to 4 Minutes): A quick flip or a butter-basting session to reach the perfect internal temperature.
- The Rest (5 Minutes): This allows the internal juices to redistribute. Skipping this step leads to a dry fillet.
The Masterclass
1. The Desiccation Ritual
Use a paper towel to pat the salmon skin bone-dry. Moisture is the enemy of the crunch. If the surface is damp, the heat of the pan will turn that water into steam, resulting in a rubbery texture rather than a crisp one.
Pro Tip: This is known as preventing evaporative cooling. By removing surface water, the energy of the pan goes directly into browning the skin rather than boiling off excess moisture.
2. The Seasoning Height
Hold your kosher salt at least twelve inches above the fish. This ensures an even distribution of crystals, preventing "salt pockets" that can ruin the delicate flavor of the flesh.
Pro Tip: Salt acts as a denaturant. If you salt too early (more than 15 minutes before cooking), it can draw out moisture through osmosis. Season immediately before the fish hits the heat.
3. The Cold-Pan Start vs. High Heat
For ultra-crispy skin, place the salmon skin-side down in a cold, heavy-bottomed skillet, then turn the heat to medium-high. This allows the fat to render out slowly, essentially frying the skin in its own oil.
Pro Tip: This technique utilizes lipid rendering. Slow-heating the fat cells allows them to liquefy and escape the connective tissue, creating a natural non-stick barrier.
4. The Weight Factor
Once the salmon is in the pan, use a flexible fish spatula or a weighted press to hold it down for the first 30 seconds. Salmon tends to "arch" as the proteins contract, which prevents even browning.
Pro Tip: This ensures maximum surface-to-volume contact, allowing for a uniform Maillard reaction across the entire skin surface.
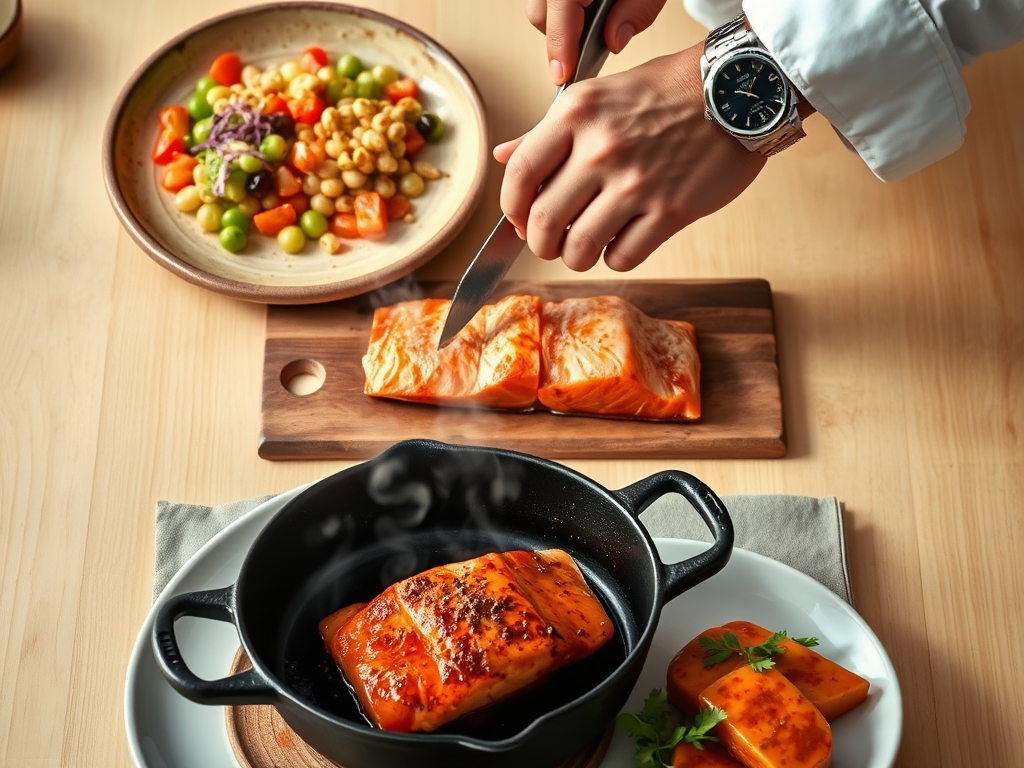
5. The Butter Baste (Arroser)
When the salmon is 75 percent cooked, add a knob of butter, smashed garlic, and thyme to the pan. Tilt the skillet and use a large spoon to continuously pour the foaming butter over the fish.
Pro Tip: This is thermal carryover management. The hot butter gently cooks the top of the fillet without the harsh, direct heat of the pan, keeping the center medium-rare.
6. The Deglaze
After removing the fish, the pan will be covered in "fond" (browned bits). Pour in a splash of dry white wine or chicken stock and use a whisk to scrape up those flavor bombs.
Pro Tip: This process captures concentrated amino acids. When the liquid hits the hot pan, it dissolves the caramelized proteins, creating a complex, savory sauce base.
7. The Acid Balance
Finish your pan sauce with a squeeze of fresh lemon juice and a teaspoon of cold butter. Whisk vigorously until the sauce is glossy and aerated.
Pro Tip: This creates a temporary emulsion. The cold butter fat molecules are suspended in the acidic liquid, providing a velvety texture that coats the back of a spoon.
8. The Internal Temp Check
Use a digital thermometer to pull the salmon at 125 degrees Fahrenheit for a perfect medium. The temperature will rise to 130 degrees as it rests.
Pro Tip: This accounts for residual heat. If you wait until it reaches 135 degrees in the pan, the fish will be overcooked and chalky by the time it reaches the plate.
9. The Resting Period
Place the salmon on a wire rack rather than a flat plate. This prevents the bottom from sitting in its own steam, which would soften that hard-earned crispy skin.
Pro Tip: This preserves the structural integrity of the crust. Airflow around the entire fillet ensures the contrast between the crunchy exterior and tender interior remains intact.
The Deep Dive
Macro Nutrition:
Salmon is a nutritional powerhouse. A 6-ounce fillet provides approximately 34 grams of high-quality protein and 18 grams of healthy fats. It is also an excellent source of Vitamin B12 and Selenium, which are crucial for metabolic function.
Dietary Swaps:
For a Keto version, serve the salmon with a lemon-butter caper sauce over wilted spinach. For Vegan guests, you can replicate the texture using "watermelon steak" or firm tofu marinated in kelp granules, though the cooking times will vary significantly. Gluten-Free diners can rest easy, as salmon is naturally GF; just ensure any thickeners used in sauces are cornstarch or arrowroot-based.
The Fix-It:
- White Gunk (Albumin): If you see white liquid seeping out, you are cooking it too fast or too long. The protein fibers are contracting so hard they are squeezing out the internal moisture. Lower your heat.
- Stuck Skin: If the fish won't release, it isn't ready. The skin will naturally detach from the pan once the proteins have fully caramelized.
- Fishy Odor: This is caused by trimethylamine (TMA). Rinse the fish in cold water and pat dry, or soak it in milk for 10 minutes before cooking to neutralize the scent.
Meal Prep:
To reheat salmon without turning it into a hockey puck, avoid the microwave. Use the "Low and Slow" method: place the fillet in a 275-degree oven with a splash of water and cover it with foil. This creates a gentle steam environment that rehydrates the proteins.
The Wrap-Up
Mastering ny times salmon recipes is about more than just following a list of steps; it is about developing a relationship with the heat and the ingredients. When you hear that sizzle and see the edges turn opaque, you are witnessing a beautiful chemical transformation. Cooking is a sensory experience, so trust your nose and your eyes. With these nine secrets in your repertoire, you are no longer just making dinner; you are crafting an experience. Now, get that skillet screaming hot and show that salmon who is boss.
The Kitchen Table
How do I get crispy salmon skin every time?
Start with bone-dry skin and a cold, heavy-bottomed skillet. Gradually increasing the heat allows the fat to render completely, creating a potato-chip-like texture. Always use a fish spatula to press the fillet down during the initial sear to ensure even contact.
Why is my salmon dry and tough?
You are likely overcooking it or skipping the rest period. Pull the salmon off the heat when it reaches 125 degrees Fahrenheit. The internal temperature will continue to rise during the rest, ensuring the proteins remain tender and the juices stay inside.
Can I use frozen salmon for these recipes?
Yes, but you must thaw it completely in the refrigerator first. Pat it exceptionally dry to remove excess moisture from the freezing process. Frozen salmon often has more surface water, so the desiccation step is even more critical for a good sear.
What is the best oil for searing salmon?
Use an oil with a high smoke point, such as avocado, grapeseed, or canola oil. These oils can withstand the high temperatures required for the Maillard reaction without breaking down or adding a burnt, bitter flavor to your delicate fish fillets.