
Imagine a pantry staple so humble it hides behind the chickpeas; yet, with a flick of a wrist and a splash of acid, it transforms into a five-star masterpiece. We are diving deep into bumble bee pink salmon recipes that defy the "canned food" stereotype. Picture a golden, crispy crust yielding to a tender, omega-3 rich interior that hums with the brightness of lemon zest and the piquant kick of capers. This is not just survival food; it is a culinary canvas waiting for your creative spark.
By understanding the molecular structure of preserved protein, we can manipulate texture and flavor to rival any fresh fillet. The secret lies in the balance of moisture and heat. We are going to treat this salmon with the respect it deserves; using high-quality fats and aromatic infusions to elevate the natural salinity of the fish. Whether you are hosting a last-minute brunch or seeking a post-gym protein hit, these upgrades ensure every bite is a sophisticated symphony of flavor.
The Gathers:
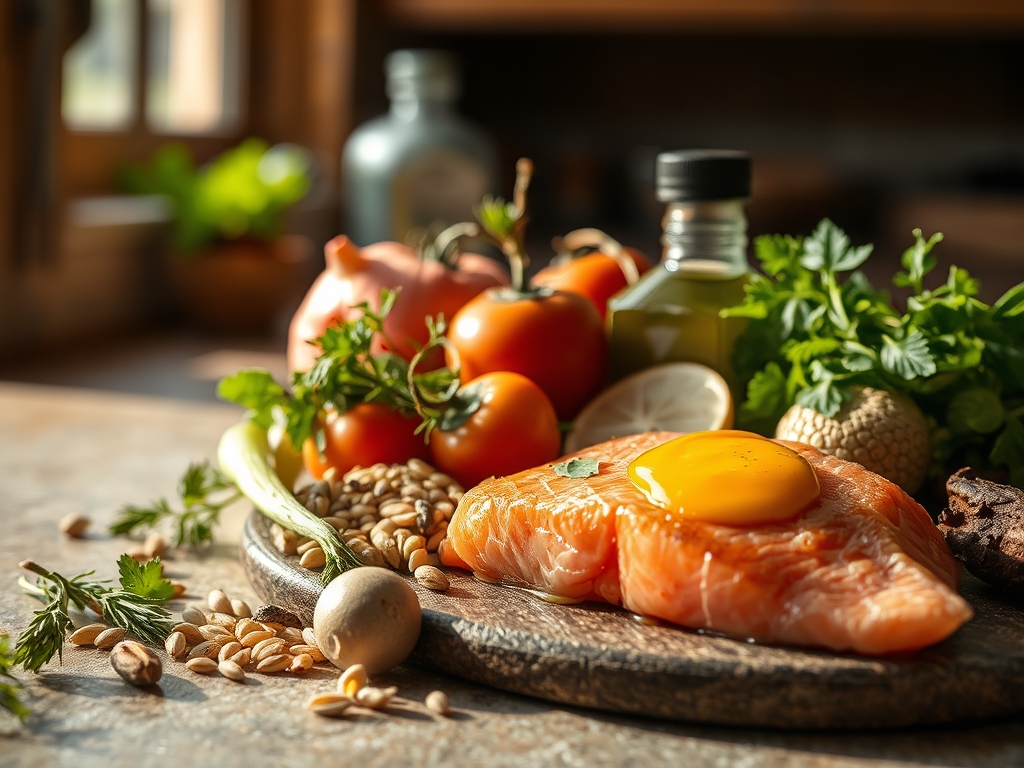
To execute these bumble bee pink salmon recipes with precision, your mise-en-place must be flawless. Start with the foundation: two 14.75-ounce cans of pink salmon, drained thoroughly to prevent excess moisture from compromising your sear. You will need a binding agent; specifically, two large pasture-raised eggs to provide the protein structure necessary for emulsification. For aromatics, gather a bunch of fresh dill, a bulb of garlic, and a red onion to provide a sharp, sulfuric contrast to the fatty acids in the fish.
Your toolkit is just as vital as your ingredients. Reach for your microplane to shave down fresh ginger or citrus zest; this ensures the essential oils are released without the bitterness of the pith. A heavy-bottomed skillet, preferably cast iron, is non-negotiable for achieving a uniform Maillard reaction. For the "Smart Substitutions," consider using Greek yogurt instead of mayonnaise for a higher protein-to-fat ratio, or swap traditional breadcrumbs for almond flour to keep the dish gluten-free and keto-friendly. If you lack fresh herbs, a high-quality dried tarragon can offer a similar anise-like profile, though you should use only a third of the volume since dried oils are more concentrated.
The Clock
Efficiency in the kitchen is about "Chef's Flow," the art of overlapping tasks to minimize downtime. For these seven upgrades, your active prep time is approximately 15 minutes. This involves the mechanical breakdown of the salmon and the fine dicing of your aromatics using a sharp chef's knife or a bench scraper to move ingredients cleanly.
The cooking phase requires about 10 to 12 minutes of focused thermal application. The "flow" dictates that you prepare your cold sauces (like a spicy remoulade) while your skillet preheats. Never drop cold protein into a lukewarm pan; you must wait for the oil to reach its smoke point to ensure an immediate sear. Total time from pantry to plate is under 30 minutes, making this a high-velocity solution for gourmet dining.
The Masterclass
1. The Proper Drain and Flake
Begin by opening your cans and utilizing the lid to press out every drop of brine. Transfer the salmon to a wide mixing bowl and use a fork to flake the meat into uniform pieces. Avoid over-processing the fish into a paste; you want distinct textures to remain.
Pro Tip: This step prevents steam-shielding. If the fish is too wet, the heat from the pan will turn the water into steam rather than browning the protein, resulting in a soggy texture instead of a crisp one.
2. Infusing the Aromatics
In a small saucier, melt a tablespoon of unsalted butter and gently sauté your minced garlic and onions until translucent. This process, known as sweating, draws out the sweetness of the vegetables without browning them, allowing their flavor to meld seamlessly into the salmon.
Pro Tip: Fat is a flavor carrier. By sautéing the aromatics first, you are creating a fat-soluble flavor base that will coat every flake of salmon more effectively than raw vegetables would.
3. Binding and Aeration
Fold your whisked eggs, a dollop of Dijon mustard, and your choice of binder into the salmon. Use a folding motion rather than stirring to keep the mixture light. If the mix feels too viscous, add a tablespoon of panko breadcrumbs to absorb excess liquid.
Pro Tip: Whisking the eggs separately before adding them helps aerate the mixture. This creates tiny air pockets that expand during cooking, resulting in a lighter, fluffier salmon cake.
4. Calibrated Shaping
Using a digital scale, portion the mixture into 3-ounce patties. This ensures that every piece has the same thermal mass, allowing them to cook at the exact same rate. Press them firmly but do not pack them tight; you want the heat to penetrate the center easily.
Pro Tip: Uniformity is the key to consistent thermal carryover. If your patties vary in size, the smaller ones will overcook and become dry before the larger ones reach a safe internal temperature.
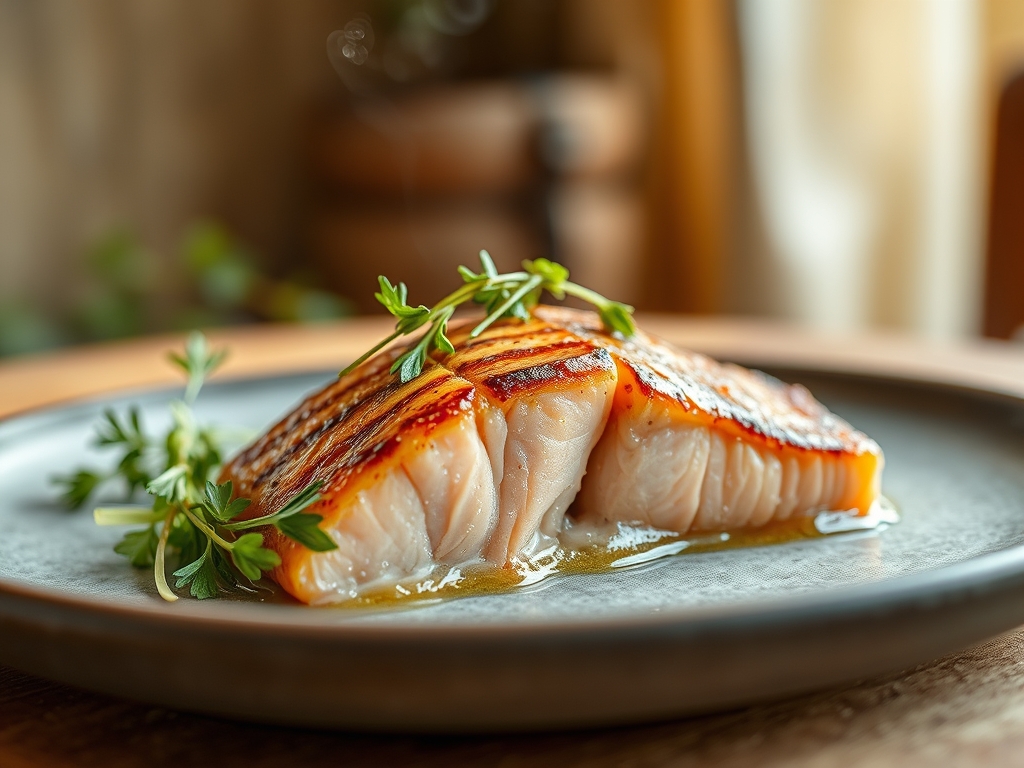
5. The High-Heat Sear
Heat your heavy-bottomed skillet with a high-smoke-point oil like avocado oil. Place the patties in the pan, leaving space between them to avoid dropping the pan's temperature. Sear for 3 to 4 minutes per side until a deep mahogany crust forms.
Pro Tip: This is the Maillard reaction in action. The amino acids and reducing sugars in the salmon rearrange under high heat to create hundreds of different flavor compounds that provide that "savory" depth.
6. Deglazing for the Sauce
Once the salmon is removed, do not wash the pan. Pour in a splash of dry white wine or lemon juice to deglaze the "fond" (the brown bits stuck to the bottom). Stir in a knob of cold butter to create a silky pan sauce.
Pro Tip: The fond contains concentrated flavor. By using an acid to lift it, you are capturing the essence of the sear and transforming it into a cohesive sauce through emulsification.
7. The Final Rest
Place the finished salmon on a wire rack rather than a paper towel. This allows air to circulate around the entire patty, keeping the crust crisp while the internal juices redistribute.
Pro Tip: Resting prevents the "purge" of moisture. If you cut into the salmon immediately, the internal pressure will force the juices out, leaving the meat dry. Five minutes of resting ensures a succulent bite.
The Deep Dive
From a macro perspective, bumble bee pink salmon recipes are a powerhouse. Each serving is packed with roughly 20 grams of high-quality protein and is a significant source of Vitamin D and B12. Because it is wild-caught, it contains a superior ratio of Omega-3 to Omega-6 fatty acids compared to many farmed alternatives.
For dietary swaps, vegans can substitute the salmon with mashed chickpeas and the egg with a "flax egg" (ground flaxseed and water). For those on a Keto path, replace breadcrumbs with crushed pork rinds to maintain the crunch without the carbohydrates. If you encounter "The Fix-It" moments, remember: if the patties are falling apart, you need more binder (egg); if they are too dry, fold in a tablespoon of olive oil; if they are bland, increase the acid (lemon juice or vinegar) to brighten the palate.
When it comes to meal prep, reheating is a science. Avoid the microwave, which can turn the protein rubbery. Instead, use an air fryer or a toaster oven at 350 degrees Fahrenheit for five minutes. This restores the exterior crispness while gently warming the interior, maintaining "day-one" quality.
The Wrap-Up
Mastering bumble bee pink salmon recipes is about more than just a quick meal; it is about reclaiming the potential of your pantry. By applying professional techniques like proper deglazing and temperature control, you turn a simple can of fish into a culinary event. Go ahead, grab that microplane, fire up the skillet, and show your kitchen who is boss. Your taste buds (and your best friend) will thank you.
The Kitchen Table
Can I use pink salmon for sushi rolls?
While safe to eat, canned salmon lacks the firm texture of raw, sushi-grade fish. It is better suited for "spicy salmon" rolls where the fish is flaked and mixed with mayo and sriracha to provide a creamy, savory filling.
How do I get rid of the "canned" smell?
The "tinny" scent is easily neutralized with acid. Rinse the salmon briefly in cold water, pat dry, and toss with a squeeze of fresh lemon or a teaspoon of white vinegar before adding your other ingredients to brighten the profile.
Is the skin and bone in the can edible?
Yes! The canning process softens the bones until they are easily mashable with a fork. They are an excellent source of calcium. However, if you prefer a smoother texture, you can quickly remove them during the flaking process.
Why are my salmon cakes soggy?
Sogginess usually results from excess moisture in the salmon or vegetables. Ensure you drain the fish thoroughly and sauté your aromatics to cook off their water content before mixing. Using a wire rack for resting also prevents steam from softening the crust.