
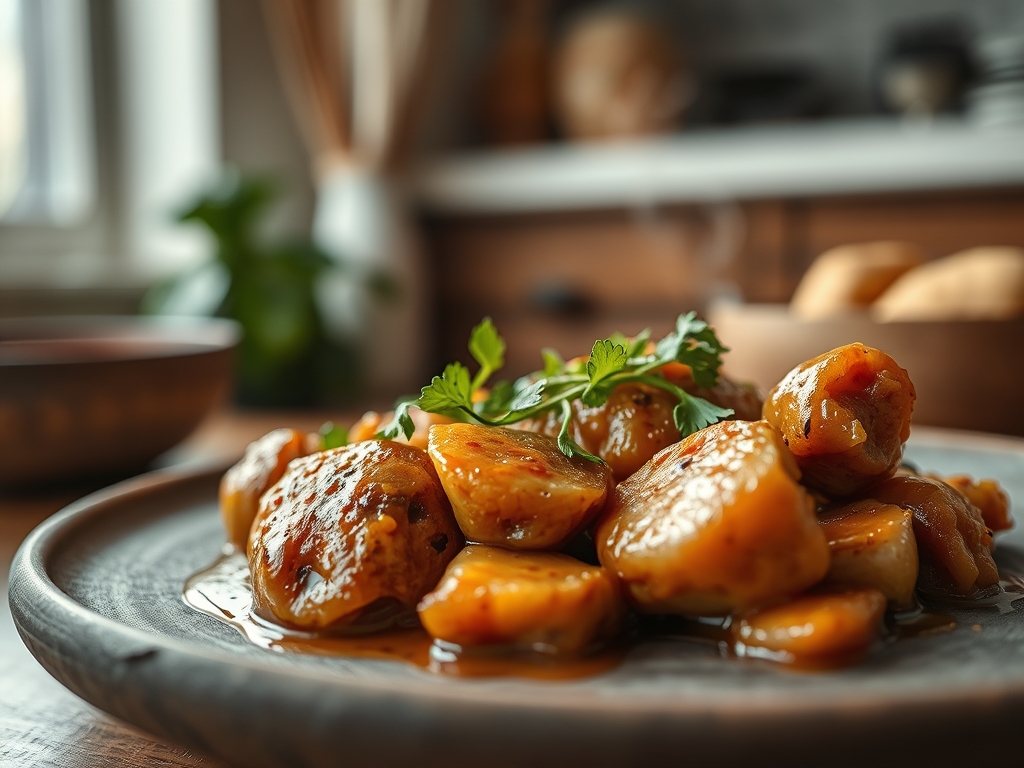
Imagine the scent of toasted peanuts colliding with the citrusy zing of kaffir lime leaves as they hit a hot saucier. It is a sensory overload that signals the start of something legendary. When you are hunting for authentic panang chicken recipes, you are looking for that perfect balance of salty, sweet, and piquant flavors that define Central Thai excellence.
This is not just another weeknight dinner; it is a masterclass in emulsion and aromatic extraction. The secret lies in the thick, luscious gravy that clings to the protein rather than drowning it. We are aiming for a rich, concentrated curry that feels like a warm hug for your palate. Whether you are a seasoned home cook or a curious beginner, mastering these panang chicken recipes will elevate your kitchen game to professional heights.
We are going to dive deep into the molecular magic that happens when coconut cream meets chili paste. You will learn why the order of operations matters and how to achieve that signature reddish-orange hue that makes this dish a visual masterpiece. Grab your favorite apron and let us get started on this flavorful journey together.
The Gathers:
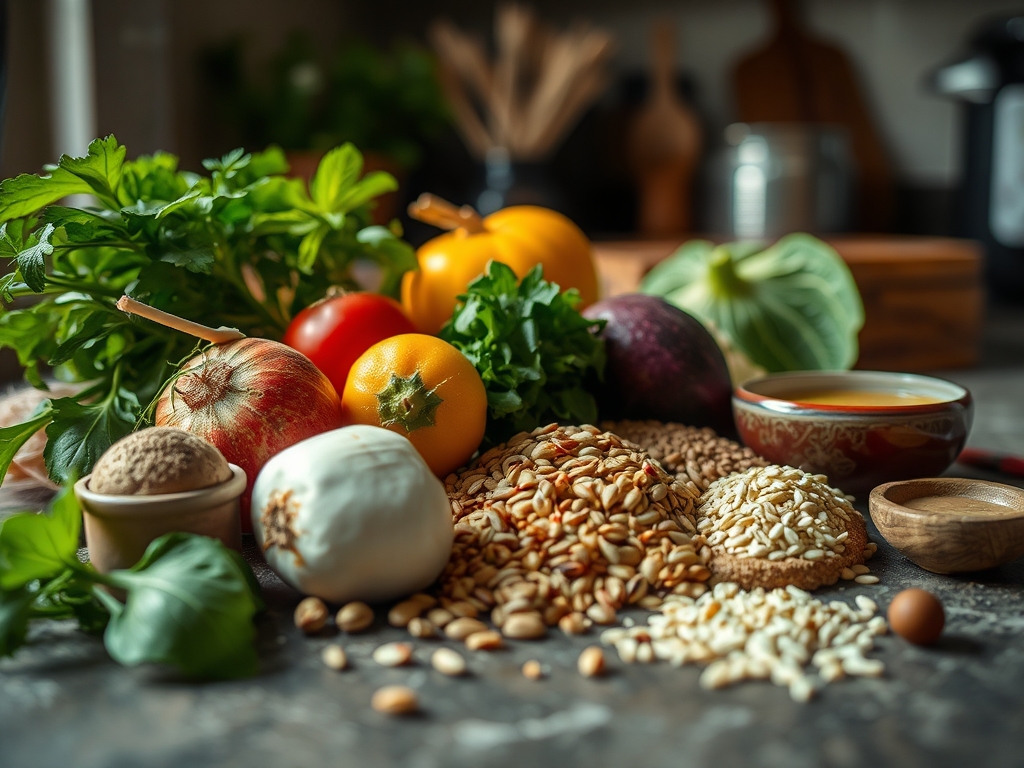
Setting up your mise-en-place is non-negotiable for success. You will need a digital scale to ensure your ratios are precise, as the balance between fat and spice is delicate. Start with high-quality chicken thigh meat; it has more connective tissue than breast meat, which means it stays succulent during the high-heat simmer. You will also need full-fat coconut milk, specifically the thick cream that rises to the top of the can. This cream contains the lipids necessary to fry the curry paste and release fat-soluble flavor compounds.
Your aromatic arsenal includes Panang curry paste, which differs from Red curry paste due to the addition of roasted peanuts and warm spices like cumin and coriander seeds. Use a microplane to zest your lime or grate palm sugar for instant dissolution. For the salty component, opt for a premium fish sauce with high protein content to ensure a deep umami backbone.
Smart Substitutions: If you cannot find kaffir lime leaves, a mix of lime zest and a tiny drop of lemon juice can mimic the floral notes. For a lower glycemic index, swap palm sugar for coconut sugar. If peanuts are an allergy concern, toasted sunflower butter provides a similar viscous texture and nutty profile without the allergens.
The Clock
Efficiency in the kitchen is about the Chef's Flow. Expect about 15 minutes of active prep time and 20 minutes of cooking. The goal is to minimize the time the chicken spends under direct heat to prevent protein fibers from tightening and becoming tough.
Total time from pantry to table is roughly 35 minutes. By prepping your aromatics while the coconut cream reduces, you create a seamless transition between steps. This "just-in-time" methodology ensures that your herbs stay vibrant and your sauce does not break or separate excessively before serving.
The Masterclass
1. Cracking the Coconut Cream
Pour the thickest part of the coconut cream into a heavy-bottomed skillet. Heat it over medium-high until the water evaporates and the oil begins to separate from the solids. This is known as "cracking" the cream.
Pro Tip: This process involves phase separation. By boiling off the water, you raise the temperature of the remaining fats, allowing them to reach the thermal threshold needed to bloom the spices in the curry paste effectively.
2. Blooming the Paste
Add your Panang paste to the shimmering oil. Use a silicone spatula to mash the paste into the fat, frying it for two minutes until it becomes fragrant and turns a shade darker.
Pro Tip: This step utilizes lipid-mediated extraction. Many flavor molecules in chilies and galangal are hydrophobic, meaning they only release their full aromatic potential when dissolved in hot fats rather than water.
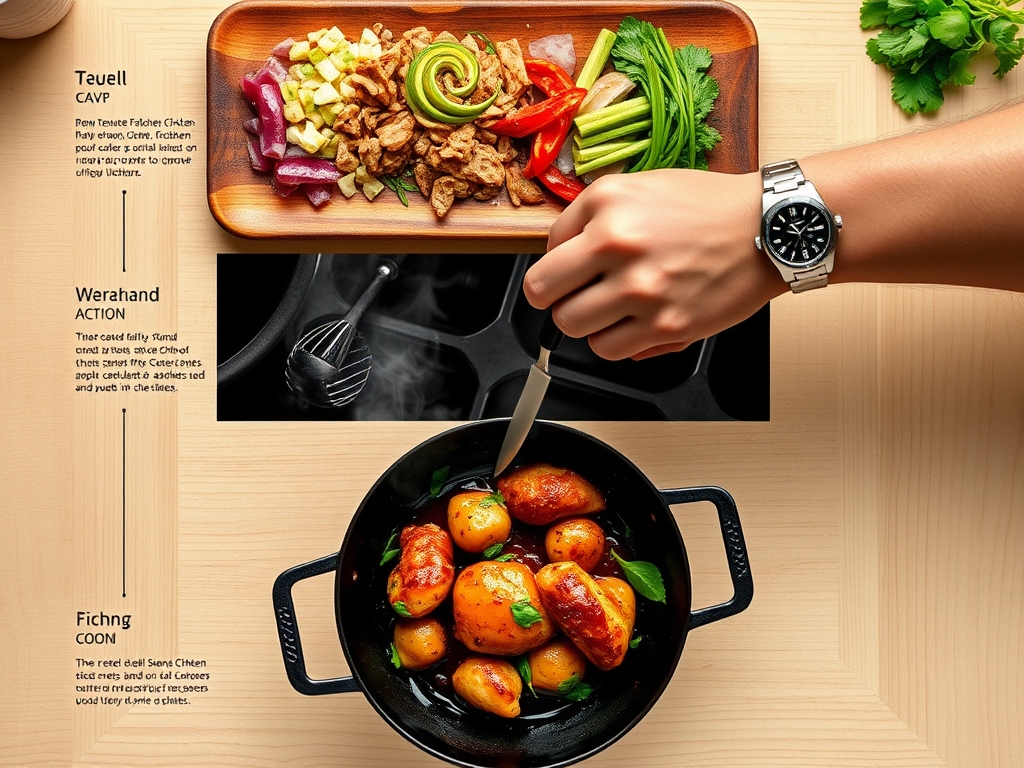
3. Searing the Protein
Increase the heat and add your sliced chicken. Use stainless steel tongs to toss the meat, ensuring every piece is coated in the concentrated spice base. Sauté until the exterior is no longer pink.
Pro Tip: We are looking for light Maillard reaction notes here. Even in a wet curry, a quick sear creates complex flavor compounds on the surface of the meat that deepen the overall profile of the sauce.
4. The Liquid Integration
Slowly whisk in the remaining coconut milk and a splash of chicken stock. Bring the mixture to a gentle simmer. Do not let it reach a rolling boil, as this can cause the coconut proteins to curdle and ruin the silky texture.
Pro Tip: Maintaining a temperature just below 212 degrees Fahrenheit prevents protein denaturation in the coconut milk, ensuring the sauce remains a stable, creamy emulsion.
5. Seasoning and Reducing
Stir in the palm sugar, fish sauce, and torn lime leaves. Let the sauce reduce until it achieves a viscous consistency that coats the back of a spoon. This is the stage where the flavors "marry" and intensify.
Pro Tip: Reduction is a form of evaporative concentration. As water leaves the pan, the ratio of dissolved solids increases, heightening the perception of salt, sweet, and spice on the tongue.
6. The Final Infusion
Fold in thinly sliced red chilies and toasted peanut crumbles. Turn off the heat and let the dish sit for two minutes before serving. This allows the residual heat to soften the peppers without losing their snap.
Pro Tip: This resting period accounts for thermal carryover. It allows the internal temperature of the chicken to stabilize, ensuring the juices stay locked inside the meat for a tender bite.
The Deep Dive
From a nutritional standpoint, panang chicken recipes are a powerhouse of healthy fats and lean protein. A standard serving contains approximately 450 calories, with 25g of protein and 30g of fats, mostly from the medium-chain triglycerides found in coconut.
Dietary Swaps: To make this Keto, simply omit the palm sugar or use an erythritol-based sweetener. For a Vegan version, swap the chicken for extra-firm tofu or seitan and use a vegan "no-fish" sauce made from fermented soybeans and seaweed.
The Fix-It:
- Too Salty? Add a squeeze of lime juice. The acid cuts through the sodium and resets the palate.
- Too Thin? Simmer for an extra five minutes or whisk in a teaspoon of peanut butter to act as a natural thickener.
- Curry Separated? If the oil is pooling too much, whisk in a tablespoon of warm water or additional coconut cream to re-emulsify the sauce.
Meal Prep: Panang curry actually tastes better the next day because the aromatics continue to infuse the liquid. When reheating, use a low heat setting on the stove and add a tablespoon of water to loosen the fats. Avoid the microwave if possible, as it can cause the chicken to become rubbery through rapid dehydration.
The Wrap-Up
You have just mastered the art of the perfect Thai curry. By understanding the science of fat-soluble flavors and the importance of a stable emulsion, you have moved beyond basic cooking into the realm of culinary artistry. These panang chicken recipes are versatile, impressive, and most importantly, delicious. Now, serve this over a bed of fluffy jasmine rice, garnish with a few more lime leaves, and watch your friends marvel at your kitchen prowess.
The Kitchen Table
Why does my coconut milk not separate?
Modern canned coconut milk often contains stabilizers like guar gum that prevent separation. To fix this, use a brand with only coconut and water, or add a teaspoon of neutral oil to help fry the curry paste.
Can I use chicken breast instead of thighs?
Yes, but you must reduce the simmering time. Chicken breast is leaner and prone to drying out. Slice it thinly and add it during the final five minutes of cooking to maintain a tender, juicy texture.
How do I store leftover Panang curry?
Store leftovers in an airtight glass container in the refrigerator for up to three days. Glass is preferred over plastic because the turmeric in the curry paste can permanently stain porous plastic surfaces.
Is Panang curry paste very spicy?
Panang is generally milder than Green or Red curry. It focuses more on nutty, savory notes. You can control the heat by adjusting the amount of paste used or by removing the seeds from the garnish chilies.