
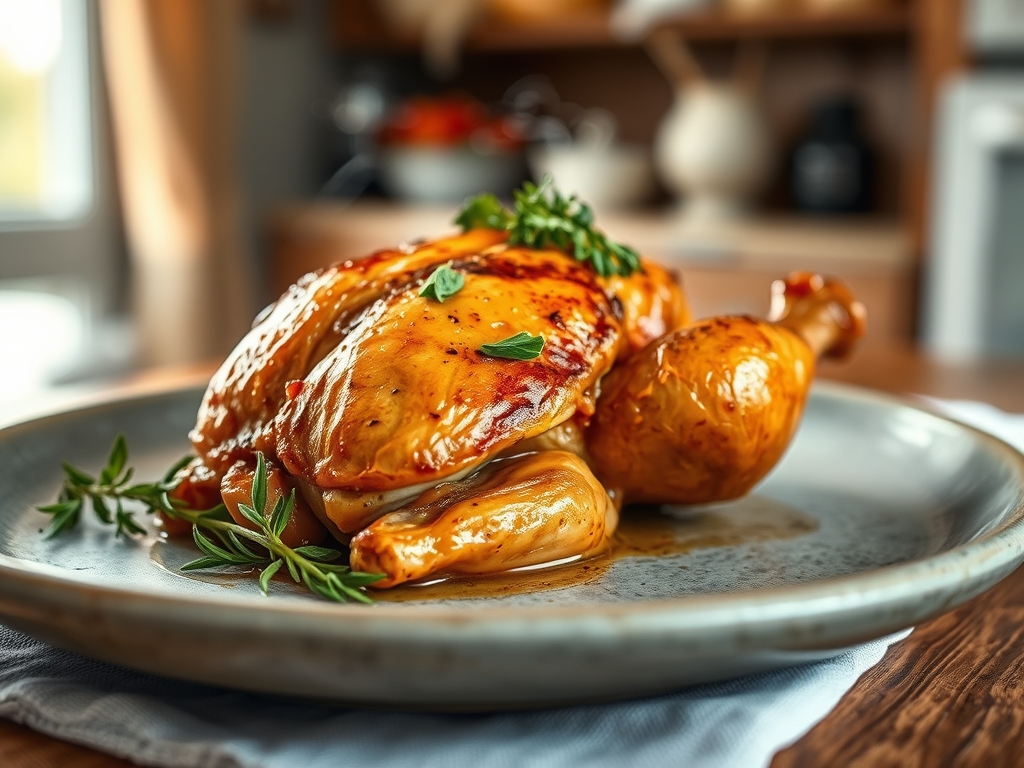
The scent of rendered schmaltz and woodsy rosemary hitting a hot pan is the universal language of home. We have all been there; standing in front of the oven window, watching the skin transition from a pale translucence to a shattered-glass gold. Finding roast chicken recipes easy enough for a Tuesday but elegant enough for a dinner party is the ultimate culinary "holy grail." It is the foundational skill that separates a cook from a chef. When you master the physics of dry heat, you are not just making dinner; you are orchestrating a complex series of chemical reactions that result in succulent, fork-tender meat and that addictive, salty crunch.
Let us get one thing straight: great chicken is not about luck. It is about moisture management and heat distribution. Whether you are spatchcocking for speed or slow-roasting for deep flavor, the goal remains the same. We want to maximize the Maillard reaction while preserving the delicate cellular structure of the breast meat. In this guide, I am going to walk you through the gear, the chemistry, and the six variations that will make your kitchen the most popular spot on the block. Grab your apron and a glass of wine; we are about to turn your oven into a high-performance flavor lab.
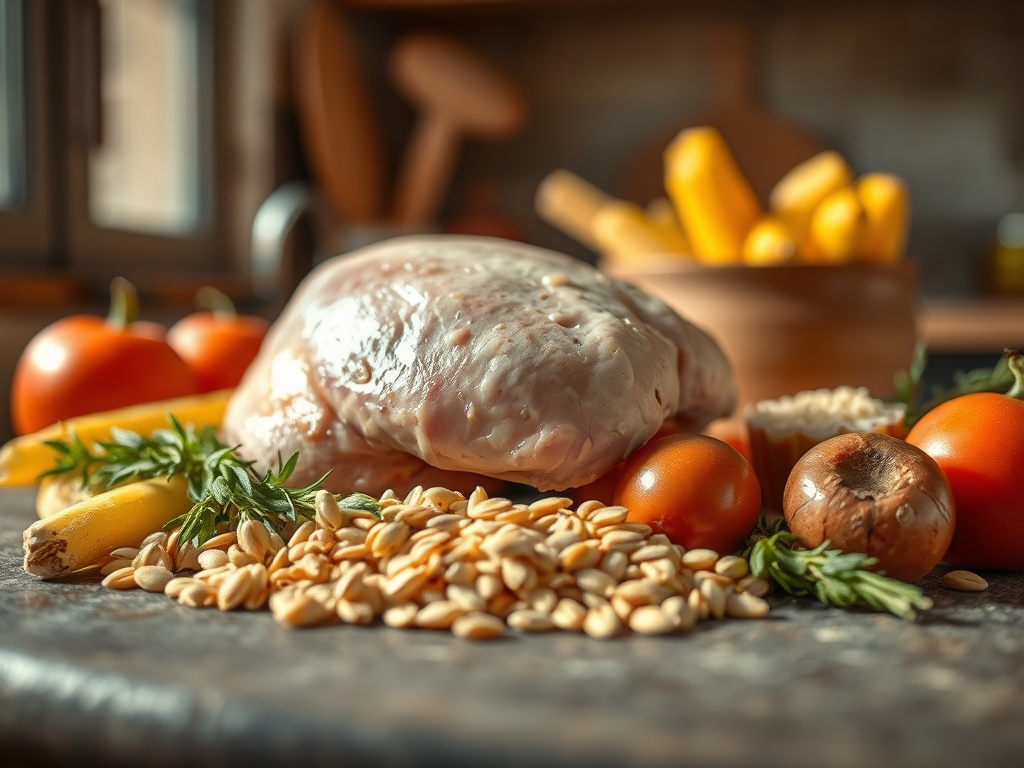
The Gathers:
Before we ignite the flame, your mise-en-place must be airtight. Professional kitchens run on organization, and your home kitchen should be no different. You will need a digital scale for precision; measuring salt by volume is a rookie mistake because different brands have different crystal densities. For the bird, look for an air-chilled specimen. Traditional water-chilled poultry carries excess "plumping" liquid that creates steam in the oven, which is the mortal enemy of crispy skin.
Your aromatics should be fresh and high-quality. We are looking for viscous olive oils, piquant cloves of garlic, and woody herbs like thyme and sage. If you are going for a citrus profile, use a microplane to harvest the zest without hitting the bitter white pith. For the fats, a high-smoke-point oil or clarified butter (ghee) is essential to avoid acrid flavors at high temperatures.
Smart Substitutions:
If you lack fresh herbs, use a high-quality dried poultry seasoning but reduce the volume by half; dried herbs are more concentrated. No roasting pan? A heavy-bottomed skillet or a preheated cast iron pan works even better for heat retention. If you are avoiding dairy, swap butter for duck fat or avocado oil to maintain that rich, savory mouthfeel without the lactose.
The Clock
The "Chef's Flow" is all about timing. A standard 3.5-pound bird requires approximately 15 minutes of active prep and 50 to 70 minutes of roasting time. However, the most critical phase is the 15-minute rest period post-roast. Total time investment is roughly 90 minutes. To optimize your flow, use the roasting time to prep your sides and deglaze your pan for a quick jus. Efficiency is the mark of a pro.
The Masterclass
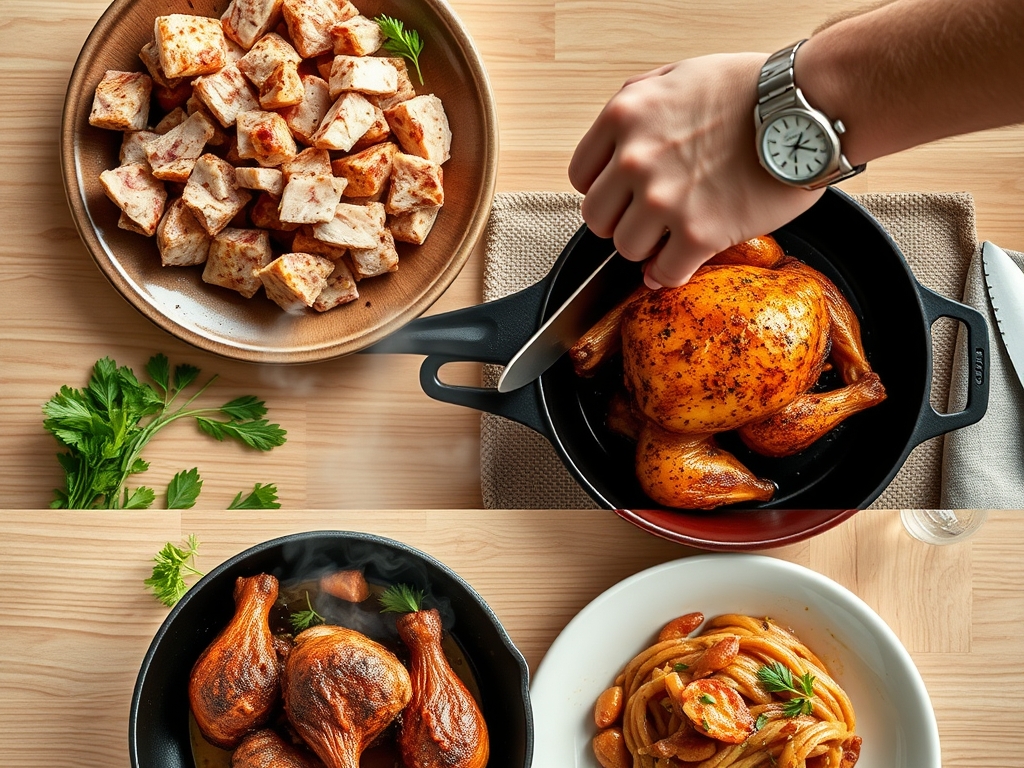
1. The Tempering and Drying Phase
Remove your chicken from the refrigerator at least 45 minutes before cooking. Use paper towels to aggressively pat the skin dry until it feels like parchment. Moisture is the enemy of browning.
Pro Tip: This allows for thermal equilibrium. If a cold bird hits a hot oven, the outer muscles contract violently and squeeze out moisture before the core can cook, resulting in a rubbery texture.
2. The Salt Brine and Trussing
Generously season the cavity and the exterior with kosher salt. If you have time, let it sit uncovered in the fridge for two hours. Use butcher's twine to tuck the wings and tie the legs; this creates a uniform shape.
Pro Tip: Salt facilitates denaturation, where protein strands break down and reform to trap water molecules. This ensures the meat remains juicy even at high internal temperatures.
3. The Fat Application
Slather the skin with your choice of fat. For a classic profile, use softened butter mixed with minced garlic and herbs. Ensure you get under the skin of the breast to protect the leanest meat from drying out.
Pro Tip: Fat acts as a thermal conductor. It helps distribute heat evenly across the uneven surface of the bird, ensuring that the nooks and crannies brown at the same rate as the drumsticks.
4. The High-Heat Launch
Start your oven at 425 degrees Fahrenheit. Place the bird in a heavy-bottomed skillet or roasting rack. The initial blast of heat is what triggers the Maillard reaction, creating those complex, savory flavor compounds.
Pro Tip: High initial heat causes enzymatic browning. This is a chemical reaction between amino acids and reducing sugars that gives browned food its distinctive, toasted aroma and flavor.
5. The Internal Temperature Check
Using a digital probe thermometer, monitor the thickest part of the thigh. You are looking for 160 degrees Fahrenheit. Do not rely on the "clear juices" myth; temperature is the only objective metric for safety and quality.
Pro Tip: Factor in thermal carryover. The internal temperature will rise by 5 to 10 degrees after you remove the chicken from the oven. Pulling it at 160 ensures it hits the perfect 165 during the rest.
6. The Rest and Deglaze
Transfer the chicken to a cutting board and let it rest for 15 minutes. While it rests, place your roasting pan on the stovetop. Add a splash of white wine or stock to deglaze the pan, scraping up the "fond" (the brown bits) to create a pan sauce.
Pro Tip: Resting allows the viscosity of the internal juices to increase. As the meat cools slightly, the muscle fibers relax and reabsorb the liquid, preventing it from spilling out when you carve.
The Deep Dive
Macro Nutrition: A 4-ounce serving of roast chicken provides approximately 25g of protein and 8g of fat. It is a lean, nutrient-dense powerhouse rich in B vitamins and selenium.
Dietary Swaps:
- Vegan: Use the same herb-rub techniques on a whole roasted cauliflower head for a "cauli-roast."
- Keto: Stick to the classic butter and herb rub; avoid honey or balsamic glazes.
- GF: Ensure your chicken stock for the pan sauce is certified gluten-free.
The Fix-It:
- Soggy Skin: Your oven was too crowded or the bird was wet. Fix it by cranking the broiler for the last 2 minutes.
- Dry Breast: You overcooked it. Fix it by slicing thin and bathing the meat in a warm, buttery chicken jus.
- Raw Near the Bone: The bird was too cold when it went in. Fix it by carving the pieces and returning the undercooked parts to the pan for a quick sear.
Meal Prep: To reheat without that "leftover" taste, avoid the microwave. Use a saucier to warm a little stock, add the sliced chicken, and cover. This gently steams the meat back to life without toughening the proteins.
The Wrap-Up
Mastering roast chicken recipes easy style is about respecting the science of the bird. Once you understand how heat moves through protein and how salt alters cellular structure, you can riff on these six recipes with total confidence. Whether you are adding spicy harissa or classic lemon-thyme, the foundation remains the same. Go forth, use your tongs with authority, and enjoy the best chicken of your life.
The Kitchen Table
How do I get the skin extra crispy?
Air-dry the chicken in the refrigerator uncovered for 24 hours. This dehydrates the skin, allowing the fat to fry the surface instantly once it hits the high heat of the oven, resulting in a glass-like crunch.
What is the best temperature for roasting?
Roast at 425 degrees Fahrenheit for a standard bird. This high heat triggers the Maillard reaction quickly, crisping the skin before the lean breast meat has a chance to overcook and become dry or stringy.
Should I cover the chicken with foil?
Never cover a roasting chicken with foil. This traps steam, which effectively boils the skin rather than roasting it. If the breast is browning too fast, simply move the bird to a lower oven rack to modulate heat.
How do I know when the chicken is done?
Use a digital thermometer to check the thickest part of the thigh. Remove the bird from the oven when it reaches 160 degrees Fahrenheit. Carryover cooking will bring it to the FDA-recommended 165 degrees while it rests.