
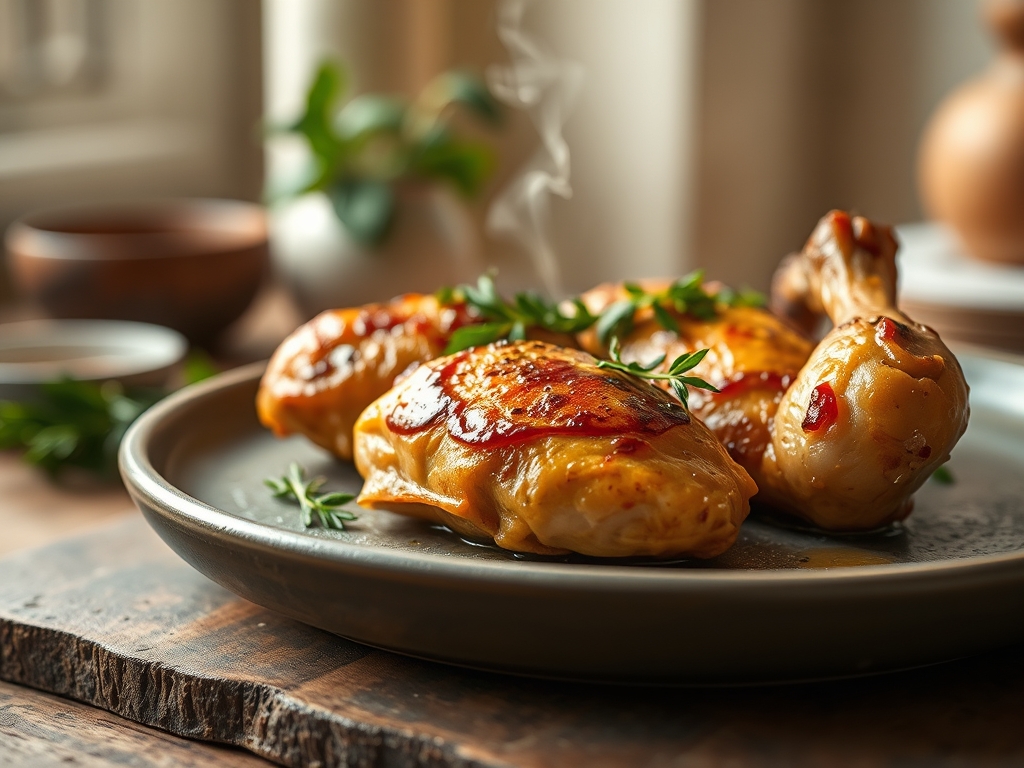
The kitchen is currently humming with the scent of rosemary and rendered fat; it is the olfactory equivalent of a warm hug. When you master chicken recipes whole, you are not just making dinner; you are performing a culinary magic trick that transforms a single bird into a week of gourmet fuel. There is a specific, primal joy in pulling a golden, crackling bird from the oven that pre-cut thighs simply cannot replicate. We are going for that perfect shatter-glass skin and flesh so succulent it practically falls off the bone. By roasting the bird in its entirety, you protect the delicate breast meat with a protective layer of skin and bone, ensuring every bite is saturated with moisture. Whether you are feeding a hungry family of four or prepping for a solo week of elevated salads, these ten variations on the classic roast will revolutionize your repertoire. We are going to dive deep into the chemistry of the crunch and the physics of the perfect carve. Grab your favorite apron; it is time to turn your kitchen into the best bistro in town.

The Gathers:
Before we strike a single match, we must curate our mise-en-place with precision. You will need a four to five pound bird, preferably air-dried in the refrigerator for twenty-four hours to ensure the skin is parchment-thin and ready to crisp. On your workstation, arrange a heavy-bottomed skillet or a stainless steel roasting pan. You will also need high-quality kosher salt; its jagged crystal structure is superior for drawing out surface moisture through osmosis. Gather your aromatics: halved garlic bulbs, sprigs of woody thyme, and lemons that feel heavy for their size, indicating a high juice content.
For the fat, we use unsalted European-style butter because its lower water content prevents the skin from steaming. If you want to lean into the science of flavor, keep a small bowl of smoked paprika and cumin nearby to trigger the Maillard reaction. Smart Substitutions: If you are out of butter, avocado oil provides a high smoke point that handles intense heat beautifully. No fresh herbs? Use a concentrated poultry seasoning, but bloom it in warm oil first to release the fat-soluble volatile compounds. Always have a digital scale handy to verify your bird's weight; even a half-pound difference alters the thermal trajectory of your roast.
The Clock: Timing and Flow
Precision is the difference between a masterpiece and a dry disaster. Total active prep time is roughly twenty minutes, but the "Chef's Flow" requires patience. You must allow the chicken to sit at room temperature for at least forty-five minutes before cooking. This reduces the thermal shock when it hits the oven, ensuring the exterior does not overcook before the center reaches safety.
The roasting phase typically spans sixty to seventy-five minutes at 425 degrees Fahrenheit. However, the most critical segment of the clock is the twenty-minute rest period post-oven. During this time, the muscle fibers relax and reabsorb the viscous juices. If you cut too soon, those juices will end up on your cutting board rather than in your mouth.
The Masterclass: Step-by-Step

1. The Surface Preparation
Remove the bird from its packaging and pat it dry with paper towels until the skin feels like dry suede. Use a bench scraper to clear any debris from your board. Season aggressively with salt, ensuring you cover the interior cavity to season the meat from the inside out.
Pro Tip: This process utilizes hygroscopy, where salt draws moisture out of the skin and then dissolves into a brine that is reabsorbed, deeply seasoning the protein.
2. Trussing for Uniformity
Use unbleached kitchen twine to secure the legs and wings close to the body. This creates a compact shape that prevents the extremities from burning while the thicker breast meat catches up.
Pro Tip: Trussing minimizes the surface area exposed to direct heat, which slows down thermal radiation and promotes even cooking across different muscle densities.
3. The Fat Application
Slather the skin with your softened butter or oil. Use a microplane to zest lemon directly over the bird, allowing the citrus oils to bind with the fat. Place the bird on a rack inside your pan to allow hot air to circulate underneath.
Pro Tip: Fat acts as a heat transfer medium. It fills the microscopic gaps on the skin surface, creating a conductive layer that triggers enzymatic browning.
4. The High-Heat Roast
Slide the pan into the center of the oven. Do not open the door for the first forty-five minutes. You want to maintain a constant ambient temperature to ensure the rendering process is uninterrupted.
Pro Tip: High initial heat causes the subcutaneous fat to render, liquefying it so it can fry the skin from the inside out for maximum crunch.
5. The Temperature Check
Use a digital probe thermometer to check the thickest part of the thigh. You are looking for 160 degrees Fahrenheit. The temperature will continue to rise once removed from the heat.
Pro Tip: This is known as thermal carryover. The residual heat on the surface continues to travel inward, safely bringing the bird to the USDA-recommended 165 degrees without drying it out.
6. The Deglaze and Rest
Move the chicken to a warm platter. Place your roasting pan over a burner and use a saucier or whisk to incorporate a splash of white wine or stock, scraping up the browned bits (the fond).
Pro Tip: Deglazing releases the concentrated proteins and sugars stuck to the pan, creating a piquant sauce that embodies the "fifth taste" or umami.
The Deep Dive: Science and Solutions
Macro Nutrition: A standard four-ounce serving of roast chicken provides approximately 25 grams of high-quality protein and 0 grams of carbohydrates. It is rich in selenium and phosphorus, which support metabolic function. To keep it Keto, keep the skin on for healthy fats. For a Vegan alternative in a family setting, use the same aromatic roasting technique with a large head of cauliflower or a "meat" made of seitan.
The Fix-It: Common Pitfalls
- Soggy Skin: This happens if the oven temperature is too low or the bird was crowded with watery vegetables. Fix: Turn on the broiler for the last three minutes, but watch it like a hawk.
- Dry Breast Meat: Usually caused by overcooking. Fix: Next time, roast the bird breast-side down for the first thirty minutes to let the juices pool in the white meat.
- Bloody Joints: This indicates the thigh bone hasn't reached temperature. Fix: Separate the legs and pop them back in the pan for five minutes while the breast rests.
Meal Prep Science: To maintain "day-one" quality, do not microwave leftover chicken. Instead, use a heavy-bottomed skillet with a teaspoon of water and a lid. This creates a steam-sauna that rehydrates the proteins without toughening them through electromagnetic radiation.
The Wrap-Up
Mastering chicken recipes whole is the ultimate culinary power move. It saves money, tastes better, and provides a sense of accomplishment that pre-packaged meals simply cannot match. By understanding the physics of heat and the chemistry of salt, you have moved from being a recipe-follower to a true kitchen scientist. Now, grab those tongs, carve that bird with confidence, and enjoy the best meal of your week!
The Kitchen Table
How do I get the crispiest skin on a whole chicken?
Salt the chicken and leave it uncovered in the refrigerator for twenty-four hours. This dehydrates the skin, allowing the fat to render more efficiently, resulting in a glass-like, shatteringly crisp texture once roasted at high heat.
What is the best way to tell if chicken is done?
Use a digital thermometer to measure the internal temperature at the thickest part of the thigh. Remove the bird at 160 degrees Fahrenheit; thermal carryover will bring it to the safe 165-degree mark while it rests.
Can I cook a whole chicken from frozen?
It is not recommended. The exterior will overcook and become tough before the interior reaches a safe temperature. Always thaw completely in the refrigerator to ensure even heat distribution and to prevent the growth of harmful bacteria.
Why should I rest the chicken before carving?
Resting allows the muscle fibers, which tightened during cooking, to relax. This enables the viscous juices to redistribute throughout the meat. If you carve immediately, the moisture will escape, leaving the meat dry and flavorless.