
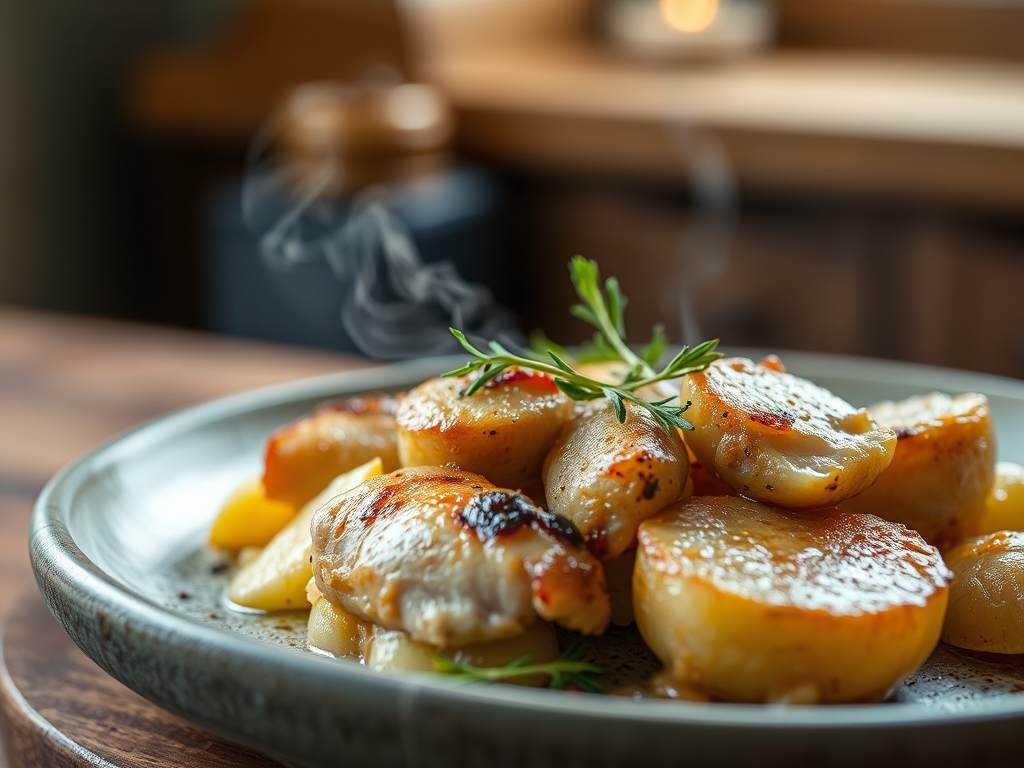
Imagine the scent of golden fat rendering in a heavy-bottomed skillet while the starch from a russet potato begins to caramelize into a crisp, amber crust. There is a primal, undeniable comfort in the combination of poultry and tubers. When life feels chaotic, these simple chicken and potato recipes with few ingredients offer a culinary reset that balances high-level chemistry with minimal effort. We are moving beyond the basic tray bake to explore how heat, salt, and fat transform humble pantry staples into restaurant-quality plates.
The secret to a minimalist masterpiece lies in the quality of your Maillard reaction. This is the chemical dance between amino acids and reducing sugars that creates that savory, "browned" flavor we crave. By stripping away the noise of twenty-ingredient spice blends, we allow the natural sweetness of the potato and the rich umami of the chicken to take center stage. Whether you are searing a skin-on thigh to achieve a glass-like crackle or roasting fingerlings until their interiors turn to velvet, the goal is maximum flavor with zero clutter. Let us dive into the mechanics of the perfect bird and the perfect spud.
The Gathers:
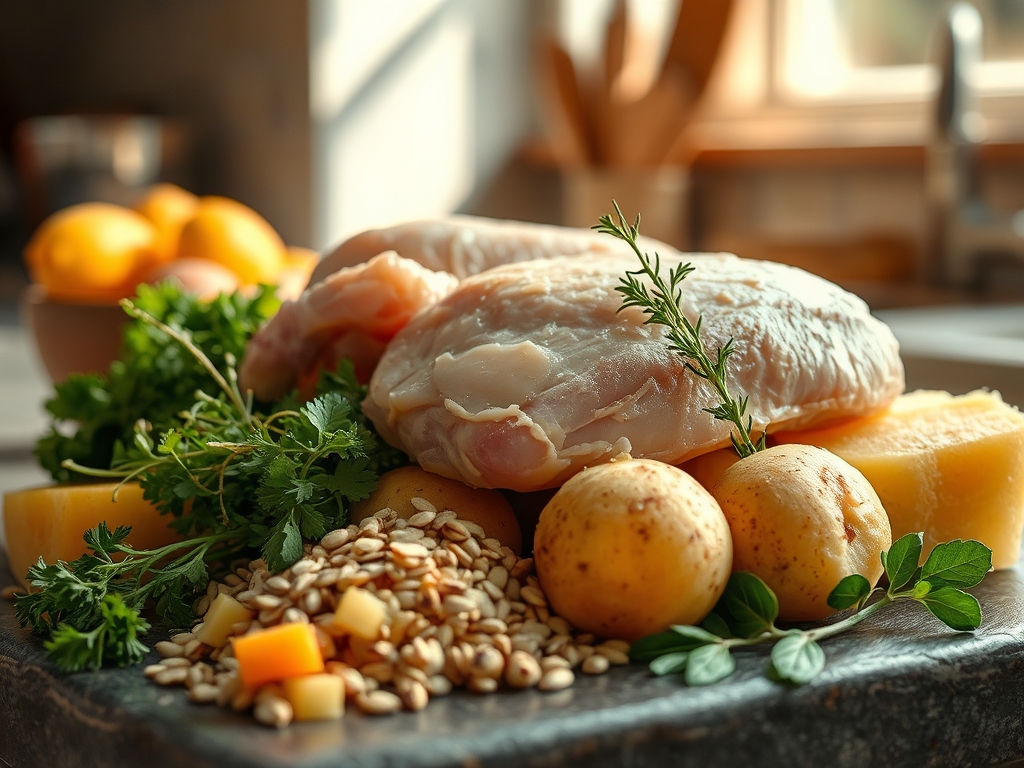
To execute these six variations, your mise-en-place must be precise. Because we are working with so few components, each one must be high-performing. You will need high-moisture waxy potatoes (like Yukon Gold) for creamy textures and high-starch varieties (like Russets) for crunch. For the poultry, skin-on, bone-in cuts provide the necessary lipids to infuse the vegetables as they cook.
Essential Inventory:
- Protein: 2 lbs Chicken (Thighs or Drumsticks are best for rendering fat).
- Starch: 1.5 lbs Potatoes (Uniformly sized for even thermal conduction).
- Fat: High-smoke point oil (Avocado or Grapeseed) or clarified butter.
- Aromatics: Fresh rosemary, garlic cloves, or a piquant lemon zest.
- Seasoning: Flaky sea salt and freshly cracked peppercorns.
Smart Substitutions:
If you are out of fresh garlic, use a microplane to grate a small amount of shallot for a more delicate, viscous base. No rosemary? Thyme or sage provide a similar earthy profile. If you find your potatoes are too old and soft, soak them in ice water for thirty minutes to aerate the surface starch; this ensures a crispier exterior once they hit the hot oil.
The Clock
The "Chef's Flow" is about overlapping tasks to minimize downtime. Total active preparation for these meals is roughly 15 minutes, with a 35 to 45-minute cook time. While your oven preheats to a blistering 425 degrees Fahrenheit, use a bench scraper to clear your cutting board and organize your ingredients.
Start with the potatoes; they take the longest to reach a soft interior. While they begin their initial roast or boil, you can pat the chicken dry. Removing surface moisture is non-negotiable. If the skin is damp, the energy of the pan goes into evaporating water rather than browning the protein. By the time the chicken is seasoned and ready to sear, your potatoes will be halfway to perfection.
The Masterclass
1. The Prep and Dry Brining
Place your chicken on a digital scale to ensure even portions. Season aggressively with salt at least 10 minutes before cooking. This allows the salt to penetrate the muscle fibers via osmosis, resulting in a juicier final product.
Pro Tip: This process is called denaturing. Salt breaks down the protein structure, allowing it to hold onto more water during the high-heat roasting process.
2. Slicing for Surface Area
Cut your potatoes into uniform cubes or wedges. The smaller the cut, the more surface area is exposed to the heat, which leads to more crunch. Use a sharp chef's knife to ensure clean edges; jagged edges can burn before the center is cooked.
Pro Tip: To prevent enzymatic browning (that unappealing gray color), keep sliced potatoes in water until the exact moment they are ready to meet the fat.
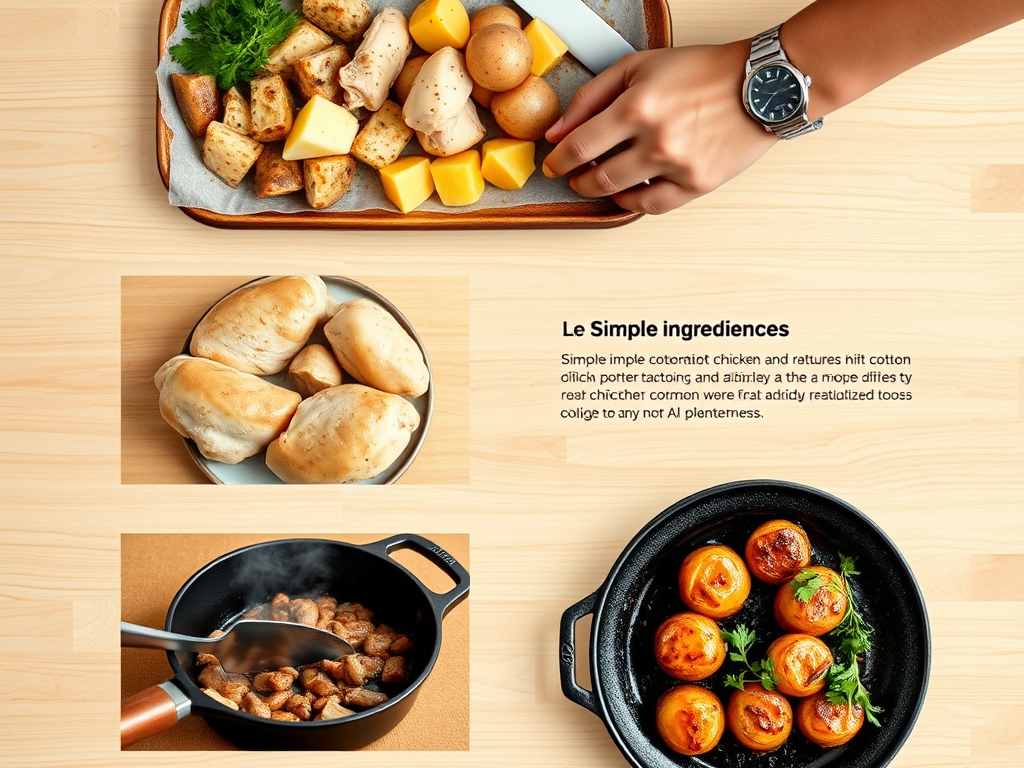
3. The Initial Sear
Heat your heavy-bottomed skillet until the oil shimmers but does not smoke. Place the chicken skin-side down and do not move it. Use tongs to lift a corner after 5 minutes; if it sticks, the Maillard reaction is not yet complete.
Pro Tip: This is known as "release." When the proteins have caramelized sufficiently, they will naturally detach from the metal surface.
4. Integrating the Tubers
Once the chicken has rendered its golden fat, toss the potatoes directly into the pan. This allows the potatoes to fry in the flavored chicken lipids, creating a cohesive flavor profile that oil alone cannot provide.
Pro Tip: This is a form of confit cooking. By bathing the starch in animal fat, you create a rich, savory crust that is chemically superior to vegetable oil frying.
5. The Oven Finish
Transfer the entire skillet (or a sheet pan) into the oven. This ambient heat cooks the chicken through to the bone while the potatoes soften into a buttery consistency. Use a probe thermometer to check for an internal temperature of 165 degrees Fahrenheit.
Pro Tip: Account for thermal carryover. The internal temperature will rise by 3 to 5 degrees after you remove the dish from the oven, so pull it out at 160 degrees for maximum succulence.
6. The Deglaze and Rest
Remove the chicken and let it rest on a warm plate. If there are browned bits (fond) stuck to the pan, add a splash of lemon juice or chicken stock and scrape with a wooden spoon to create a quick pan sauce.
Pro Tip: Deglazing captures the concentrated flavor molecules left behind in the pan, ensuring that none of that hard-earned umami goes to waste.
The Deep Dive
Macro Nutrition:
A standard serving of chicken thighs and roasted potatoes provides approximately 35 grams of protein and 30 grams of complex carbohydrates. It is a balanced, high-satiety meal that fuels muscle recovery and provides steady energy.
Dietary Swaps:
- Vegan: Replace chicken with thick slabs of cauliflower or "steaks" of Lion's Mane mushroom. Use olive oil instead of animal fat.
- Keto: Swap the potatoes for radishes or turnips. When roasted, these vegetables lose their peppery bite and mimic the texture of a potato with a fraction of the carbs.
- GF: This meal is naturally gluten-free, provided your seasonings are pure.
The Fix-It:
- Soggy Potatoes: You likely overcrowded the pan. Steam got trapped between the pieces. Fix: Spread them out on a second tray and blast at 450 degrees for 5 minutes.
- Dry Chicken: You missed the carryover window. Fix: Shred the meat and toss it in the deglazed pan sauce to rehydrate the fibers.
- Burnt Garlic: You added it too early. Fix: Next time, add smashed cloves in the last 10 minutes of roasting so they infuse without carbonizing.
Meal Prep:
To maintain "day-one" quality, reheat your chicken and potatoes in an air fryer or toaster oven rather than a microwave. Microwaves vibrate water molecules, which turns crispy skin into rubber. A dry, convective heat source will re-crisp the fats and keep the starch fluffy.
The Wrap-Up
Mastering simple chicken and potato recipes with few ingredients is the ultimate culinary power move. It proves that you do not need a pantry full of exotic imports to create a meal that feels like a warm hug. By focusing on technical precision; like proper rendering, salt timing, and heat management; you turn basic groceries into a gourmet experience. Now, grab your skillet, trust the science, and go make something delicious!
The Kitchen Table
Can I use chicken breasts instead of thighs?
Yes; however, breasts lean out quickly. To keep them moist, sear them fast and finish in the oven at a lower temperature. Use a saucier to make an extra butter sauce to compensate for the lack of rendered fat.
What is the best potato for roasting?
Yukon Golds are the gold standard. They possess a medium starch content that allows for a crisp exterior while maintaining a creamy, almost buttery interior without the need for excessive added fats.
How do I get the skin extra crispy?
Leave the chicken uncovered in the fridge for two hours before cooking. This "air-chilling" dehydrates the skin, ensuring the heat immediately begins the crisping process rather than wasting energy on surface moisture evaporation.
Why are my potatoes sticking to the pan?
You likely didn't wait for the starch to caramelize or the pan wasn't hot enough. Ensure the fat is shimmering before adding the potatoes, and avoid flipping them until they naturally release from the surface.