
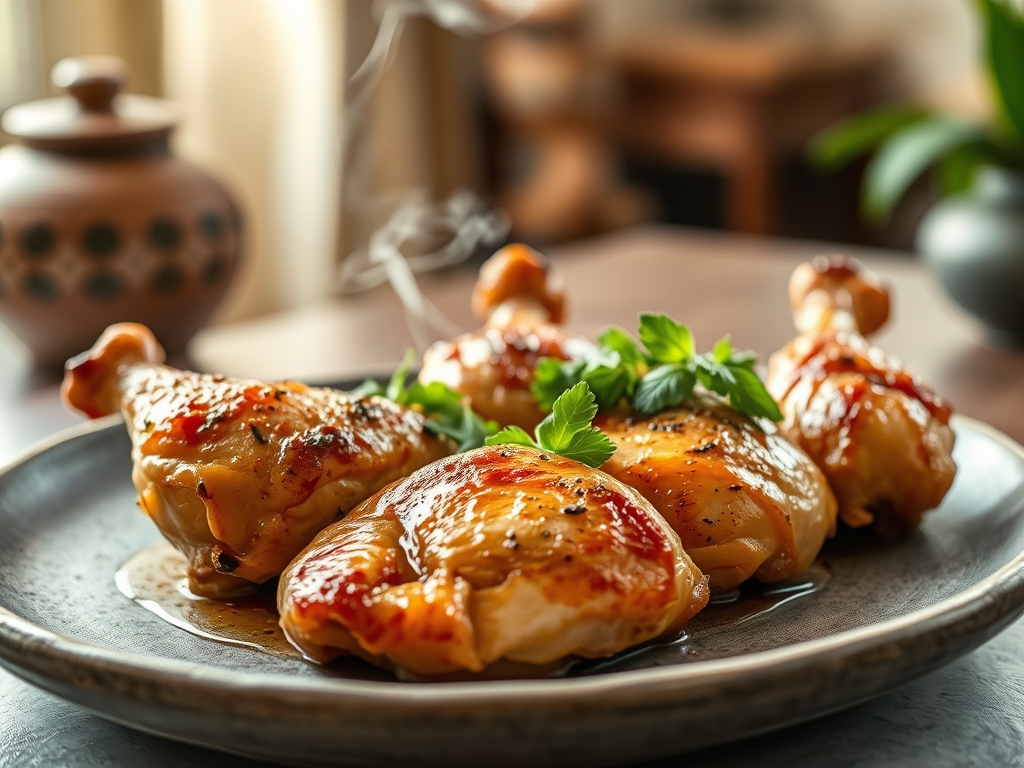
Close your eyes and imagine a piece of chicken so succulent that it practically dissolves on the tongue; a masterclass in moisture that defies the dry, rubbery reputation of basic poultry. When you master professional steamed chicken recipes, you are not just cooking; you are engaging in a delicate dance of vapor and protein tension. Most home cooks treat the steamer basket like a culinary purgatory, but we are going to treat it like a high-end spa. By controlling the atmospheric pressure and moisture saturation, we can achieve a texture that roasting simply cannot touch. This is about the clean, pure essence of the bird, elevated by strategic aromatics and scientific precision. We are moving beyond the bland to create a dish that is vibrant, silky, and deeply restorative. Whether you are prepping for a week of clean eating or hosting a dinner that requires a show-stopping protein, these techniques will transform your kitchen into a sanctuary of flavor. Forget everything you know about "diet food" because this is pure culinary luxury.
The Gathers:
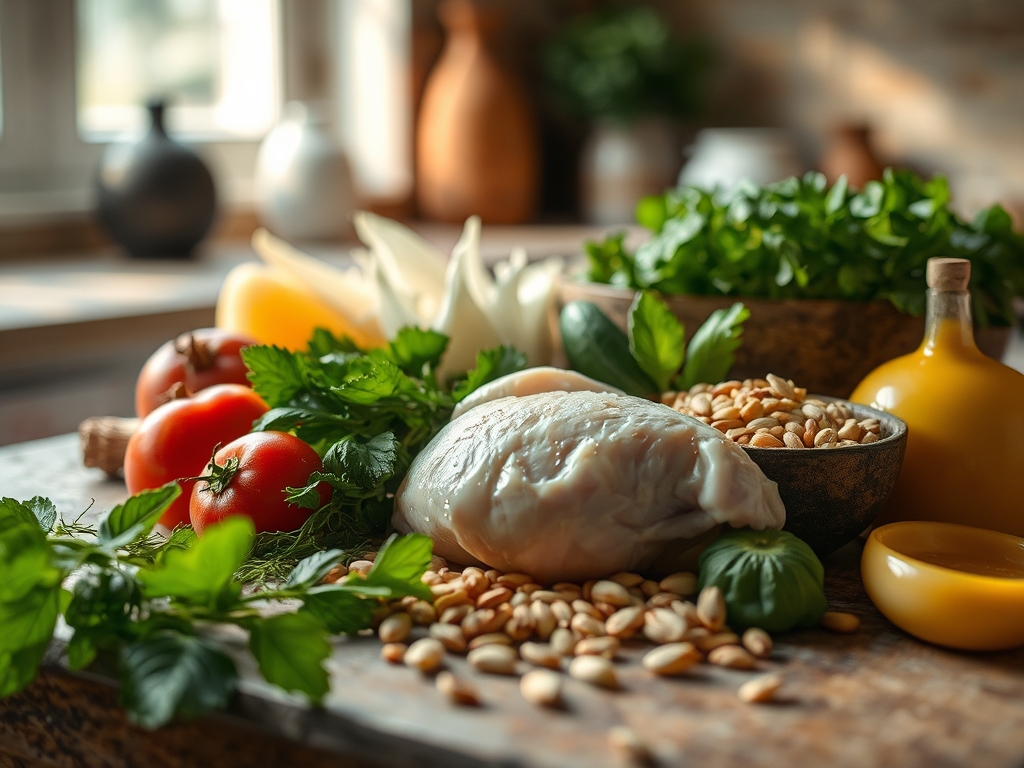
To begin, clear your workspace with a bench scraper and assemble your mise-en-place. We start with organic, air-dried chicken thighs or breasts; the air-drying process ensures the skin (if using) remains taut rather than waterlogged. You will need high-quality sea salt, which acts as a denaturant to break down tough muscle fibers. For the aromatics, gather fresh ginger, scallions, and star anise. The ginger should be sliced into thin coins to maximize the surface area for oil extraction.
The liquid base is equally vital. Instead of plain water, use a saucier to prepare a light dashi or a fortified chicken bone broth. This creates a viscous steam environment that infuses the meat rather than stripping it of its natural juices. For "Smart Substitutions," if you are avoiding soy, coconut aminos provide a similar piquant depth. If fresh ginger is unavailable, a dash of galangal powder offers a sharper, more citrusy profile. Ensure you have a digital scale ready; precision in salt-to-meat ratios (aim for 1.5% by weight) is the secret to professional-grade seasoning.
The Clock:
The "Chef's Flow" is all about timing and thermal momentum. Total preparation takes 15 minutes, while the active cooking phase spans 18 to 22 minutes depending on the thickness of the cut. However, the most critical phase is the 10-minute rest period. During this time, the internal temperature stabilizes, preventing the juices from rushing out the moment you slice into the meat.
- Prep (15 mins): Slicing aromatics and dry-brining.
- Steaming (20 mins): Controlled vapor exposure.
- Resting (10 mins): Fiber relaxation and juice redistribution.
The Masterclass:
1. The Dry-Brine Technique
Before the chicken ever touches the heat, rub it with a blend of salt and white pepper. Let it sit for at least 30 minutes.
Pro Tip: This utilizes osmosis to draw moisture out and then pull the seasoned brine back into the cells, seasoning the meat to the bone.
2. Slicing on the Bias
Use a sharp chef knife to create shallow scores across the surface of the meat. This increases the surface area for the steam to penetrate.
Pro Tip: Scoring prevents the protein fibers from tightening too aggressively, which can lead to a "shrunken" and tough texture.
3. The Aromatic Bed
Line your steamer basket with cabbage leaves or parchment paper, then layer your ginger and scallions. Place the chicken directly on top.
Pro Tip: This creates a physical barrier that prevents direct, harsh heat from the metal while allowing volatile oils from the aromatics to infuse the protein.
4. Cold Start Steaming
Start with cool water in your pot and bring it to a boil with the chicken already inside.
Pro Tip: A gradual temperature increase prevents the proteins from "shocking" and contracting, ensuring a more tender result through gentle coagulation.
5. The Tight Seal Method
Wrap the lid of your steamer in a clean kitchen towel to ensure no steam escapes.
Pro Tip: Maintaining constant vapor pressure is essential for thermal conductivity, ensuring the chicken cooks evenly without dry spots.
6. Monitoring Internal Temp
Use a digital thermometer to pull the chicken when it hits 160 degrees Fahrenheit.
Pro Tip: Thermal carryover will bring the chicken to the safe 165-degree mark during the resting phase without overcooking the delicate exterior.
7. The Flash-Chilling Secret
If serving cold (like in a Hainanese style), plunge the cooked chicken into an ice bath for 30 seconds immediately after steaming.
Pro Tip: This shocks the skin and creates a gelatinous layer between the skin and meat, locking in moisture instantly.
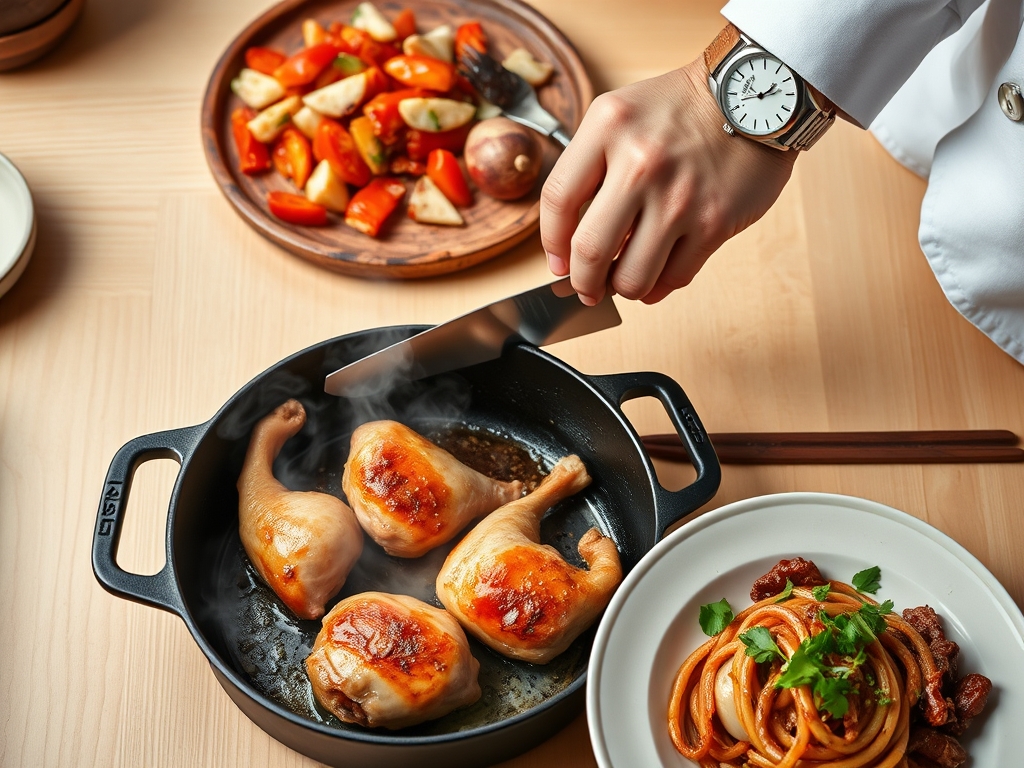
8. The Sizzling Oil Finish
Heat a small amount of neutral oil in a heavy-bottomed skillet until it reaches the smoke point, then pour it over the steamed aromatics on top of the chicken.
Pro Tip: This rapid heat creates a localized Maillard reaction, blooming the flavors of the ginger and scallions without frying the meat.
9. The Rest Period
Never skip the rest. Place the chicken on a warm plate and tent loosely with foil for 10 minutes.
Pro Tip: Resting allows the muscle fibers to aerate and reabsorb the liquid that was pushed to the surface during cooking.
The Deep Dive:
From a nutritional standpoint, steamed chicken is a powerhouse. It is high in lean protein and low in oxidized fats, making it ideal for cardiovascular health. One 6-ounce serving typically contains 40g of protein and only 4g of fat. For dietary swaps, vegans can apply these exact aromatic steaming techniques to extra-firm tofu or seitan. For Keto enthusiasts, finish the dish with a generous drizzle of sesame oil or MCT oil to boost healthy fats.
The Fix-It:
- Rubbery Texture: You likely overcooked it. Use a thermometer next time and pull at 160 degrees.
- Bland Flavor: The salt didn't penetrate. Ensure you dry-brine for at least 30 minutes before steaming.
- Soggy Skin: The steam was too "wet." Wrap your lid in a towel to absorb excess condensation.
Meal Prep: To reheat without losing quality, do not use a microwave. Instead, use a saucier to create a small amount of steam and gently warm the chicken for 3 minutes. This restores the moisture levels to "day-one" perfection.
The Wrap-Up:
You are now officially a master of the steam! By understanding the physics of vapor and the chemistry of protein, you have turned a simple bird into a gourmet experience. Remember, the secret is in the details: the quality of your salt, the tightness of your lid, and the patience of your rest. Go forth and conquer your kitchen with these steamed chicken recipes; your taste buds (and your health) will thank you.
The Kitchen Table:
How do I prevent steamed chicken from being bland?
Dry-brine the meat for 30 minutes before cooking and use a bed of aromatics like ginger and scallions. Finishing with a splash of toasted sesame oil or a sizzling oil pour adds essential depth and fat.
Can I steam frozen chicken directly?
It is not recommended. Steaming frozen poultry leads to uneven cooking; the outside becomes rubbery before the center thaws. Always defrost completely in the refrigerator to ensure even heat distribution and a safe internal temperature.
What is the best tool for steaming?
A bamboo steamer basket is ideal because it absorbs excess moisture, preventing water from dripping onto the food. If using metal, wrap the lid in a kitchen towel to catch condensation and maintain a dry steam environment.
How long does steamed chicken last in the fridge?
When stored in an airtight container, steamed chicken remains fresh for up to four days. To maintain the best texture, slice it only right before serving to prevent the interior from drying out.