
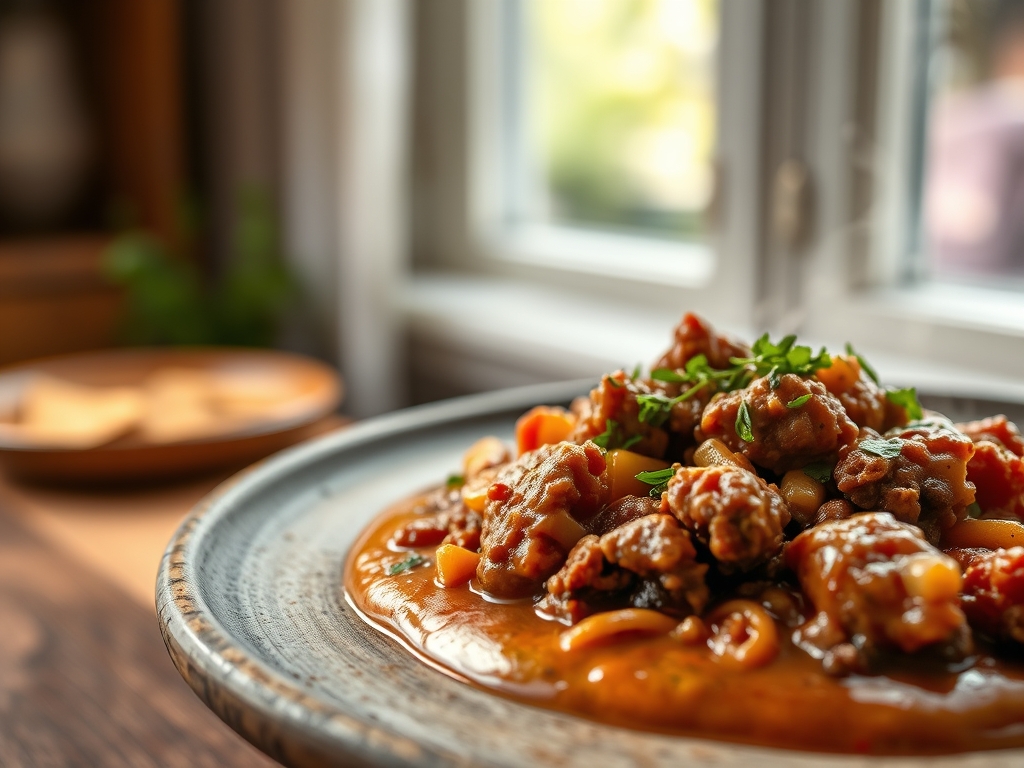
Imagine the sound of a heavy bottomed skillet hitting the burner; a resonant, metallic ring that signals the start of something spectacular. You are standing there with a pound of protein and a red labeled can, ready to transform pantry staples into a five star experience. When you master ground beef recipes campbell soup becomes your secret weapon for achieving instant depth. We are talking about that perfect, glossy coat of sauce that clings to every morsel of savory beef. It is not just dinner; it is a masterclass in efficiency and flavor profile layering that will make your kitchen feel like a high end bistro.
The magic lies in the intersection of convenience and chemistry. While purists might spend hours reducing stocks, we are leveraging the concentrated power of condensed soup to bypass the long simmer. We are going to explore how to manipulate proteins and starches to create a meal that tastes like it took all afternoon. Grab your favorite wooden spoon and clear some counter space. We are diving deep into the mechanics of the ultimate comfort food hack.
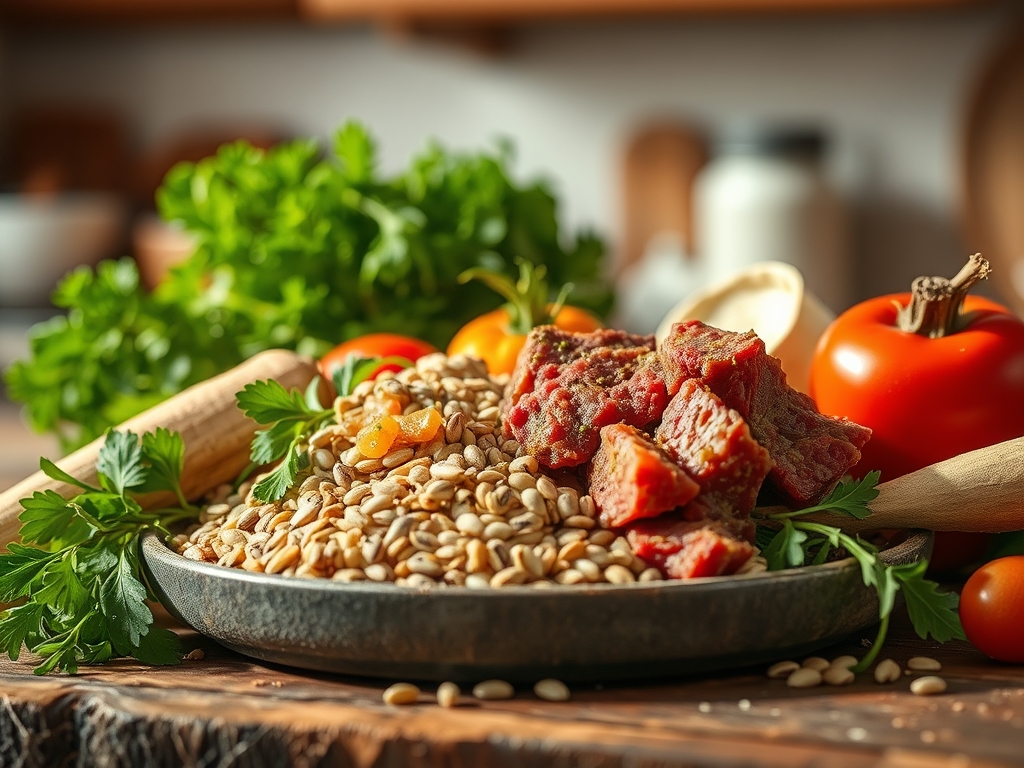
The Gathers:
Setting up your mise-en-place is the difference between a chaotic kitchen and a professional flow. For these ground beef recipes campbell soup serves as your primary liquid base and thickening agent. You will need high quality ground chuck, ideally an 80/20 blend. This ratio ensures enough fat to render out, providing the necessary lipids to carry fat soluble flavors across your palate.
Next, assemble your "flavor boosters." Have a bottle of Worcestershire sauce nearby to add a piquant punch and a bulb of fresh garlic. Instead of a standard knife, use a microplane to grate your garlic and ginger directly into the pan; this creates a paste that integrates seamlessly without the risk of biting into a raw chunk. For the soups, keep a variety on hand: Cream of Mushroom for earthy depth, Tomato for a bright acidity, and Cheddar Cheese for a viscous, velvety finish.
Smart Substitutions: If you are out of fresh onions, a tablespoon of onion powder provides the same aromatic backbone without the moisture release. If your sauce feels too heavy, a splash of dry sherry or red wine vinegar can provide the acid needed to cut through the richness of the beef fat.
The Clock: 25 Minutes to Glory
Efficiency in the kitchen is all about "Chef's Flow." This means performing tasks in an order that eliminates downtime. Your total active time is roughly 10 minutes, with a 15 minute simmer.
Start by heating your skillet over medium high heat before the beef even touches the surface. While the pan reaches the Leidenfrost point, where a drop of water skitters across the surface, you can be opening your cans and measuring your spices. Once the beef is browning, you have a four minute window to tidy your station. By the time the timer dings, your kitchen is clean and your dinner is plated. This rhythmic approach prevents the "post cooking fatigue" that often ruins a good meal.
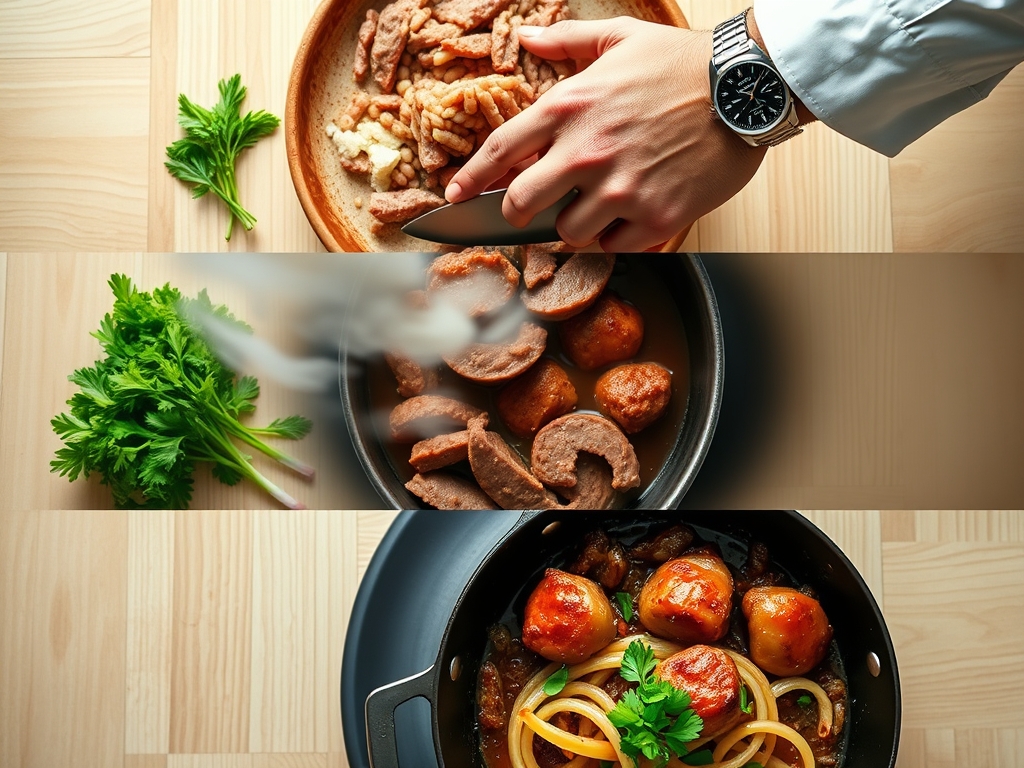
The Masterclass:
1. The High Heat Sear
Place your beef in a preheated heavy-bottomed skillet. Do not crowd the pan; if the meat covers the entire surface, it will steam in its own juices rather than brown. Use a bench scraper or a stiff spatula to break the meat into large chunks.
Pro Tip: This stage is all about the Maillard reaction. This chemical reaction between amino acids and reducing sugars creates the complex, savory flavors we crave. If you stir too often, you drop the pan temperature and lose that golden crust.
2. Deglazing the Fond
Once the beef is browned, remove it with a slotted spoon, leaving about a tablespoon of fat. Add your aromatics like onions or mushrooms. As they cook, they release moisture which loosens the brown bits stuck to the pan, known as the fond.
Pro Tip: The fond contains concentrated flavor compounds. Use a saucier or a flat edged spatula to scrape these bits back into the mix. This is called deglazing, and it ensures no flavor is wasted.
3. The Emulsification Phase
Lower the heat and add your Campbell's soup. Use a whisk to combine the soup with the rendered beef fat and any additional liquids like milk or water. You are looking for a smooth, homogenous texture.
Pro Tip: Condensed soups contain modified food starch which acts as a stabilizer. By whisking steadily, you are encouraging emulsification, preventing the fat from separating and creating a greasy film on top of your sauce.
4. The Flavor Infusion
Add the beef back into the skillet. Reduce the heat to a low simmer. This is where you add your "finishing" spices like freshly cracked black pepper or herbs.
Pro Tip: Simmering allows for osmosis. The salt and seasonings in the soup migrate into the beef, while the beef juices migrate into the sauce. This exchange creates a unified flavor profile rather than a dish that tastes like separate ingredients.
5. The Rest and Set
Turn off the heat and let the pan sit for three minutes before serving. This allows the starches to fully hydrate and the sauce to thicken to its final consistency.
Pro Tip: This accounts for thermal carryover. Even after the heat is off, the internal temperature of the beef continues to rise slightly, ensuring the center of every morsel is perfectly cooked without becoming rubbery.
The Deep Dive:
From a macro nutrition perspective, this dish is a powerhouse of protein and iron. A standard serving provides roughly 25 grams of protein. To balance the sodium content inherent in condensed soups, look for the "Healthy Request" versions or offset the salt by adding a mountain of steamed green beans or broccoli to the plate.
Dietary Swaps: For a Keto version, swap the traditional cream soups for a mix of heavy cream, cream cheese, and xanthan gum. If you are Gluten-Free, Campbell's offers several certified GF options that use cornstarch instead of wheat flour. For a Vegan twist, use plant based crumbles and a "Cream of Mushroom" made from coconut milk and nutritional yeast.
The Fix-It:
- Too Salty: Do not add water; add a splash of heavy cream or a teaspoon of sugar to balance the salt receptors on your tongue.
- Too Thin: Create a slurry of one teaspoon cornstarch and one tablespoon cold water. Whisk it into the boiling sauce for thirty seconds.
- Broken Sauce: If the fat is separating, whisk in a tablespoon of cold butter or a splash of milk to re-emulsify the mixture.
Meal Prep Science: When reheating, the starches will have tightened up in the fridge. To achieve "day-one" quality, add a tablespoon of water or broth before microwaving. This creates steam that re-hydrates the starch molecules, making the sauce viscous and creamy again.
The Wrap-Up:
You have officially graduated from basic cooking to culinary chemistry. By understanding how to leverage the convenience of Campbell's soup with professional techniques like deglazing and the Maillard reaction, you have unlocked a world of weeknight possibilities. These ground beef recipes are more than just a quick fix; they are a testament to how smart cooking can produce gourmet results. Now, grab that skillet and show the kitchen who is boss!
The Kitchen Table:
How do I prevent my ground beef from being greasy?
Drain the excess fat after browning but before adding the soup. Leave exactly one tablespoon to infuse the sauce with flavor without creating a slick, oily texture on the surface of the finished dish.
Can I cook the pasta directly in the soup and beef mixture?
Yes, this is called a one pot method. Add an extra cup of liquid for every four ounces of dry pasta. The starches released from the pasta will further thicken the sauce for a luxurious mouthfeel.
What is the best way to store leftovers?
Store in an airtight glass container for up to four days. Glass is non-reactive and won't absorb the piquant aromas of the onions and garlic, ensuring your fridge stays fresh and your food tastes untainted.
Why does my sauce get thicker as it cools?
This is due to starch retrogradation. As the temperature drops, the starch molecules in the soup form a more rigid structure. A quick reheat with a splash of liquid will easily reverse this process.