
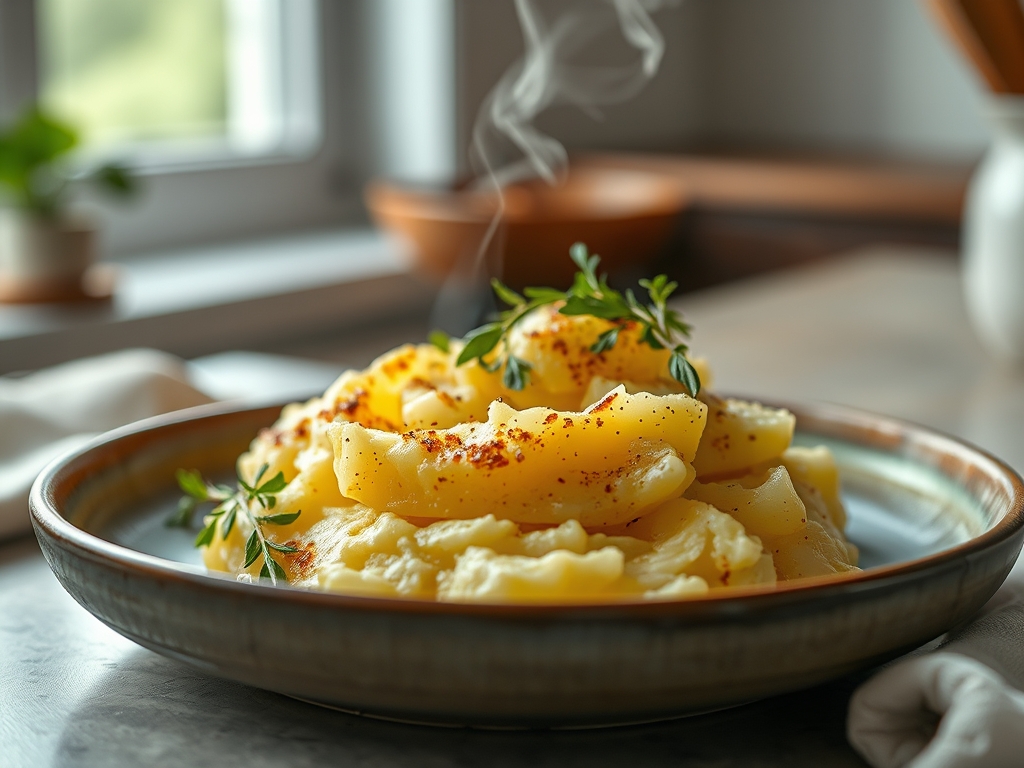
Imagine a cloud of steam rising from a heavy-bottomed pot; it carries the scent of toasted butter and earthy, mineral-rich earth. When we talk about the best yukon gold mashed potato recipes, we are not just talking about side dishes; we are discussing the pursuit of the perfect emulsion. Yukon Golds are the crown jewel of the tuber world because they possess a unique medium-starch content that sits right between a waxy red potato and a starchy Russet. This natural balance creates a texture that is inherently creamy and buttery without needing a gallon of dairy to get there. As your resident kitchen scientist and best friend, I am here to tell you that the difference between a gluey mess and a silky masterpiece lies in how you treat those starch granules. We are going to master the art of the mash by respecting the cellular structure of the potato. Grab your apron and a glass of wine; we are about to turn a humble root vegetable into a velvet-textured revelation that will make every other side dish on the table look like an amateur.
The Gathers:
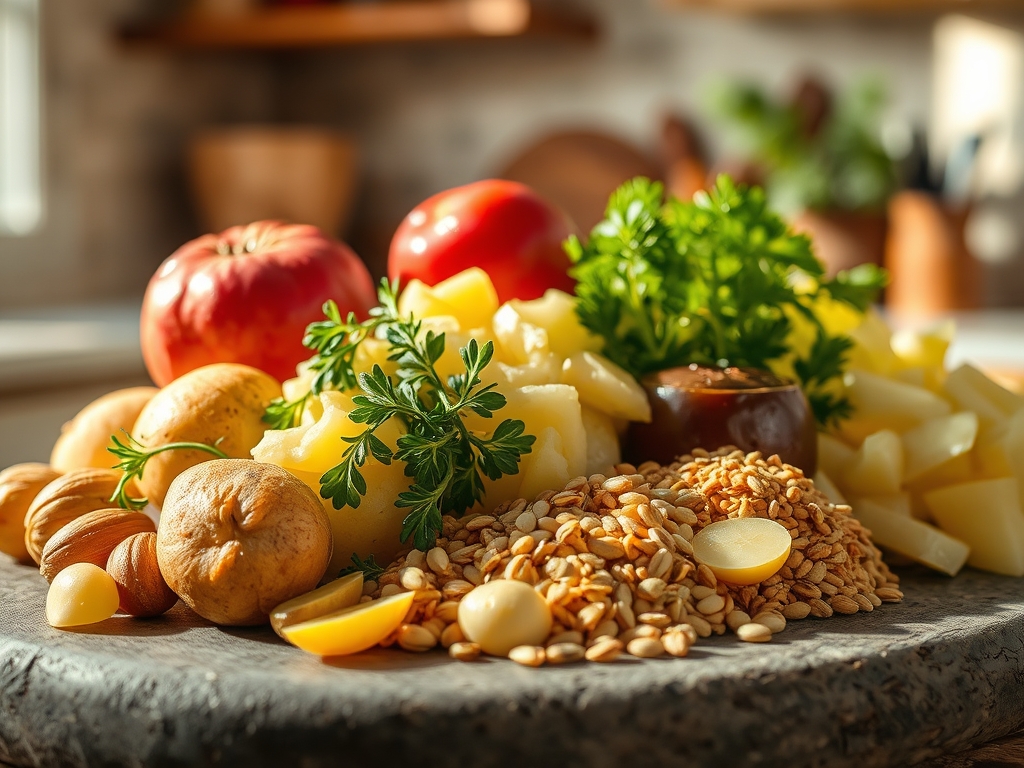
To achieve professional results, your mise-en-place must be precise. Start with five pounds of Yukon Gold potatoes; look for skins that are tight and free of any green tint, which indicates solanine development. You will need high-fat European-style butter (aim for 82 percent butterfat or higher) to ensure a more stable emulsion. For the liquid component, heavy cream and whole milk provide the necessary lipids to coat the starch. Do not forget the aromatics: fresh garlic cloves, sprigs of rosemary, and whole black peppercorns for infusing the cream. A high-quality sea salt is non-negotiable for layering flavor from the inside out.
Smart Substitutions: If you are looking to lighten the profile without sacrificing the viscous mouthfeel, you can swap half of the heavy cream for full-fat Greek yogurt or creme fraiche. This adds a piquant tang that cuts through the richness. For a vegan alternative, use a high-quality cashew cream and refined coconut oil. The goal is to mimic the saturated fat content of dairy to maintain that signature structural integrity.
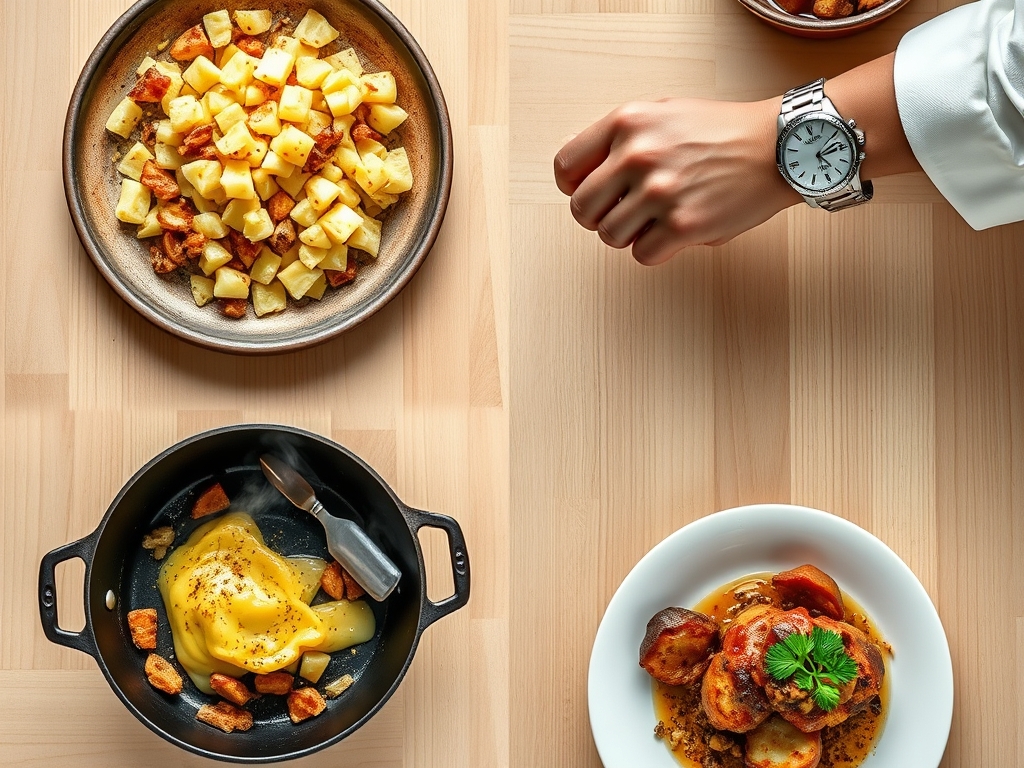
The Clock:
The "Chef's Flow" is all about timing and heat management. Expect about 15 minutes for washing and peeling, though I often leave the skins on for added texture and nutrients. The boiling process takes approximately 20 to 25 minutes depending on the size of your dice. The most critical phase is the "drying out" period, which takes 3 minutes, followed by 10 minutes of active whipping and seasoning. Total time from pantry to table is roughly 50 minutes. By syncing your cream infusion with the boiling time, you ensure that hot liquid meets hot potatoes, preventing the starch from seizing.
The Masterclass:
1. The Uniform Cube
Using a sharp chef knife and a bench scraper, cut your potatoes into uniform 1.5-inch cubes. Consistency is key here; if the pieces vary in size, the smaller ones will overcook and take on water while the large ones remain hard.
Pro Tip: This prevents differential cooking rates. When potatoes overcook, their cell walls rupture prematurely, releasing excess amylose which leads to a gummy, glue-like consistency.
2. The Cold Start
Place your potatoes in a large pot and cover them with cold, heavily salted water. Starting with cold water ensures that the exterior and interior of the potato reach the boiling point simultaneously, leading to an even texture throughout.
Pro Tip: This technique manages thermal gradient. A "hot start" shocks the outside of the potato, causing the exterior to disintegrate before the core is even soft.
3. The Infusion Saucier
While the potatoes simmer, use a saucier to heat your cream, butter, garlic, and herbs. Do not let it boil vigorously; a gentle simmer is enough to infuse the fats with the essential oils from the aromatics.
Pro Tip: Fat is a flavor carrier. By heating the aromatics in butter and cream, you are performing a lipid extraction of flavors that water-based boiling simply cannot achieve.
4. The Steam Dry
Once the potatoes are fork-tender, drain them and immediately return them to the hot pot over low heat for two minutes. Shake the pot constantly to evaporate any lingering surface moisture.
Pro Tip: This is known as retrogradation control. Removing excess water allows the potato cells to better absorb the incoming fat, ensuring the final product is rich rather than watery.
5. The Ricer Revolution
Forget the handheld masher. Pass your dried potatoes through a potato ricer or a food mill into a warm bowl. This aerates the potatoes and breaks them down without overworking the starch.
Pro Tip: Using a ricer minimizes mechanical agitation. Over-mashing with a whisk or electric mixer shears the starch molecules, which is the primary cause of a sticky texture.
6. The Emulsion Phase
Slowly fold in your infused cream mixture using a silicone spatula. Add the liquid in three stages, allowing the potatoes to fully absorb the moisture before adding more. Finish with a shower of lemon zest using a microplane for a bright finish.
Pro Tip: This creates a stable emulsion. By adding fat gradually, you allow the proteins in the dairy to encapsulate the starch granules, resulting in a velvety sheen.
The Deep Dive:
Macro Nutrition: Per serving, these potatoes offer a solid hit of potassium and Vitamin C. While they are calorie-dense due to the butter, the satiety factor is high. A standard portion contains roughly 250 calories, 4g of protein, and 12g of healthy fats.
Dietary Swaps: For a Keto-friendly version, replace half the potatoes with steamed cauliflower florets. For a gluten-free guarantee, ensure your butter and cream are high-quality and unprocessed.
The Fix-It:
- Too Salty: Fold in a spoonful of unsweetened Greek yogurt or a splash of heavy cream to dilute the sodium.
- Lumpy: Pass the mixture through a fine-mesh sieve (tamis) to remove stubborn bits.
- Cold: Use a double boiler method to gently reheat without scorching the bottom.
Meal Prep: To maintain "day-one" quality, store leftovers in an airtight container. When reheating, add a tablespoon of milk and use a low-power setting on the microwave or a gentle stovetop heat. This prevents the fats from separating and keeps the texture supple.
The Wrap-Up:
You have now graduated from basic boiling to a full-blown potato virtuoso! Mastering the best yukon gold mashed potato recipes is all about respecting the chemistry of the starch and the power of a good emulsion. When you use the right tools like a ricer and a saucier, you elevate a simple root vegetable into something truly extraordinary. Remember, cooking is just delicious science that you get to eat. Now, go forth and dominate your next dinner party with the fluffiest, most decadent potatoes your friends have ever tasted!
The Kitchen Table:
Why are my mashed potatoes gluey?
Gluey potatoes happen when you overwork the starch. Using a food processor or over-mashing releases too much amylose, creating a sticky paste. Always use a ricer or food mill and mix by hand to keep the texture light and airy.
Can I make Yukon Gold mashed potatoes ahead of time?
Yes! You can make them up to two days in advance. Store them in the fridge and reheat slowly with an extra splash of warm milk or cream to restore the viscous texture and prevent the butter from breaking.
Do I need to peel Yukon Gold potatoes?
It is a matter of preference. Yukon Golds have very thin, tender skins that blend well. However, for a truly professional, "white tablecloth" finish, peeling them ensures a perfectly uniform and silky emulsion without any fibrous interruptions.
What is the best way to reheat mashed potatoes?
The best way is in a heavy-bottomed pot over low heat. Add a small amount of liquid, like milk or broth, and stir constantly with a silicone spatula. This prevents scorching and ensures the heat distributes evenly through the dense mash.