

Close your eyes and listen to that rhythmic, aggressive hiss as the patty meets the searing cast iron. You can smell it before you see it; that intoxicating aroma of rendering fat and caramelizing proteins that signals the hunt for the best ground beef recipes for burgers is officially over. We are not just making dinner; we are engineering a masterpiece of moisture and structural integrity. A truly great burger is a delicate balance of physics and chemistry, where the right ratio of fat to lean meat determines whether your meal is a dry disappointment or a succulent, juice-dripping triumph.
Forget everything you know about those gray, hockey-puck sliders from backyard cookouts past. We are diving deep into the molecular mechanics of the perfect sear and the architectural secrets of a bun that refuses to crumble under pressure. Whether you are a weekend warrior at the grill or a kitchen scientist looking for that edge, these secrets will transform your approach to ground beef forever. Grab your apron and your favorite heavy-bottomed skillet; we are about to turn your kitchen into the ultimate boutique burger joint.
The Gathers:
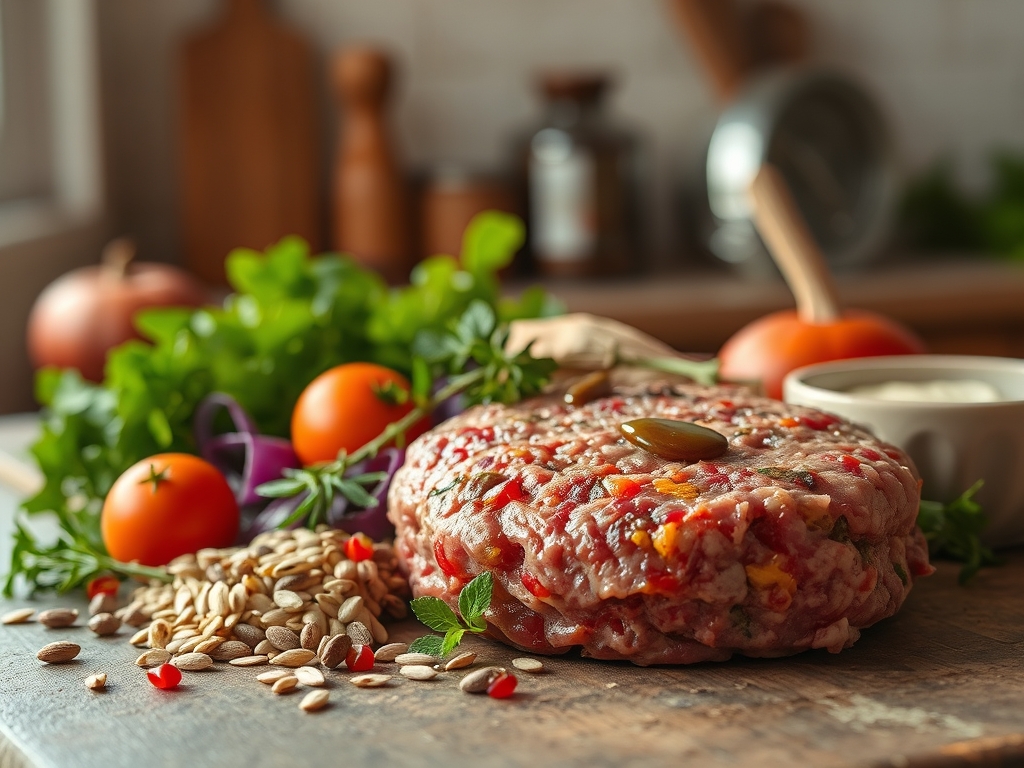
To achieve elite results, your mise-en-place must be precise. Start with high-quality ground chuck, specifically an 80/20 lean-to-fat ratio. This specific percentage ensures enough lipid content to render during cooking, providing that essential mouthfeel and flavor carrier. You will need a digital scale to ensure every patty is uniform, which prevents uneven cooking times across the batch.
For the seasoning, skip the complex spice rubs that mask the beef. Use coarse kosher salt and freshly cracked black pepper. The larger granules of kosher salt provide a better tactile grip and do not dissolve instantly, allowing for a more controlled crust. You will also need a high-smoke-point oil, such as avocado or grapeseed oil, to facilitate the Maillard reaction without the acrid taste of burnt butter.
Smart Substitutions:
If you cannot find prime chuck, a blend of 70% lean beef and 30% ground brisket offers an even more decadent, viscous fat profile. For those avoiding dairy, a smear of roasted garlic aioli provides the same creamy, piquant contrast as a slice of cheddar. If you are gluten-sensitive, a sturdy radicchio leaf or a toasted gluten-free brioche bun can serve as your structural base. Always keep a bench scraper nearby to clean your surface and move patties without tearing the delicate protein strands.
The Clock:
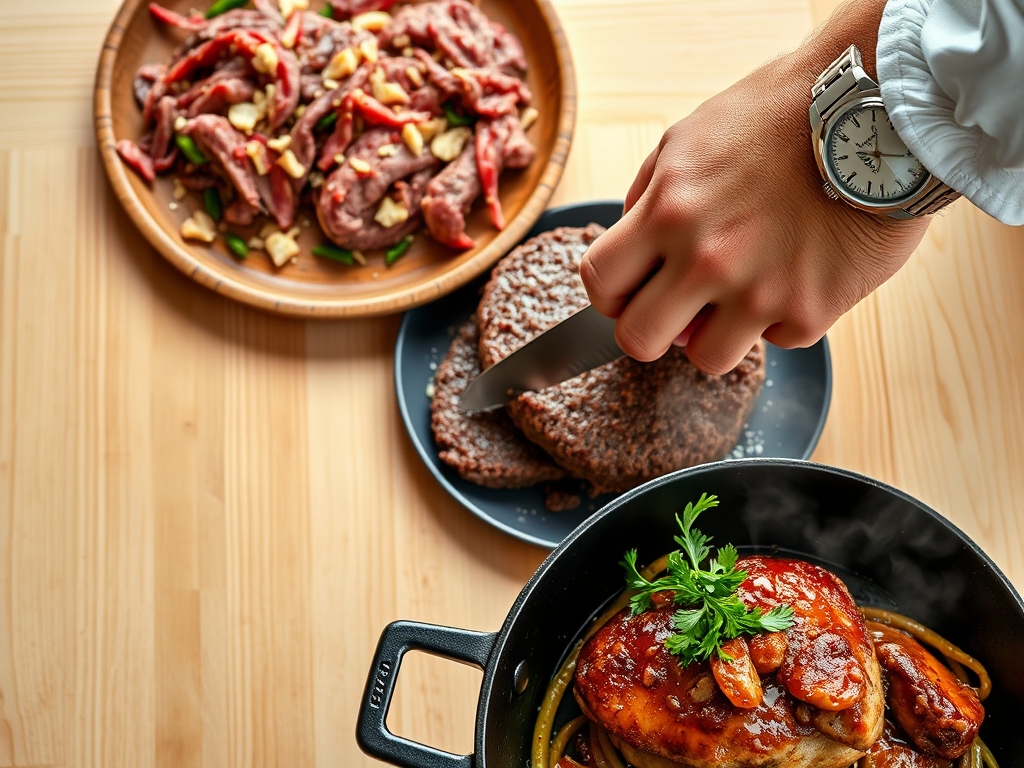
Efficiency in the kitchen is about "Chef's Flow," the art of timing your tasks so that every component reaches its peak simultaneously. Total preparation time is approximately 15 minutes, while the active cooking time is a swift 8 to 10 minutes. However, the most overlooked phase is the "chill time." After shaping your patties, they must rest in the refrigerator for at least 30 minutes. This cold rest allows the proteins to knit back together and ensures the fat remains solid until it hits the pan.
The sequence is vital. While the meat rests, use those 30 minutes to prep your "cold line": slicing onions, washing lettuce, and preparing your secret sauce. Toast your buns in the last 2 minutes of the meat's resting phase. By the time the patties are finished and have undergone their necessary thermal carryover rest, your assembly line will be ready for immediate construction.
The Masterclass:
1. The Cold Touch
Keep your meat as cold as possible until the very second it touches the heat. Use a digital scale to portion the beef into 6-ounce balls, then gently press them into disks. Avoid overworking the meat; excessive handling melts the fat with your body heat, leading to a dense, rubbery texture.
Pro Tip: Keeping the beef cold prevents the premature breakdown of fat. If the fat melts before it hits the pan, you lose the internal steam pockets that create a juicy, aerated interior.
2. The Dimple Technique
Use your thumb or a small spoon to create a shallow indentation in the center of each patty. As the meat proteins heat up, they contract and tighten. Without a dimple, the patty will puff up into a sphere, forcing the juices to run out and making it impossible to stack toppings.
Pro Tip: This compensates for protein contraction. By thinning the center, the patty expands into a perfectly flat surface rather than a dome, ensuring even heat distribution.
3. High-Heat Sear
Place your heavy-bottomed skillet over medium-high heat until the oil begins to shimmer. Lay the patties away from you to avoid oil splatter. Do not move them for at least three minutes. You are looking for a deep, mahogany-brown crust.
Pro Tip: This is the Maillard reaction in action. This chemical reaction between amino acids and reducing sugars creates hundreds of different flavor compounds that provide that savory, "meaty" depth.
4. The Flip and Cheese
Use sturdy tongs or a wide metal spatula to flip the patty once. Immediately place your cheese on top. To ensure a perfect melt, add a teaspoon of water to the pan and cover it with a lid for 30 seconds. The steam will infuse the cheese with heat without overcooking the meat.
Pro Tip: Steam provides a faster, more even heat transfer than dry air. This ensures the cheese reaches a viscous state exactly when the beef reaches its target internal temperature.
5. The Rest
Remove the burgers from the pan and place them on a warm plate or wooden board. Let them sit for at least 3 to 5 minutes before serving. This is the hardest part, but it is the most critical for moisture retention.
Pro Tip: This allows for thermal carryover. The internal temperature will rise by about 5 degrees while resting, and the muscle fibers will relax, allowing the juices to redistribute rather than spilling out on the first bite.
6. The Assembly
Apply your spreads to both the top and bottom bun. This creates a fat-based barrier that prevents the juices from soaking into the bread and making it soggy. Place the lettuce under the patty to act as a "green shield" for the bottom bun.
Pro Tip: This is an exercise in emulsification and moisture barriers. Using a fat-rich sauce like mayo creates a hydrophobic layer that preserves the structural integrity of your brioche.
The Deep Dive:
From a nutritional standpoint, a standard 6-ounce beef burger provides roughly 30 grams of protein and 25 grams of fat. While it is a powerhouse of iron and B12, the caloric density is high. To make this Keto-friendly, simply swap the bun for a large butter lettuce wrap and choose a sugar-free condiment. For a Vegan alternative, many high-moisture plant-based grounds can be treated with these same searing techniques, though they lack the same rendering properties of animal fat.
The Fix-It:
- The Crumbly Patty: If your burger falls apart, the meat was likely too lean or not cold enough when shaped. Fix this by adding a small amount of "panade" (bread and milk paste) to the mix next time to act as a binder.
- The Gray Interior: If the meat looks gray rather than brown, your pan wasn't hot enough. Always wait for the oil to shimmer before adding the beef.
- The Soggy Bun: If your bun disintegrates, you likely skipped the "green shield" or didn't toast the bread. Use a microplane to zest a little lemon into your mayo for extra acid to cut through the grease.
Meal Prep:
If you are cooking for the week, undercook your patties by about 10 degrees. To reheat, avoid the microwave, which turns beef into rubber. Instead, use a toaster oven or a pan with a splash of beef stock to deglaze the surface and gently bring the meat back to temperature without drying it out.
The Wrap-Up:
Mastering the best ground beef recipes for burgers is about respecting the science of the sear and the patience of the rest. By controlling your temperatures and understanding how proteins behave under heat, you move from being a cook to a culinary architect. These six secrets are your blueprint for greatness. Now, go forth, fire up that skillet, and prepare to be the hero of your next dinner party. Your perfect burger is only ten minutes away.
The Kitchen Table:
What is the best fat ratio for burgers?
The gold standard is an 80/20 ratio. This provides enough fat to flavor the meat and keep it moist during the high-heat searing process without making the patty overly greasy or prone to excessive shrinkage.
Why should I salt the burger only at the end?
Salting the meat too early dissolves the protein myosin, which turns the texture from a tender burger into a dense, sausage-like patty. Always salt the exterior right before the meat hits the hot pan.
Can I use a non-stick pan for burgers?
While possible, a non-stick pan cannot safely reach the high temperatures required for a proper Maillard reaction. A cast iron or stainless steel skillet is superior for creating that signature flavorful crust.
How do I know when the burger is done?
Use a digital meat thermometer for accuracy. For a perfect medium-rare, pull the meat at 130 degrees Fahrenheit. For medium, pull at 140 degrees. Remember that temperatures will rise slightly during the resting phase.