
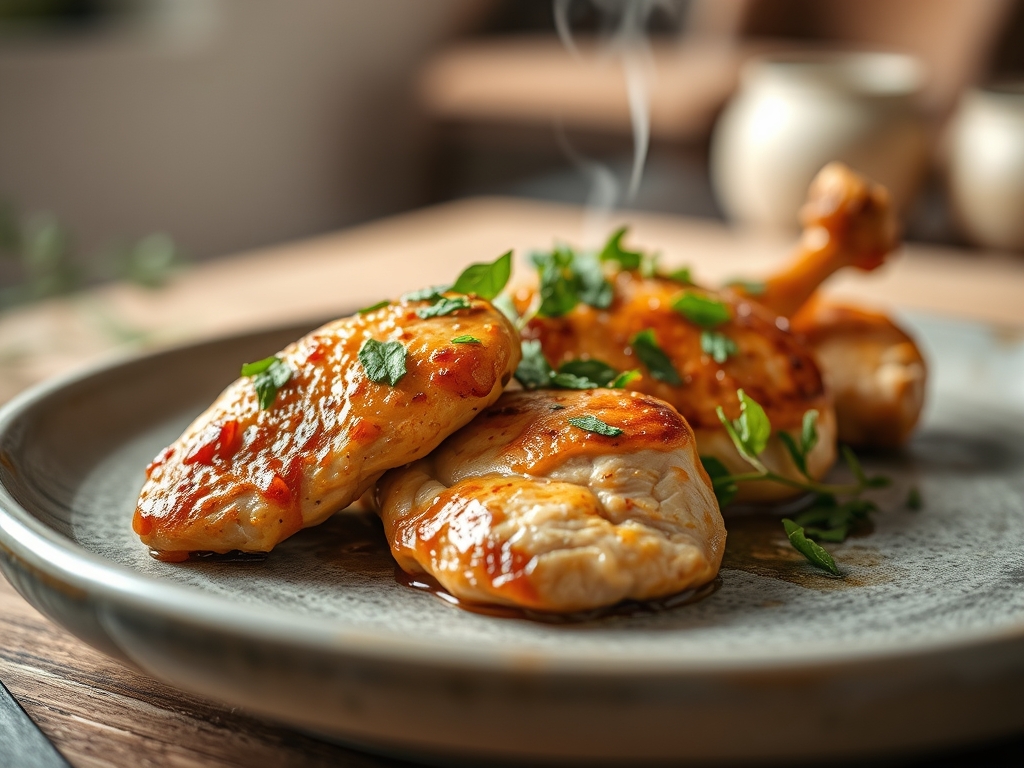
Picture this: the kitchen is humming with the sound of a heavy-bottomed skillet meeting the flame. The air is thick with the scent of garlic hitting hot oil, that sharp and piquant aroma that promises a meal worth sitting down for. When you need chicken recipes fast, you do not have to sacrifice the complex chemistry of a five-star meal for the sake of the clock. We are leaning into the physics of high-heat searing and the magic of deglazing to turn humble poultry into a culinary masterpiece in under thirty minutes. This is about efficiency without the compromise of flavor. We are moving beyond the bland, rubbery textures of rushed cooking and embracing the Maillard reaction. By understanding how heat transfers through protein fibers, we can manipulate texture and moisture to create a rotating menu of eight distinct flavor profiles. Whether you are craving a silky lemon-butter emulsion or a charred harissa glaze, the secret lies in the technique. Let us sharpen your knives and prep the station; your weeknight dinner is about to get a serious upgrade.
The Gathers:
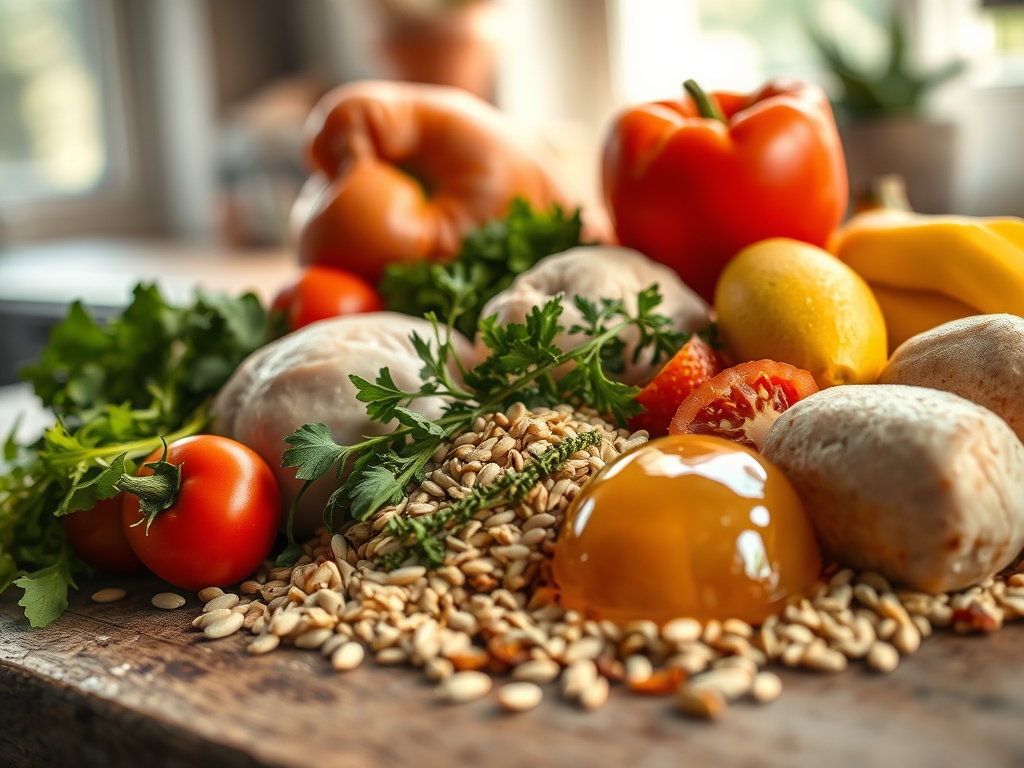
The foundation of any rapid-fire kitchen success is the mise-en-place. To execute chicken recipes fast, your ingredients must be prepped and staged before the first burner is ignited. Start with high-quality protein; organic, air-chilled chicken breasts or thighs offer a superior cell structure that retains moisture better than water-chilled alternatives. You will need a variety of aromatics: think shallots for a subtle sweetness, fresh ginger for a zesty bite, and garlic cloves ready for the microplane.
Your pantry should be stocked with high-smoke-point fats like avocado oil or clarified butter to ensure you can reach the temperatures necessary for browning without scorching the lipids. Acids are equally vital. Keep lemons, limes, and a bottle of dry white wine or rice vinegar nearby to provide the necessary brightness to cut through the richness of the fats.
Smart Substitutions:
If you find yourself missing a key component, do not panic. Swap fresh shallots for the white parts of green onions to maintain that sulfurous bite. If a recipe calls for heavy cream, a dollop of full-fat Greek yogurt can provide a similar viscous mouthfeel with an added probiotic tang. For those avoiding gluten, replace all-purpose flour dredges with cornstarch or arrowroot powder; these starches actually create a crispier, more glass-like exterior during the frying process due to their high amylose content.
The Clock
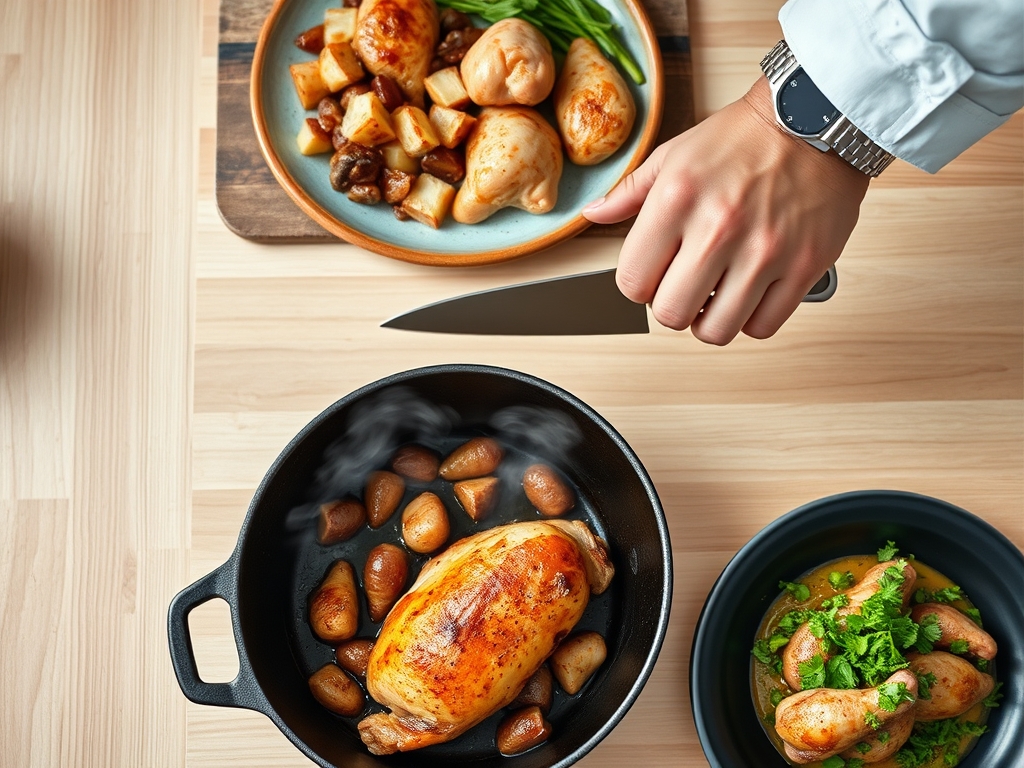
Efficiency in the kitchen is governed by the "Chef's Flow." This is the art of overlapping tasks to eliminate dead time. In a thirty-minute window, the first five minutes are dedicated to the "Gather and Chop." The next five minutes involve the "Initial Sear," where the protein develops its crust. The final twenty minutes are for the "Simmer and Finish," where you build your sauce and cook your sides simultaneously.
By using a digital scale to portion your ingredients, you ensure consistency and speed. A bench scraper is your best friend here; use it to clear your cutting board in seconds, moving aromatics from the wood to the pan without losing a single morsel. Remember, the clock starts when the pan gets hot, not when you walk into the kitchen.
The Masterclass
1. The Perfect Sear
Place your seasoned chicken into a shimmering, pre-heated skillet. Do not crowd the pan; overcrowding drops the surface temperature and leads to steaming rather than searing.
Pro Tip: This stage relies on the Maillard reaction, a chemical reaction between amino acids and reducing sugars that creates hundreds of different flavor compounds. If the meat resists when you try to flip it, it has not finished its structural transformation. Wait for it to release naturally.
2. Deglazing the Fond
Once the chicken is removed to rest, you will see brown bits stuck to the bottom of the pan. Pour in a splash of liquid (wine, stock, or citrus juice) and use a wooden spoon to scrape them up.
Pro Tip: These bits are called fond. Deglazing creates a concentrated flavor base. The liquid acts as a solvent, lifting the caramelized proteins and incorporating them into your sauce for maximum depth.
3. Emulsifying the Sauce
Lower the heat and whisk in a cold fat, such as butter or heavy cream, to create a smooth, glossy finish.
Pro Tip: This is the science of emulsification. By whisking cold fat into a hot liquid, you are suspending tiny droplets of oil within the water-based sauce. The result is a viscous, luxurious coating that clings to the chicken rather than sliding off.
4. Thermal Carryover Management
Remove your chicken from the heat when it reaches 160 degrees Fahrenheit, rather than the standard 165.
Pro Tip: Thermal carryover means the internal temperature will continue to rise by about five degrees while the meat rests. Pulling it early ensures the muscle fibers do not tighten and squeeze out all the moisture, keeping the chicken succulent.
5. Aerating the Aromatics
Add your delicate herbs and citrus zest only in the final thirty seconds of cooking.
Pro Tip: Essential oils in herbs like basil or cilantro are highly volatile. Excessive heat will cause these flavor molecules to evaporate into the air rather than staying in your dish. Adding them late preserves their vibrant, fresh profile.
The Deep Dive
Macro Nutrition: Chicken is a powerhouse of lean protein, typically providing about 31 grams of protein per 100-gram serving. It is low in saturated fats, especially if you opt for skinless cuts. By controlling the fats used in your sauces, you can easily keep these meals under 500 calories while maintaining high satiety levels.
Dietary Swaps:
- Vegan: Replace chicken with extra-firm tofu or seitan. Press the tofu for twenty minutes beforehand to ensure it sears properly.
- Keto: Focus on high-fat sauces like a garlic-parmesan cream and serve over zoodles or riced cauliflower.
- GF: Use tamari instead of soy sauce and ensure your thickening agents are grain-free.
The Fix-It:
- The Chicken is Dry: You likely skipped the resting phase. Let the meat sit for five minutes to allow the juices to redistribute through the fibers.
- The Sauce is Broken: If your sauce looks oily and separated, whisk in a tablespoon of warm water or a splash of cream to re-emulsify the mixture.
- The Crust is Soggy: You likely added the sauce too early or covered the pan with a lid, trapping steam. Always finish the sauce separately and pour it over just before serving.
Meal Prep: To maintain "day-one" quality when reheating, avoid the microwave if possible. Instead, use a low-heat oven or a covered skillet with a teaspoon of water. This creates a gentle steam environment that rehydrates the protein without toughening the fibers.
The Wrap-Up
Mastering chicken recipes fast is about more than just speed; it is about understanding the molecular changes happening inside your pan. When you respect the sear, value the deglaze, and understand the importance of the rest, you transform a basic Tuesday night meal into a culinary event. These eight methods give you the framework to experiment with global flavors while keeping your schedule intact. Now, grab those tongs and get cooking; your kitchen is waiting for its next masterpiece.
The Kitchen Table
How do I keep chicken breast from getting rubbery?
Avoid overcooking by using a digital thermometer. Remove the chicken from the heat at 160 degrees Fahrenheit. The internal temperature will rise to the safe 165 mark during the resting period, ensuring the muscle fibers remain tender and juicy.
Can I use frozen chicken for fast recipes?
For the best texture, always thaw chicken completely before cooking. Cooking from frozen leads to uneven heat distribution, resulting in a tough exterior and an undercooked center. Use a quick-thaw cold water bath if you are short on time.
What is the best pan for searing chicken?
A heavy-bottomed stainless steel or cast iron skillet is ideal. These materials have high heat retention and distribution properties, which are essential for achieving a consistent, golden-brown Maillard reaction across the entire surface of the protein.
How do I get a crispy skin on chicken thighs?
Start the thighs skin-side down in a cold pan, then turn the heat to medium-high. This allows the fat to render out slowly, resulting in a paper-thin, ultra-crispy texture without burning the skin before the meat is cooked through.